Open the admin portal from the welcome email, go through the getting-started list, and move to a paid plan when you are ready.
5 steps4 minLeonAI account ownerUpdated
1
Open the admin portal from the welcome email
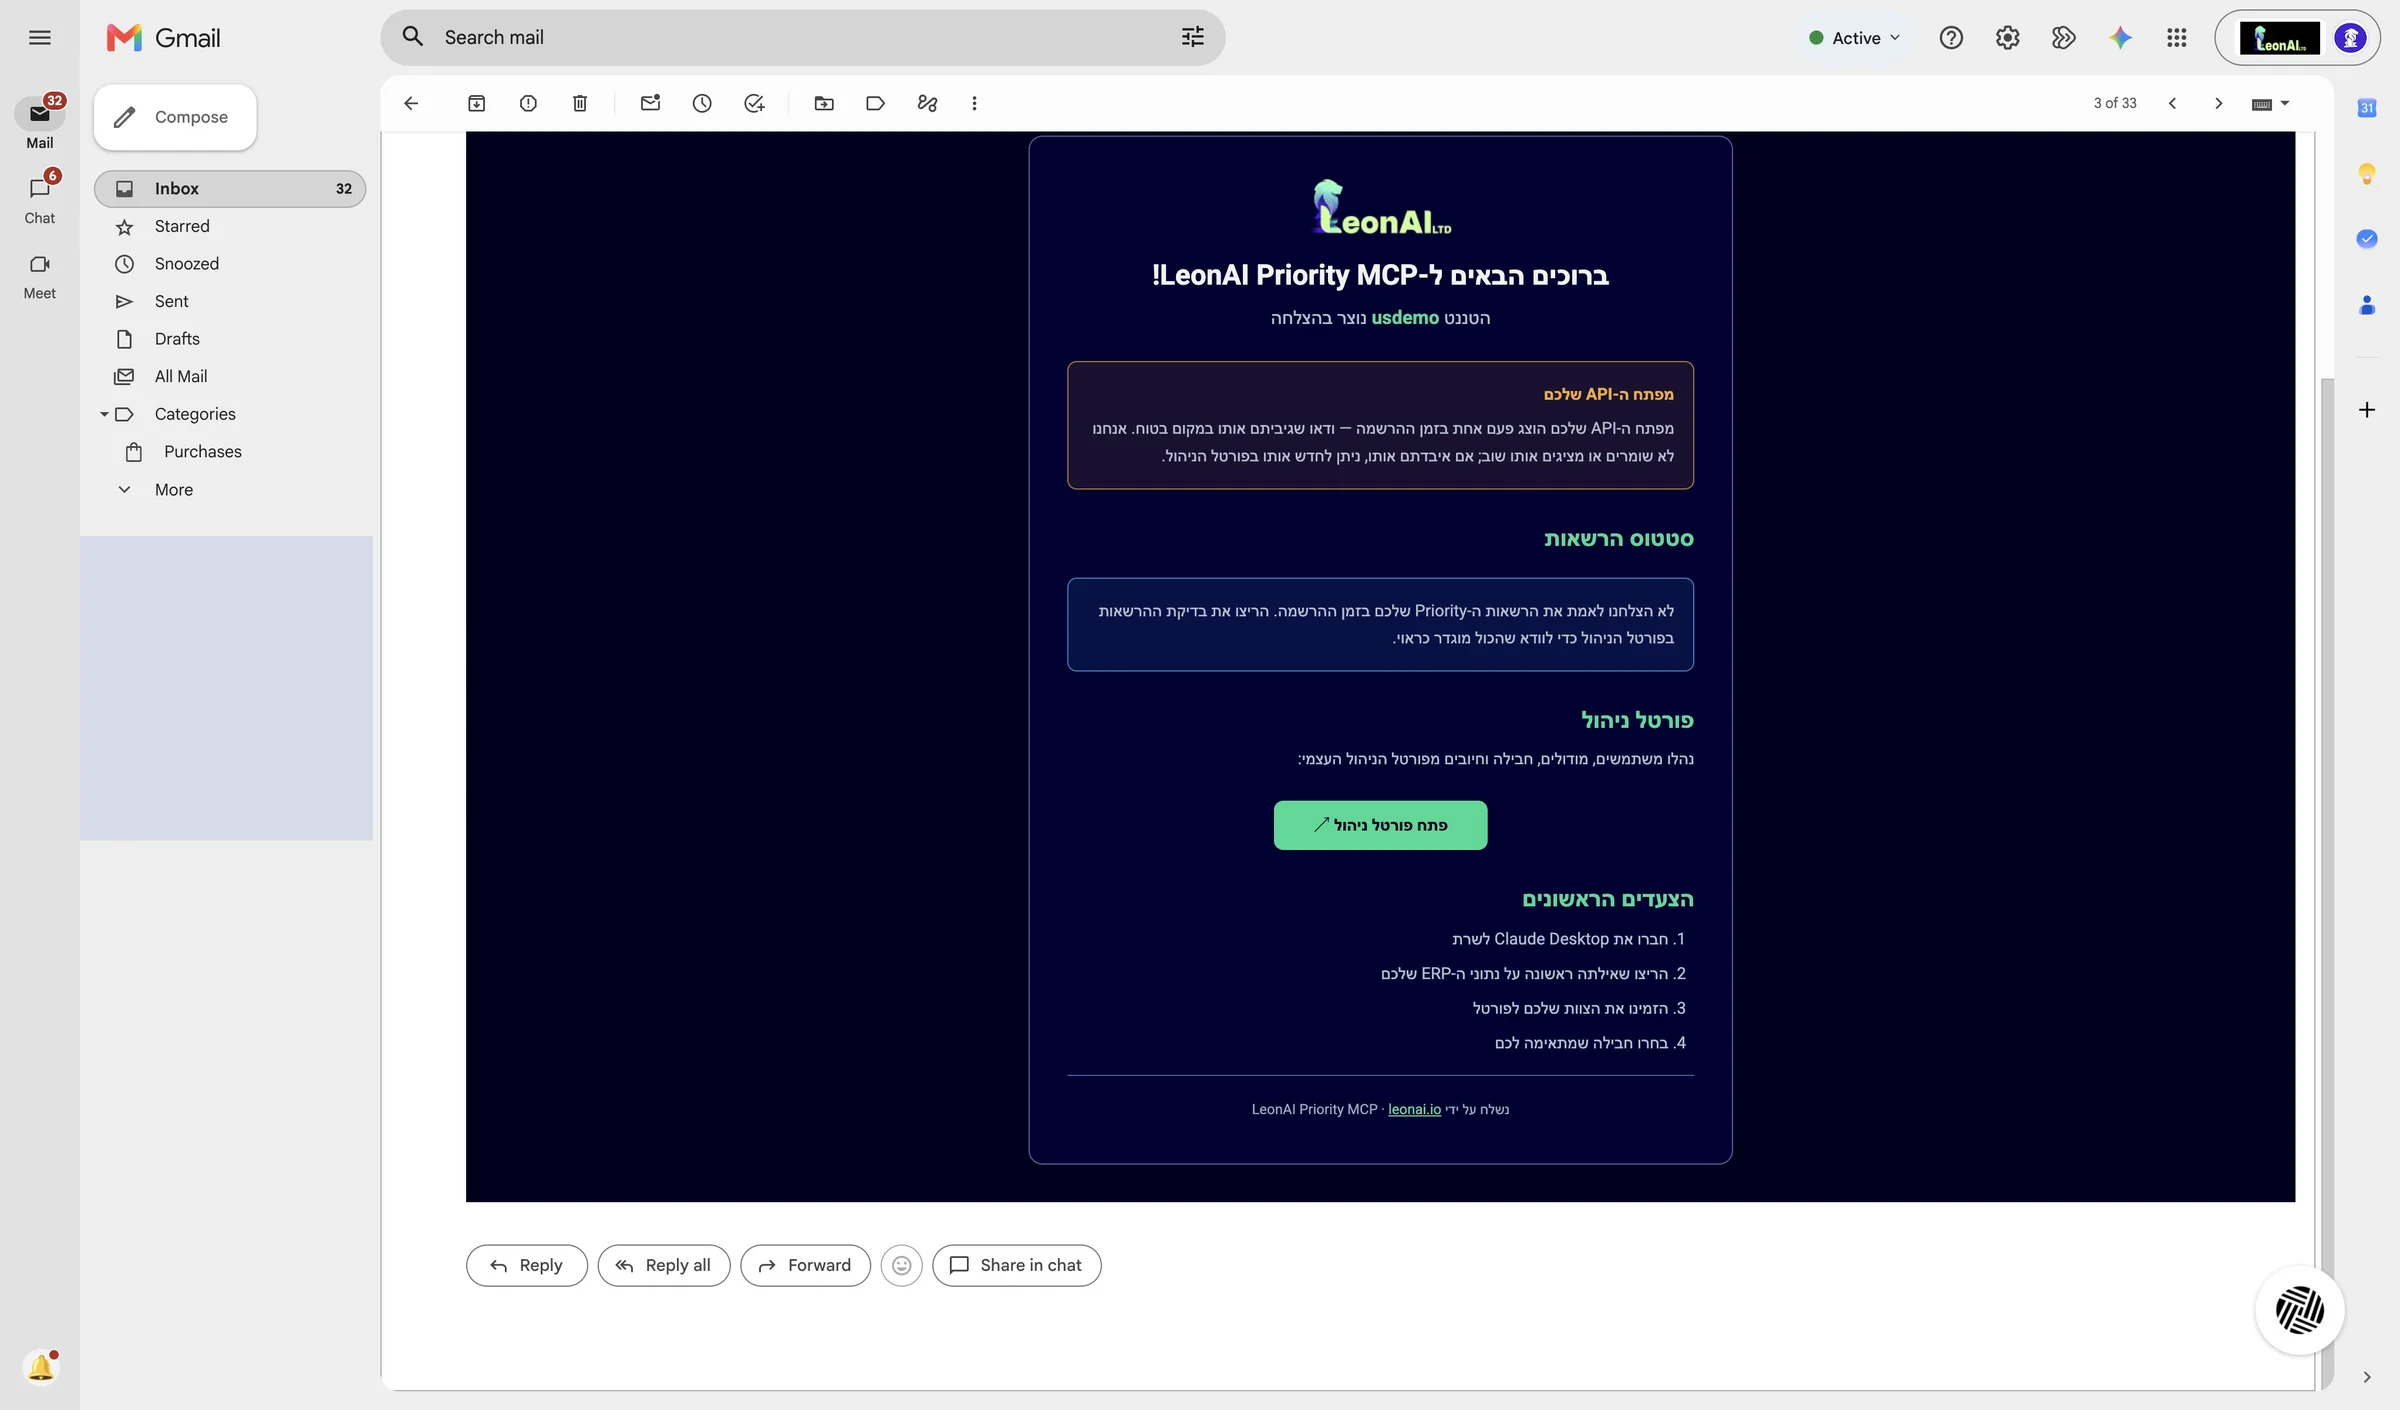
In your inbox, open the email Welcome to LeonAI Priority MCP and click Open admin portal.
In the portal you manage users, modules, your plan and billing. The email also has a “First steps” list: connect Claude, run a first query, invite your team and choose a plan.
The admin portal is open on the Overview screen.
2
Review the Overview screen
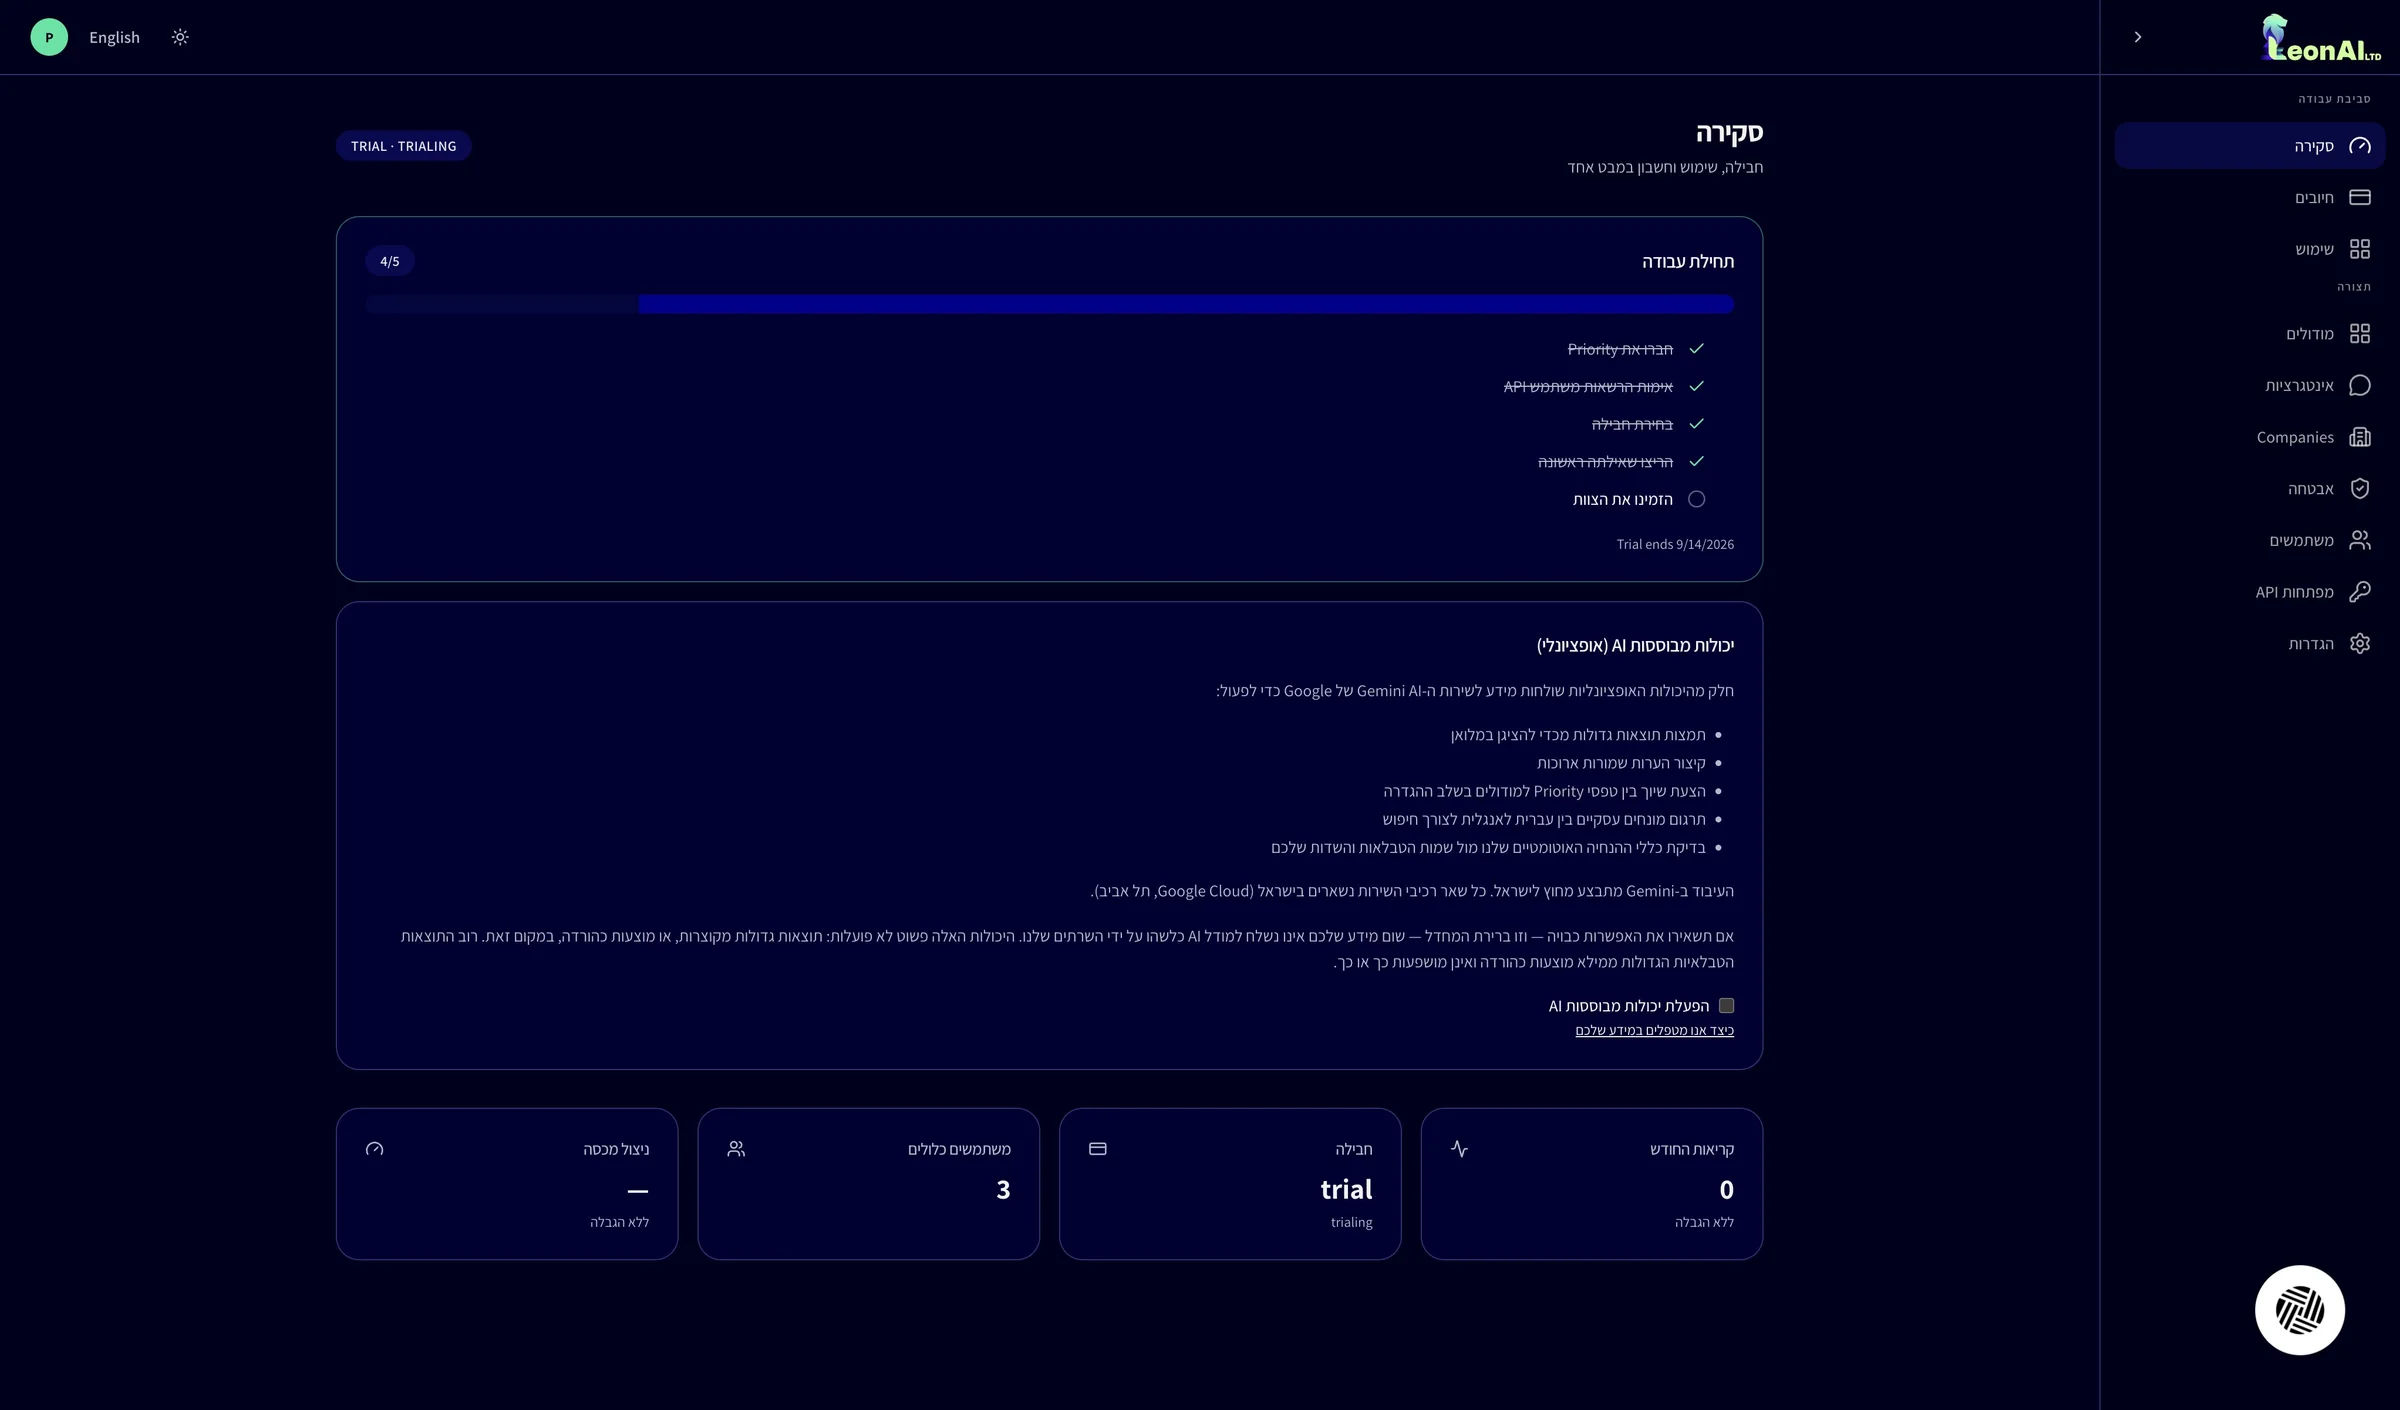
On the Overview screen, check the Getting started list and the trial end date. If you like, turn on Enable AI-powered capabilities (optional).
AI capabilities are off by default. Turning them on sends some of the data to Google's Gemini service for processing, outside Israel, for example to summarize long results. The rest of the service stays in Israel.
You saw what is left on the getting-started list and when the trial ends.
3
Go to Billing and the paid plan
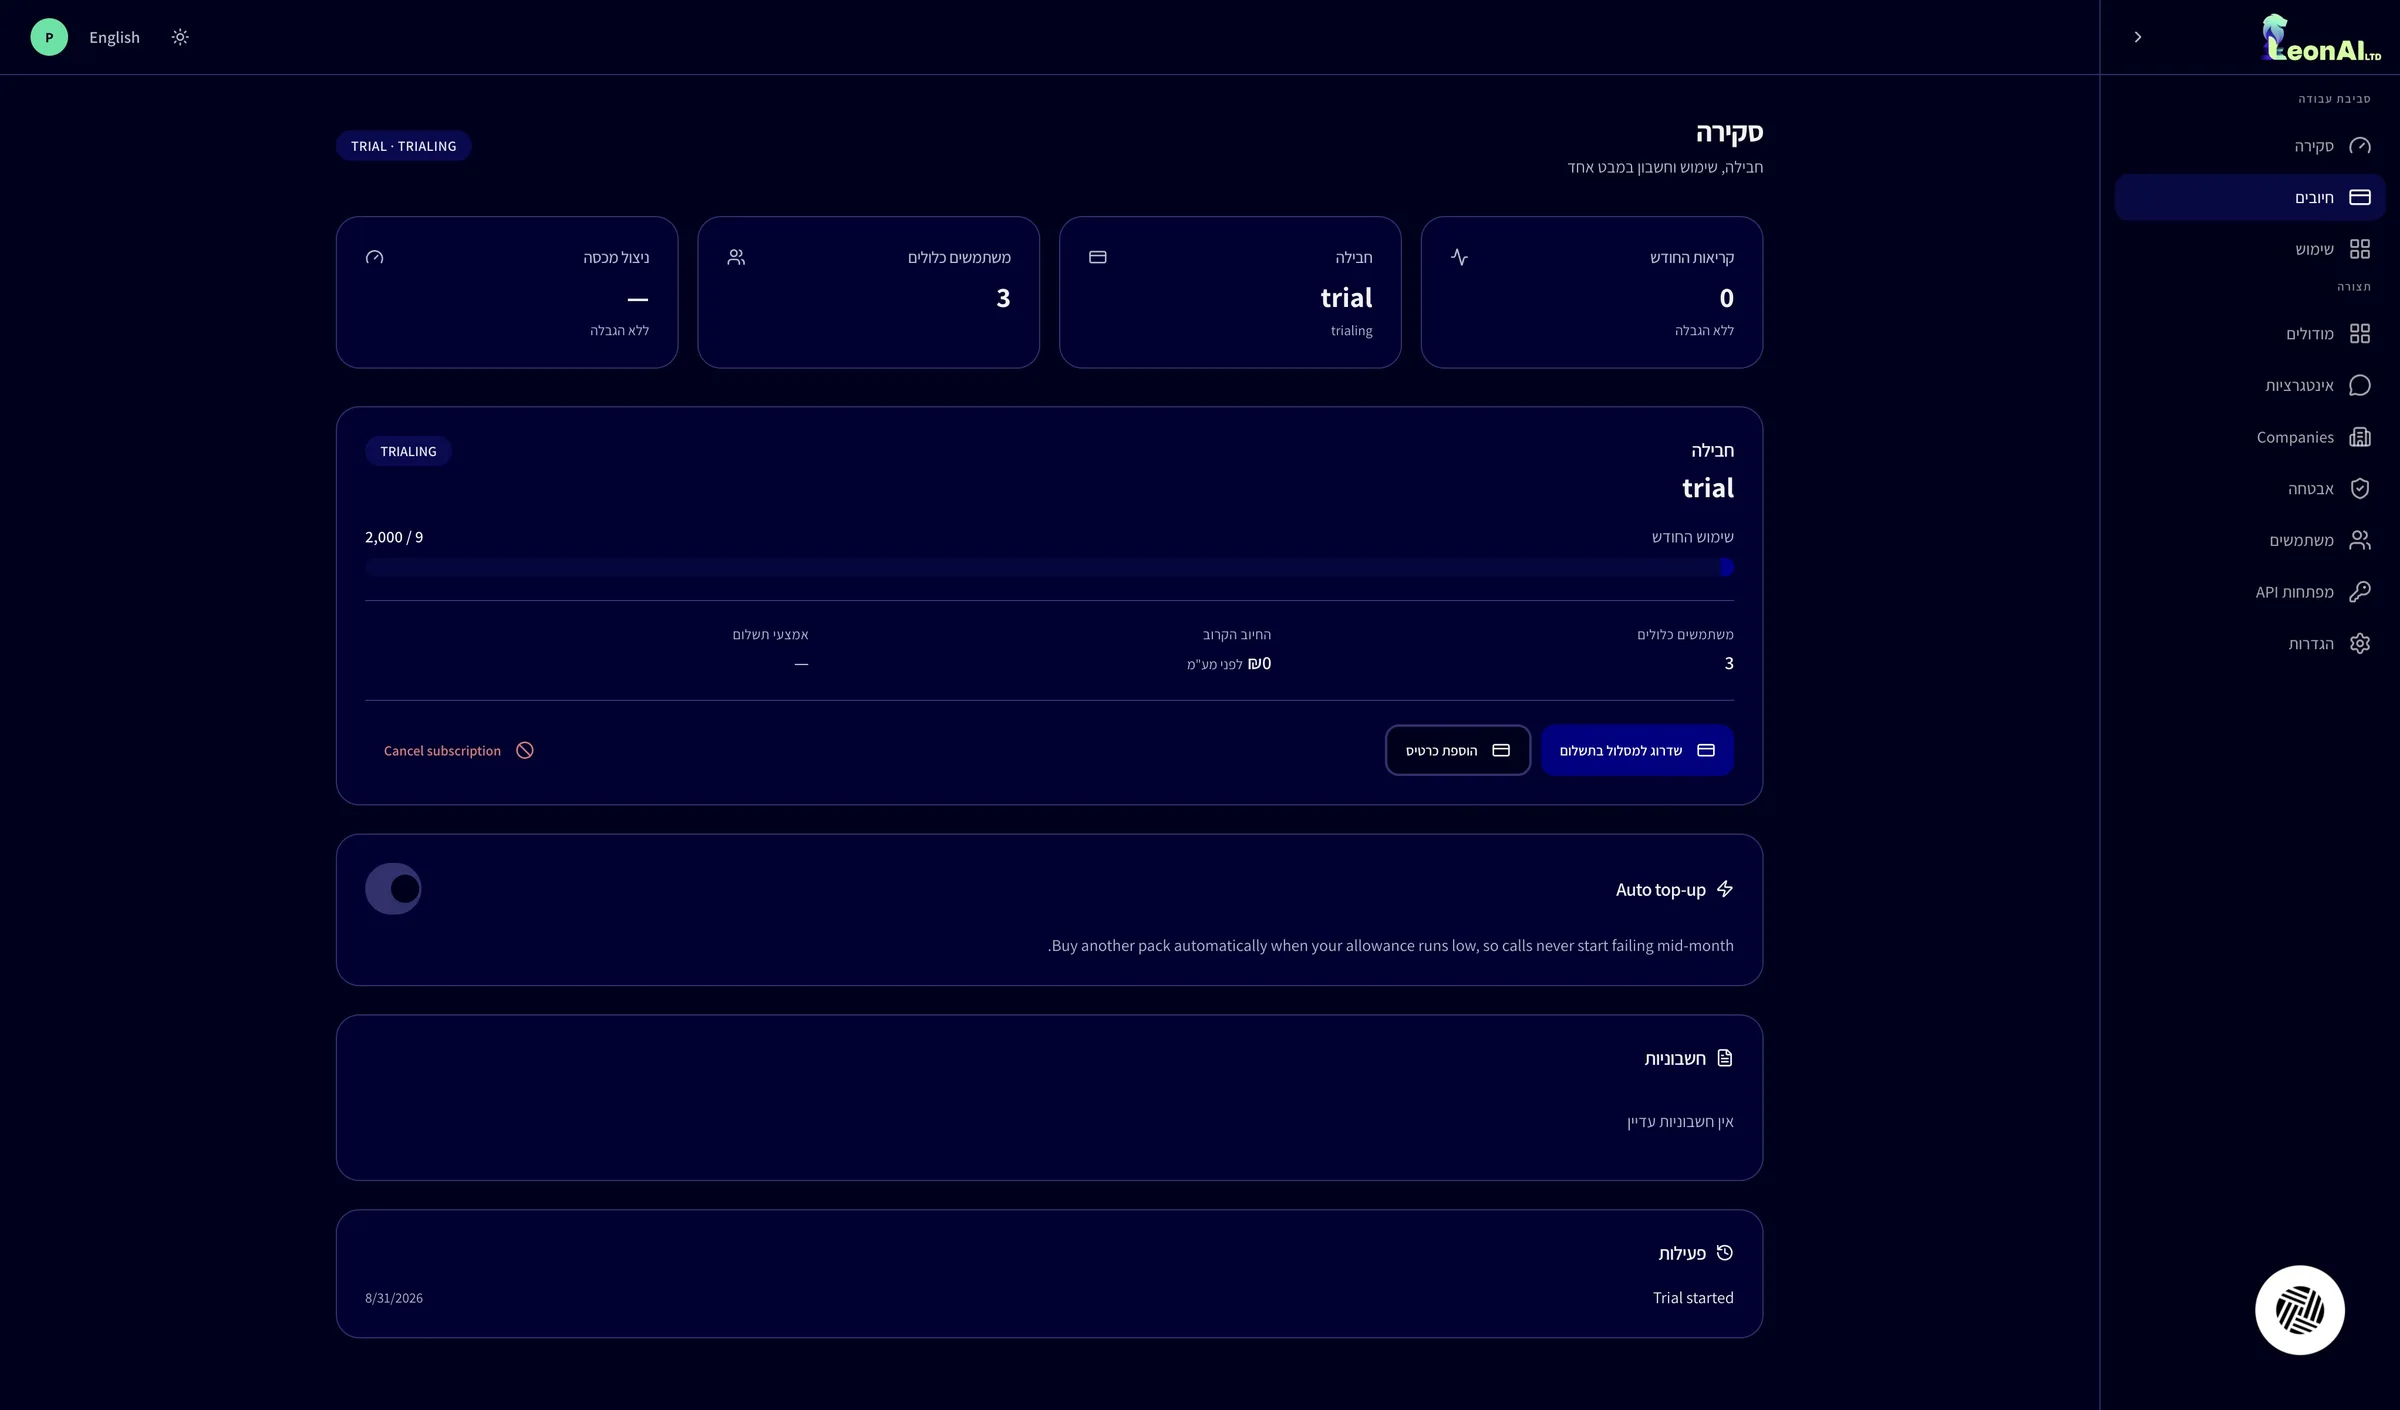
In the side menu click Billing, then Upgrade to a paid plan.
The Billing screen shows your plan, monthly usage, upcoming charge and invoices. This is also where you add a card and turn on Auto top-up, which buys an extra package automatically when your quota is about to run out.
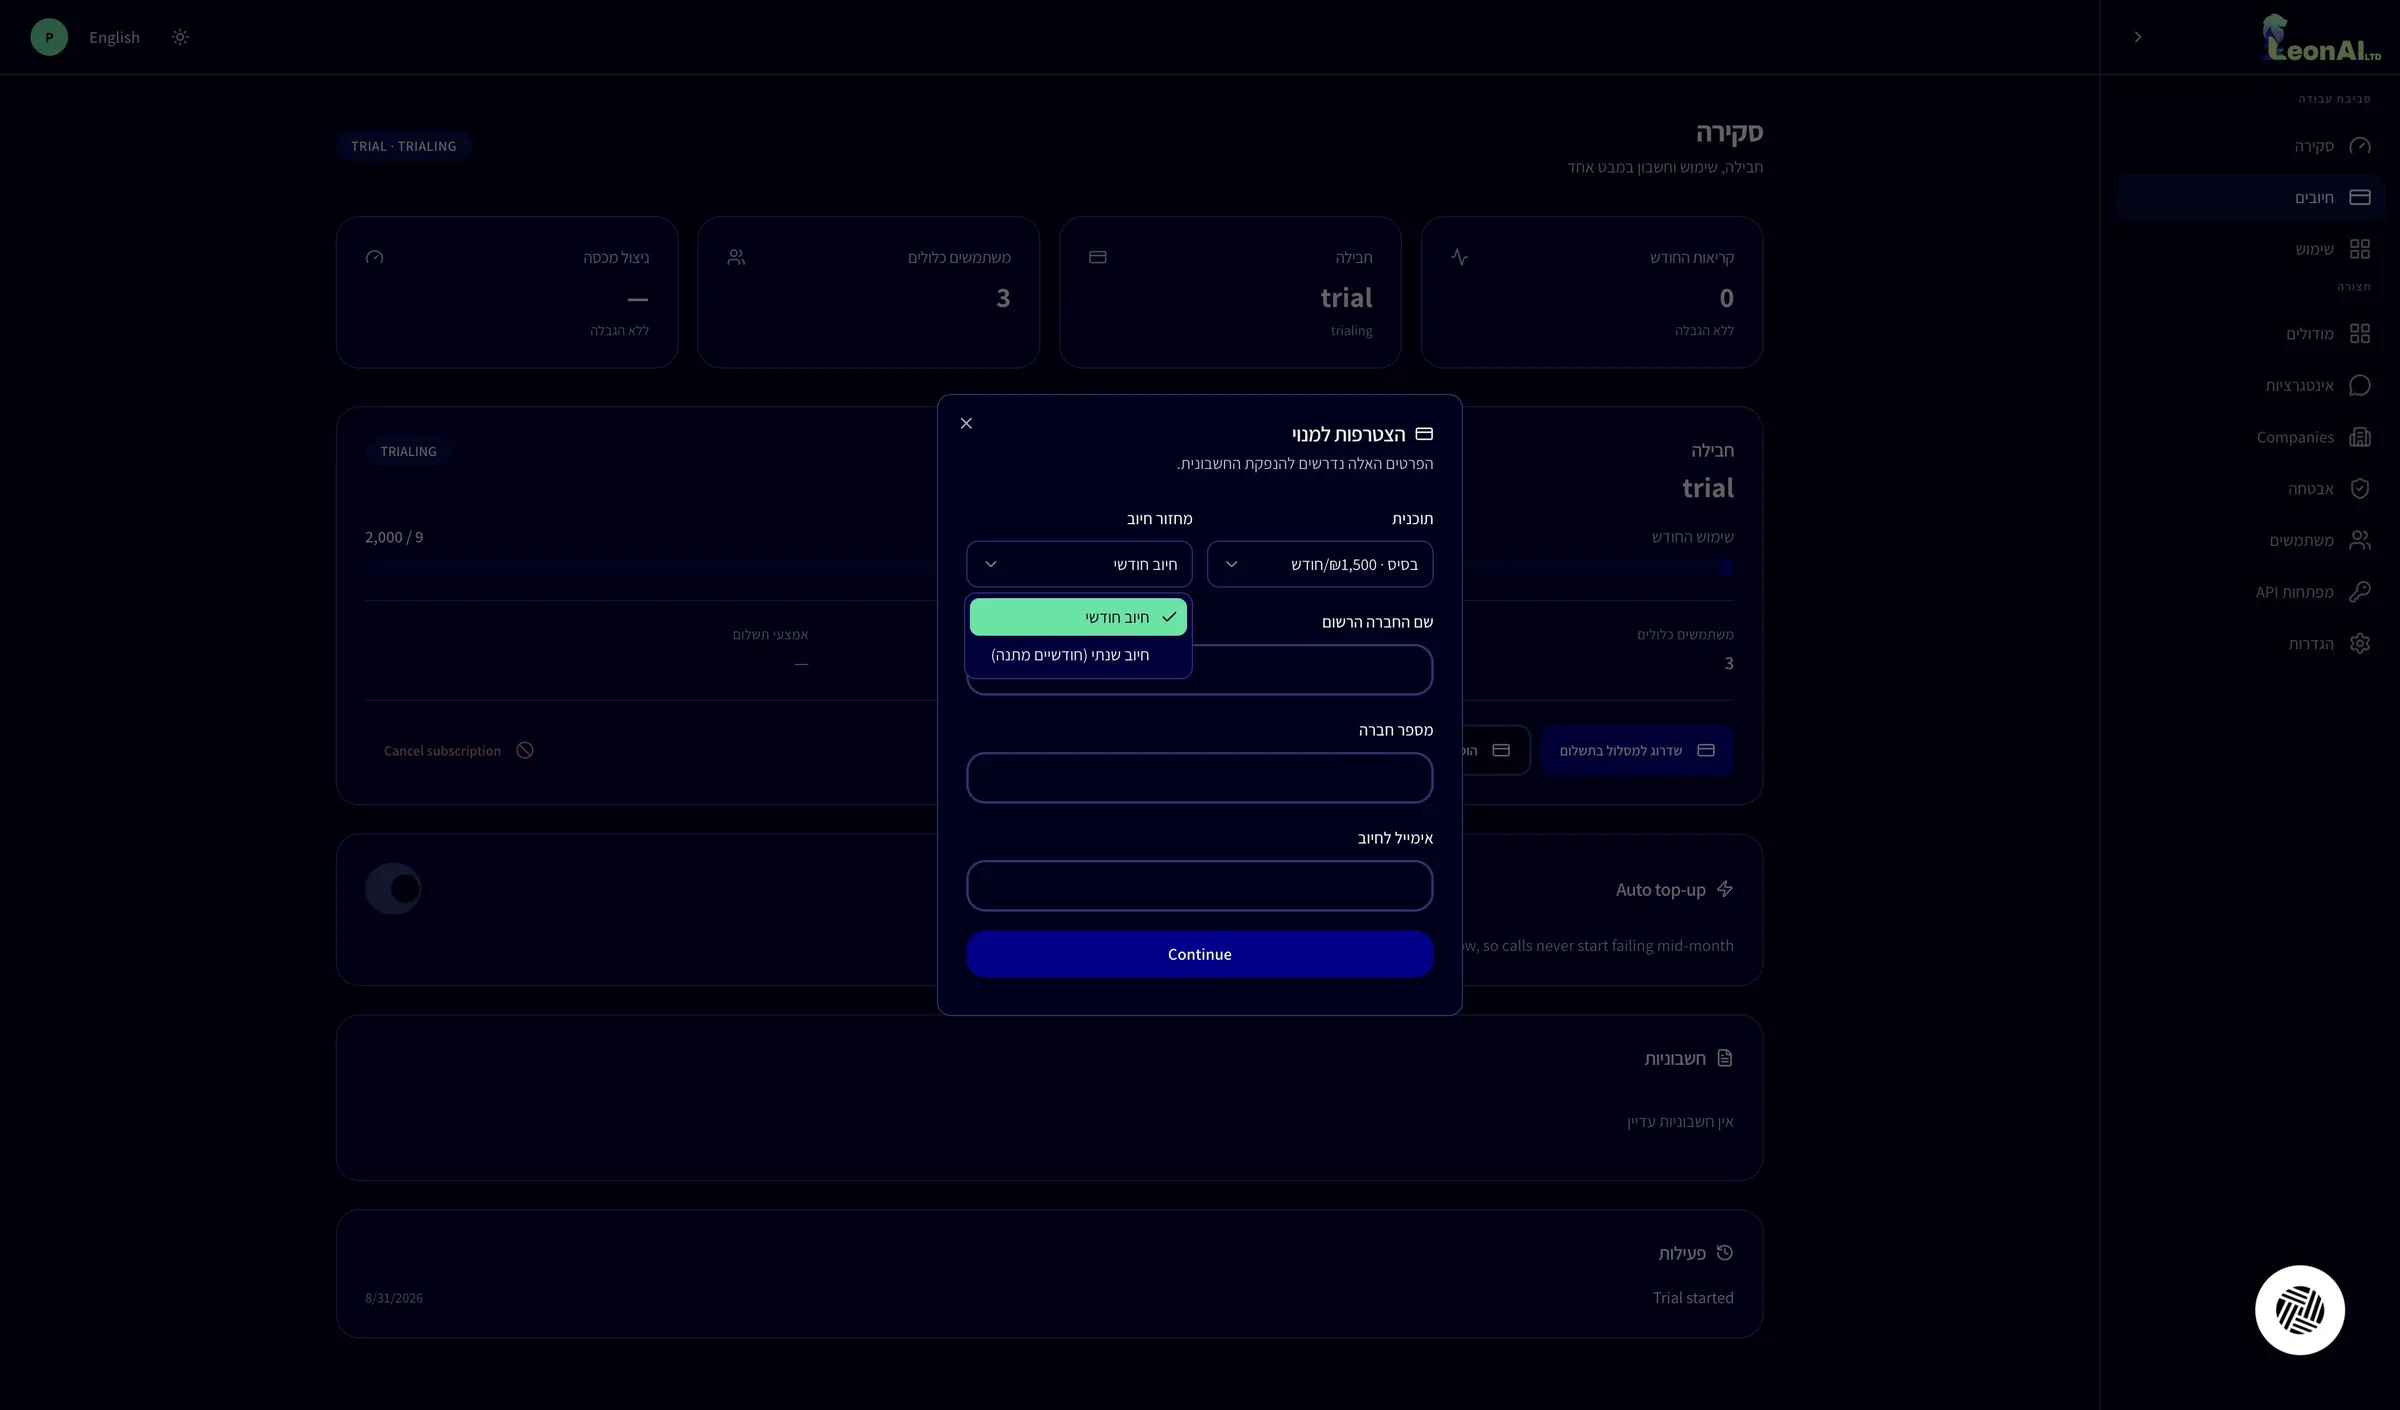
A “Subscribe” window opens.
4
Choose a plan
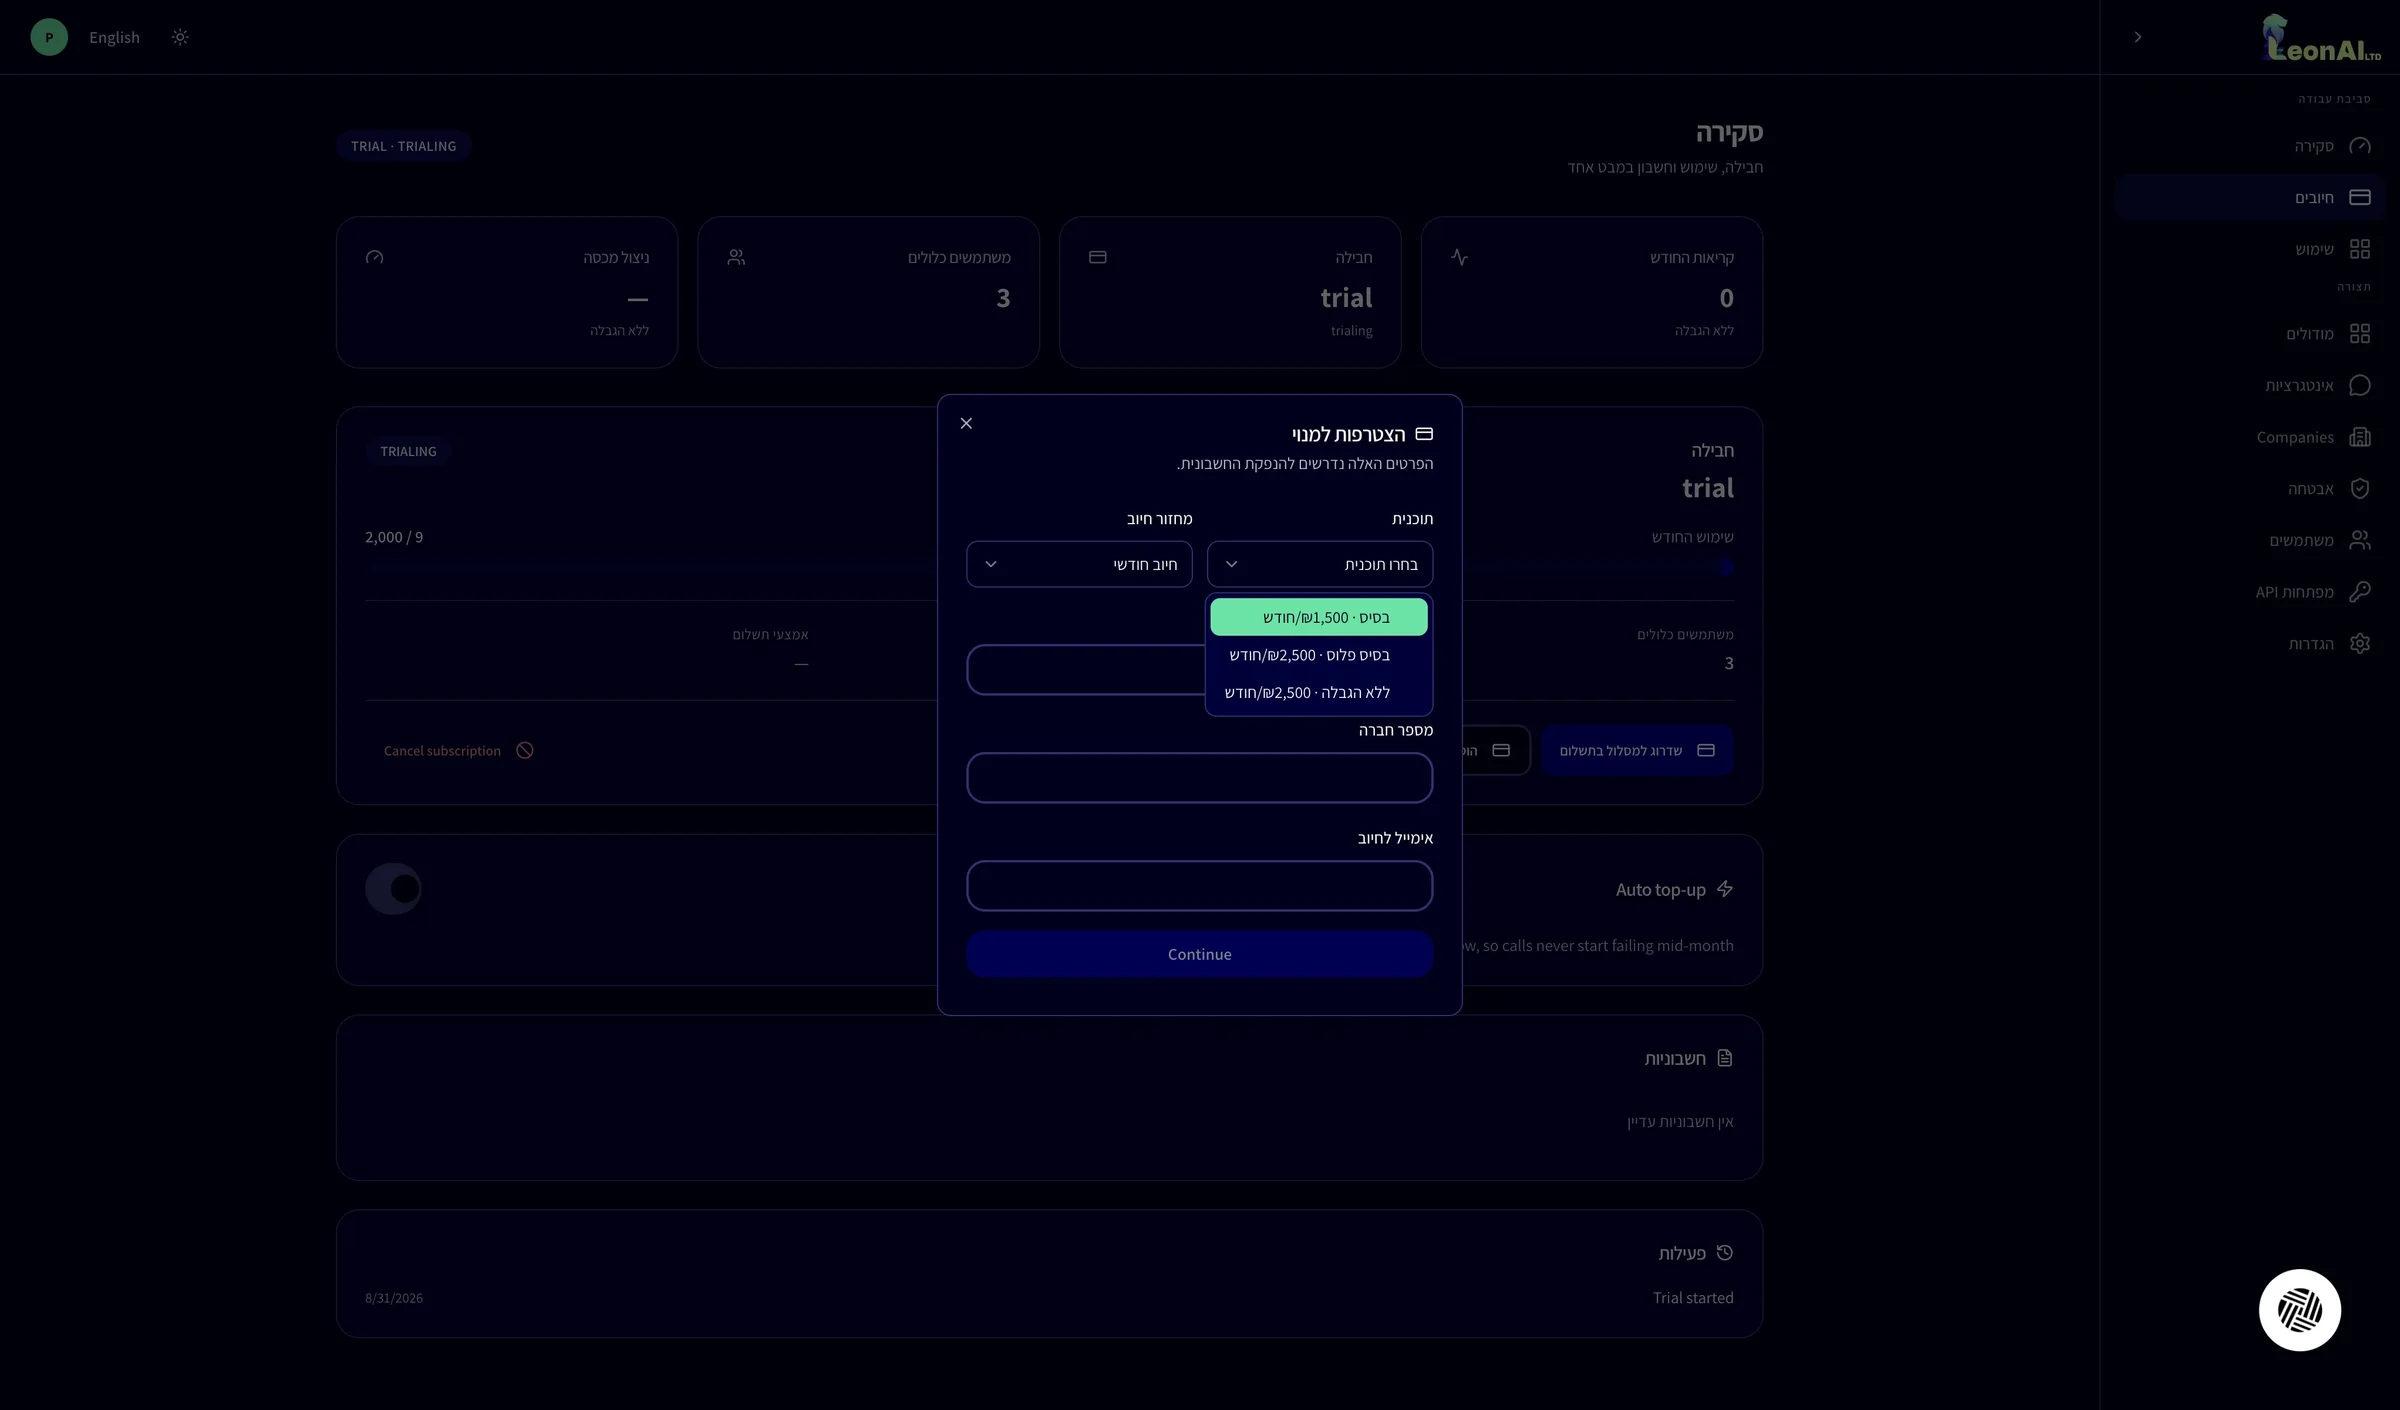
In the Subscribe window click the Plan field, and choose between Basic, Basic Plus and Unlimited.
Basic Plus removes the user limit, and Unlimited removes the call limit — both at the same price. Choose by the limit you will reach first. Prices exclude VAT.
The plan you chose appears in the field.
5
Complete the billing details
Choose a billing cycle, fill in Registered company name, Company number and Billing email, and click Continue.
You can choose monthly billing, or yearly billing with two months free. The details are needed for the invoice, so make sure they match your company registration.
All the fields in the window are filled in, and you clicked Continue.