
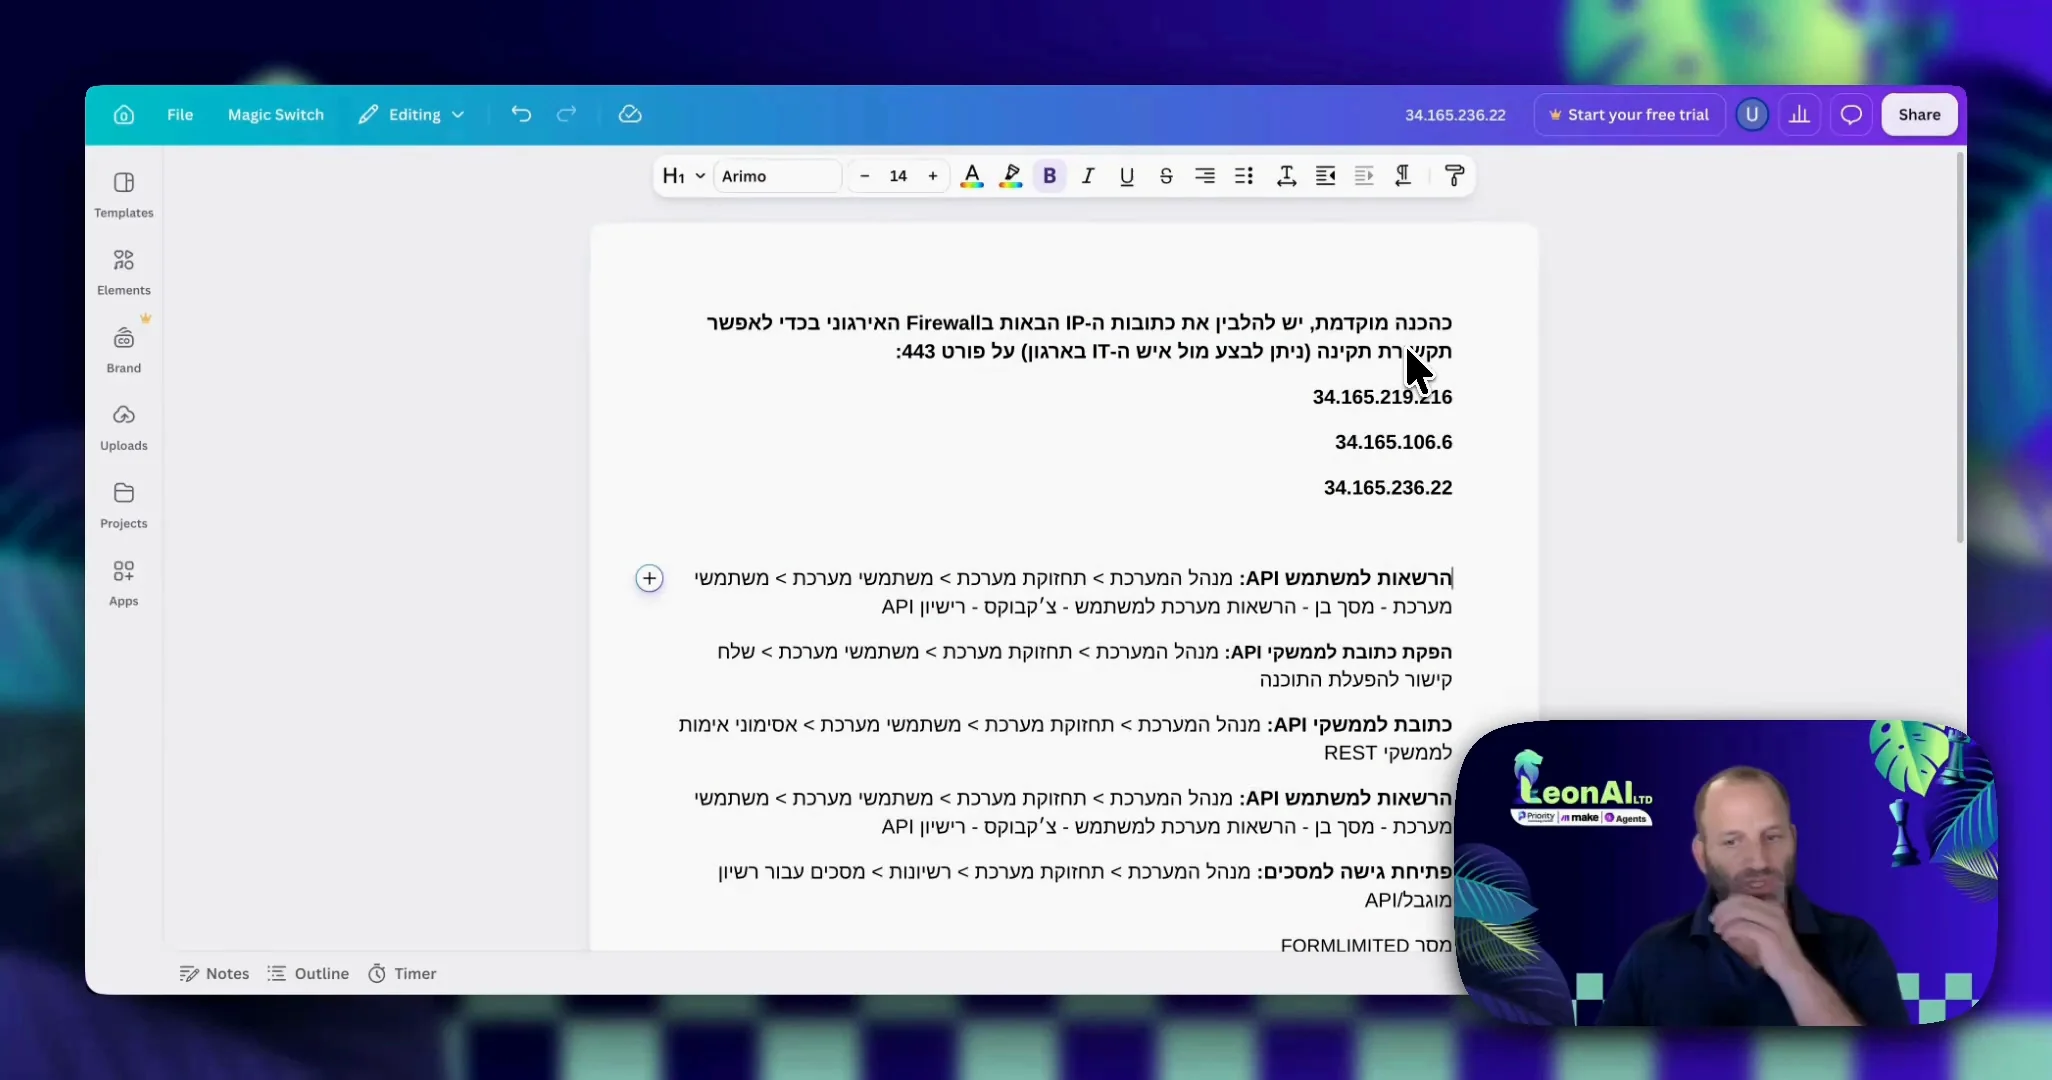
Ask them to allow incoming access in your organization's firewall from LeonAI's three IP addresses, on port 443.
Your IT person confirmed that the three addresses are open on port 443.
Getting-started journey · Make
By the end you will have a working connection to Priority in Make, and can use every LeonAI Priority ERP module.
LeonAI reaches Priority from three fixed IP addresses. If your server is behind a firewall, allow them.
Ask them to allow incoming access in your organization's firewall from LeonAI's three IP addresses, on port 443.
Your IT person confirmed that the three addresses are open on port 443.
LeonAI works in Priority as one user. That user must have an API licence.
System Management › System Maintenance › Users › Users
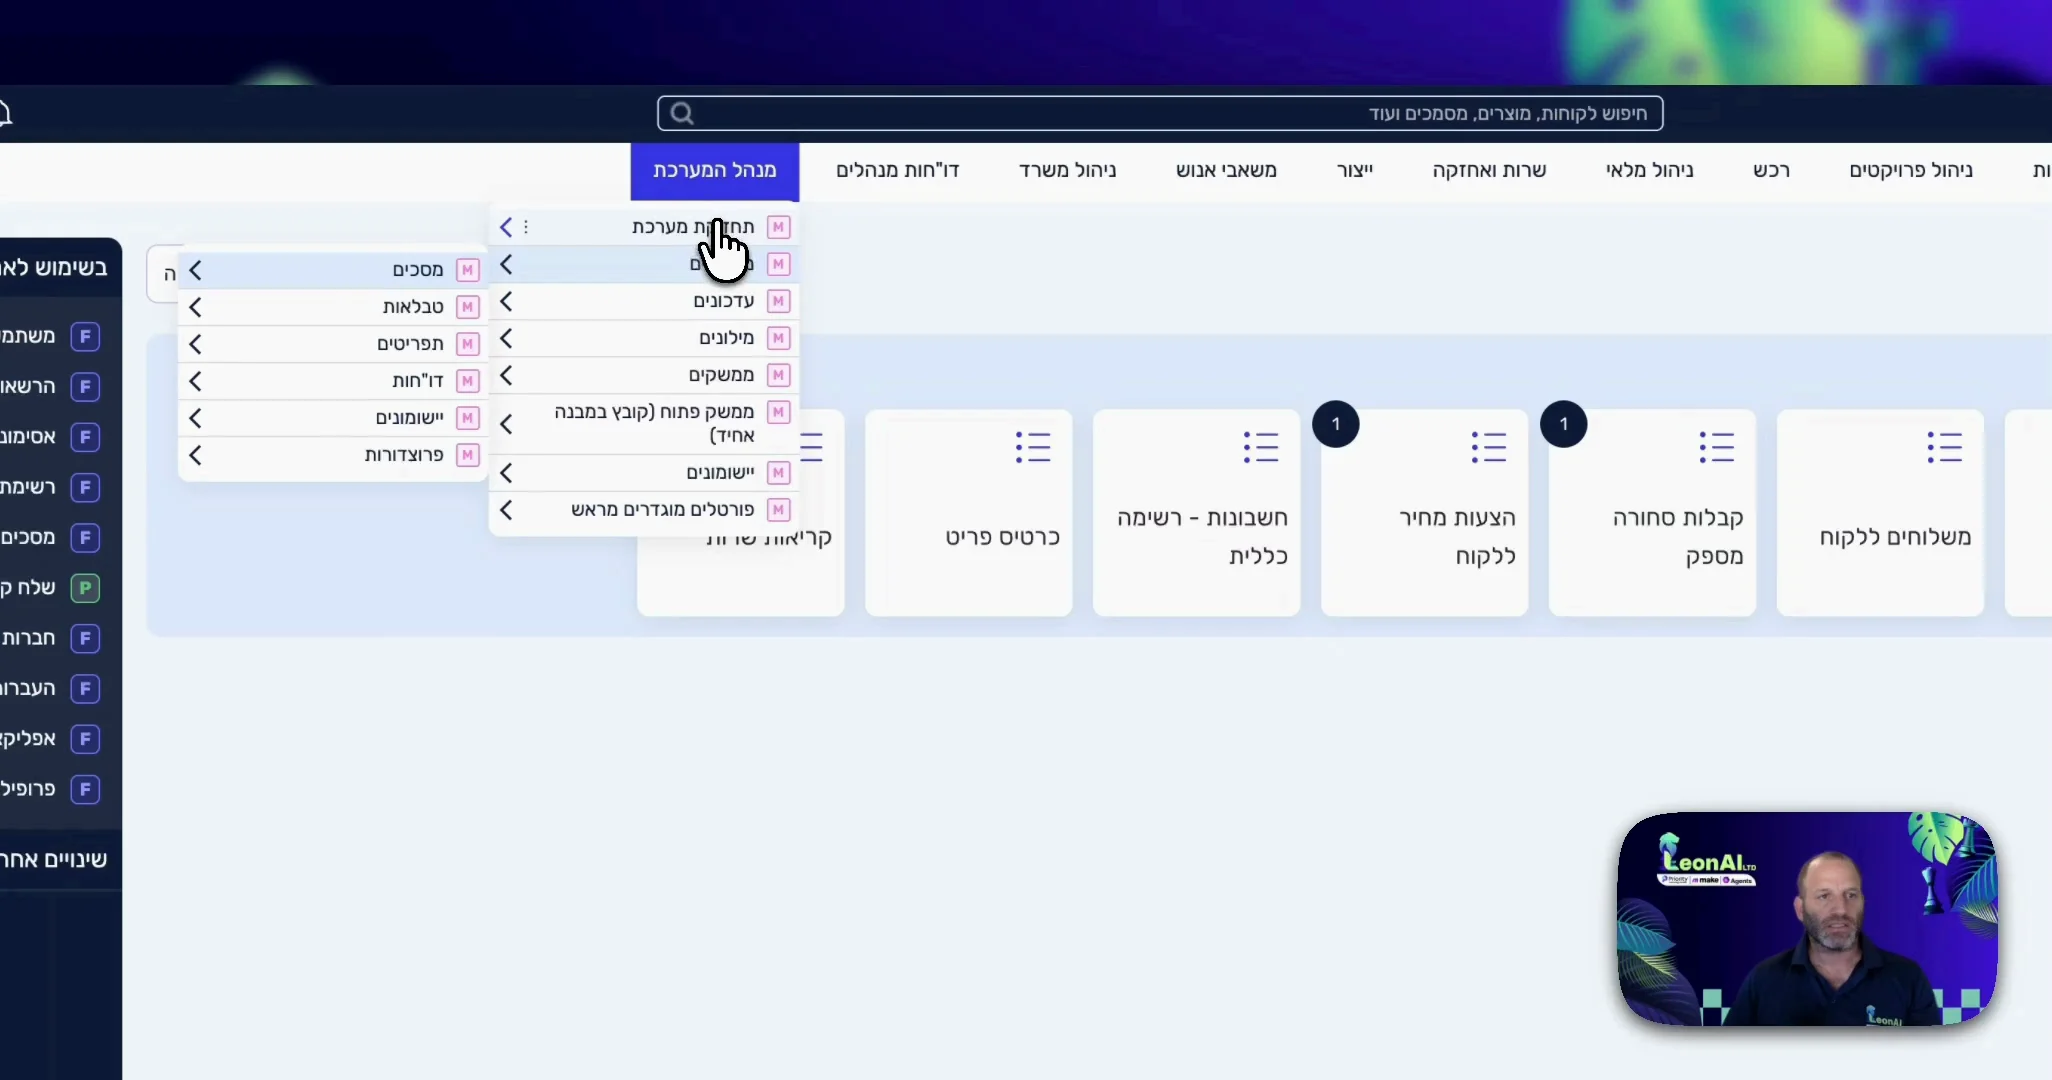
The System Users form is open.
Select the user you will connect and open the User's System Privileges tab.
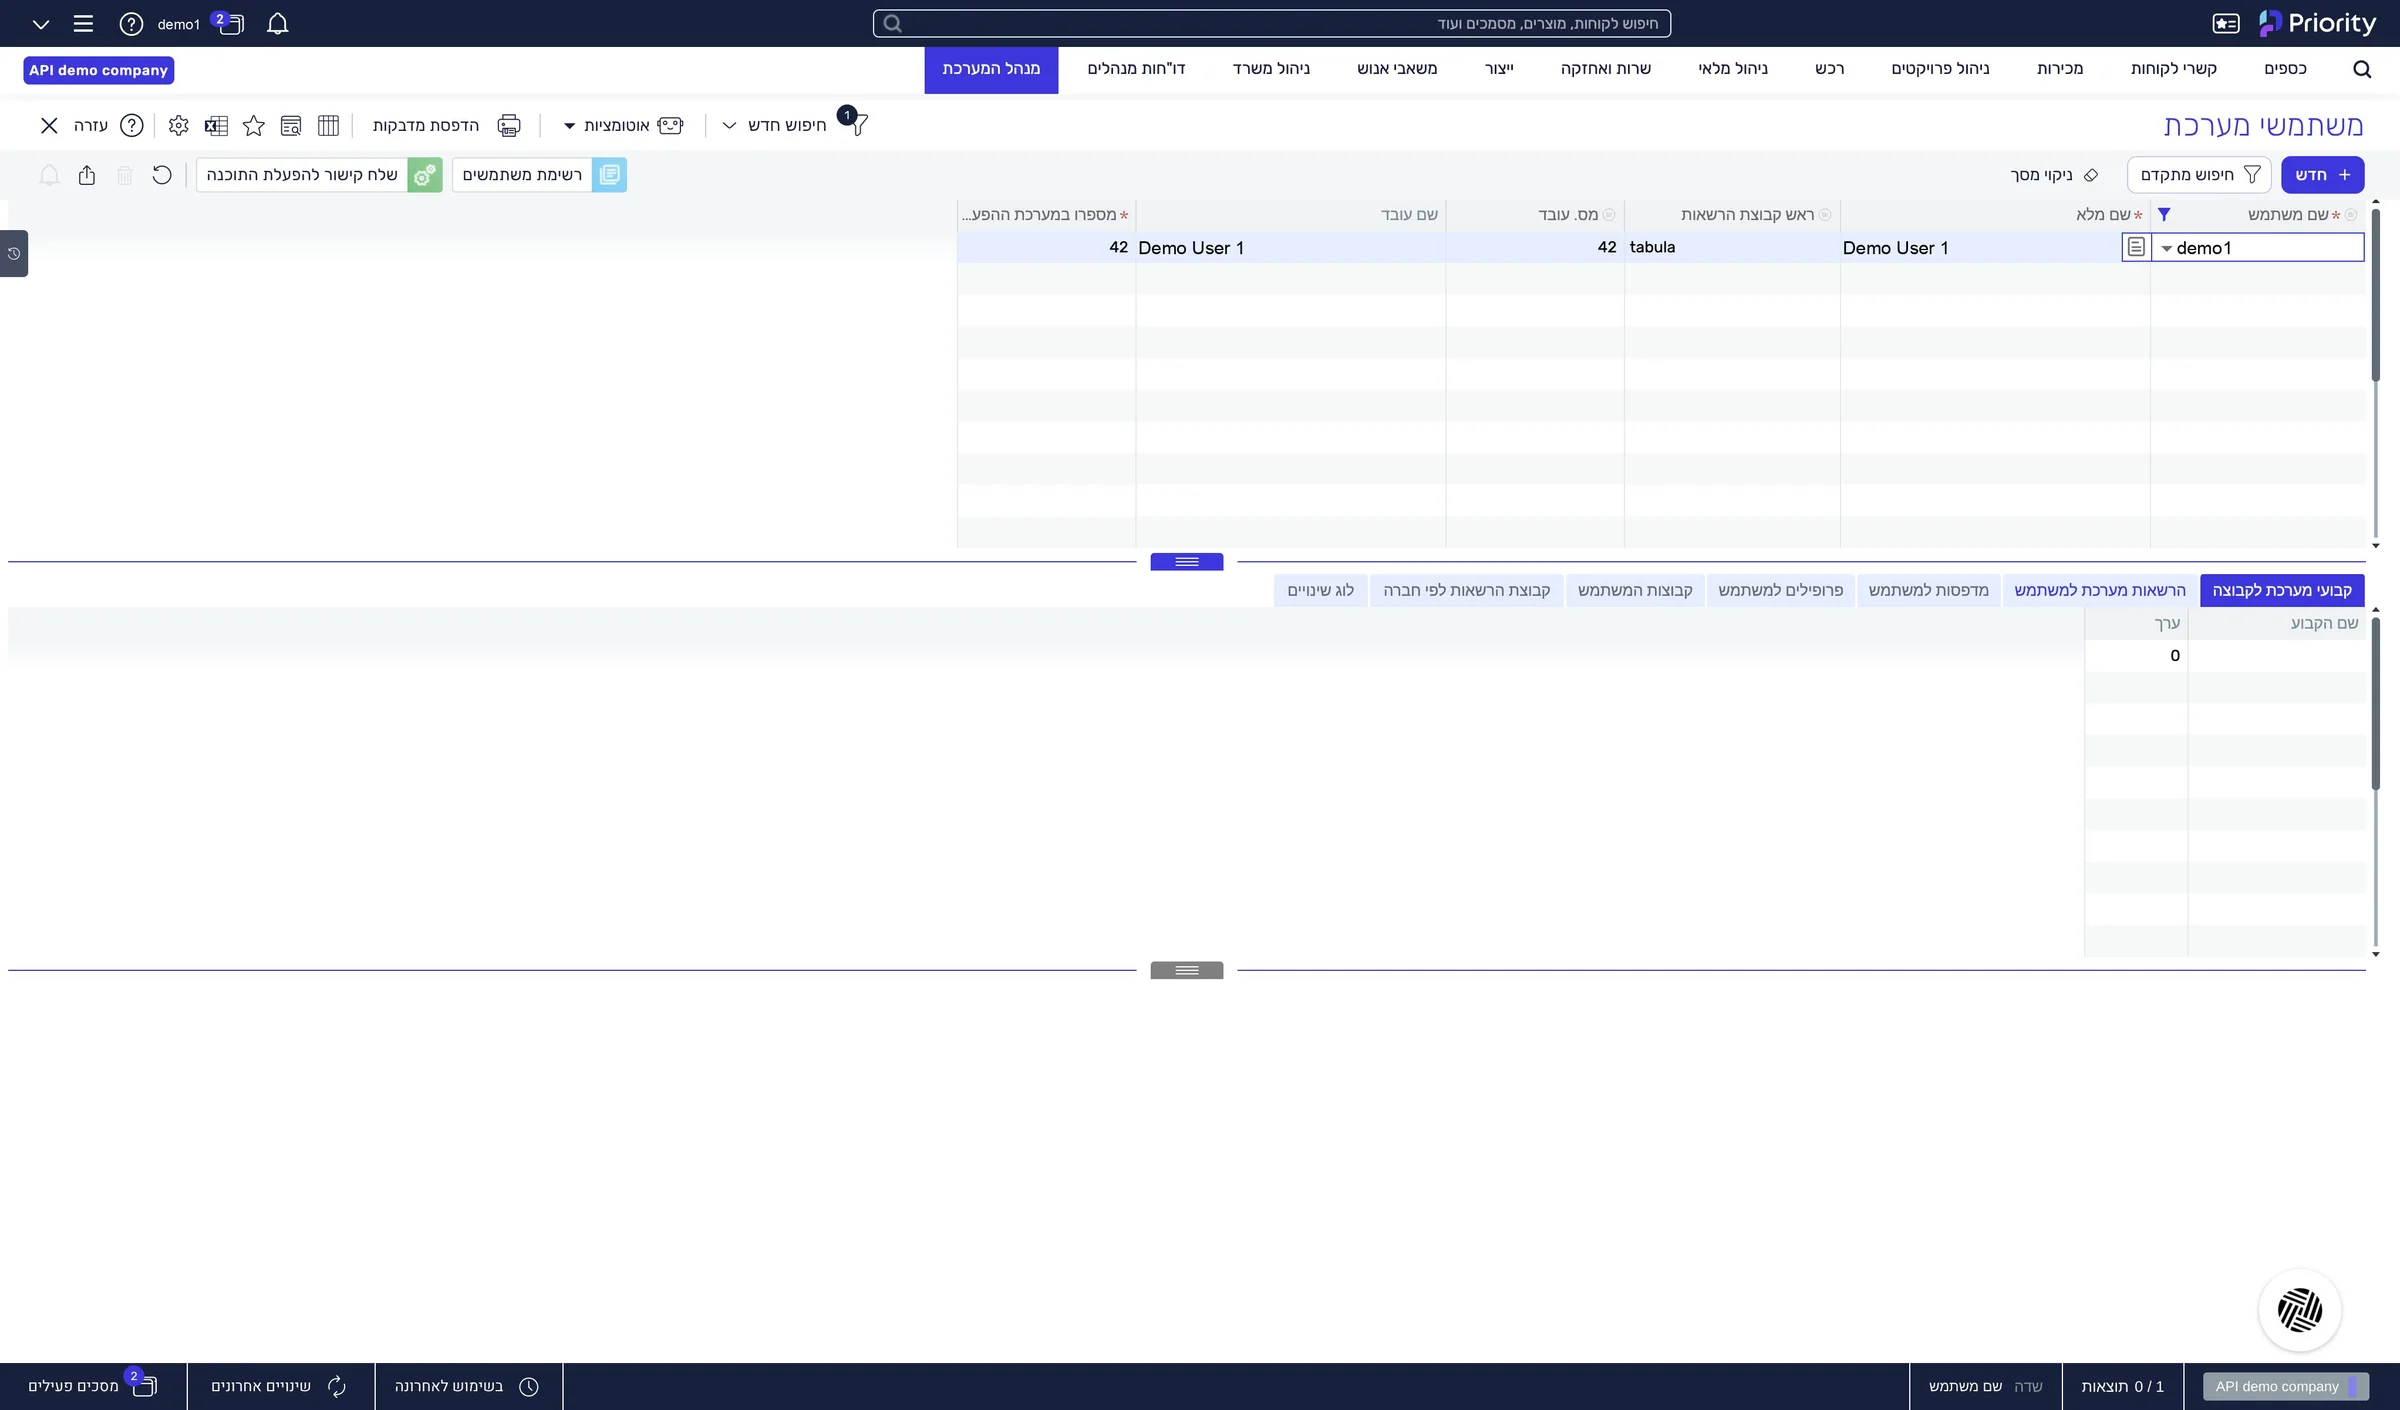
The User's System Privileges tab is open.
Go to License and make sure the API License box is checked.
If the box is not checked, the user cannot be connected. Contact your Priority administrator before you continue.
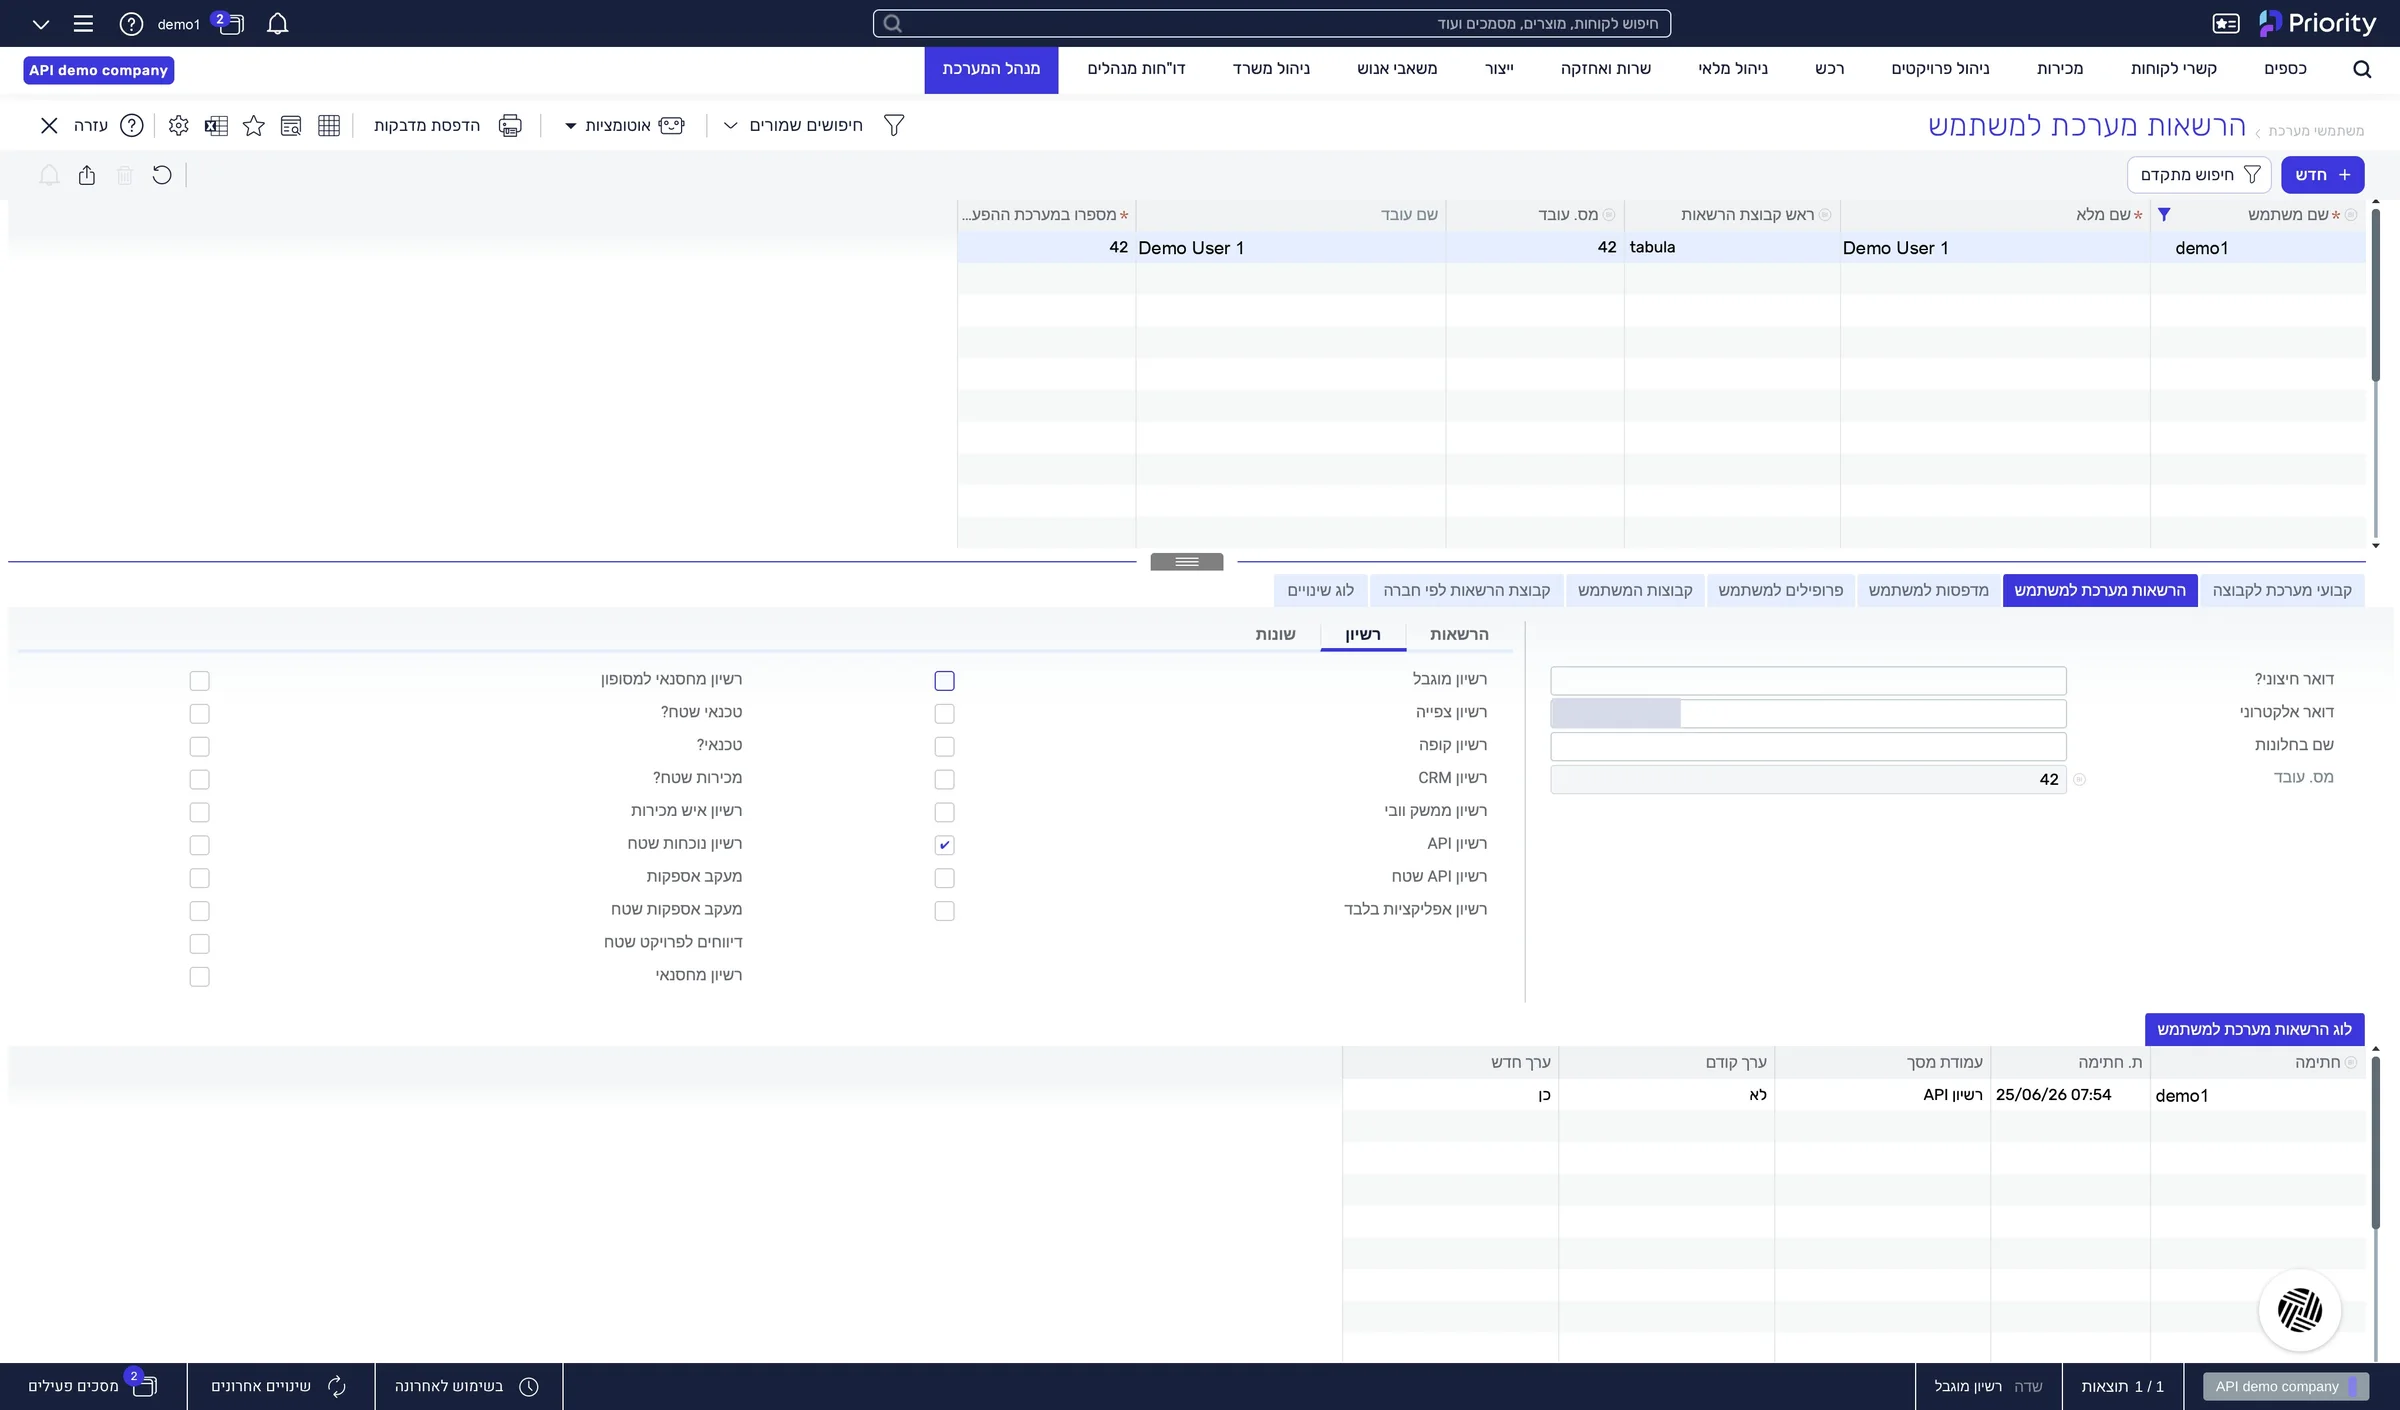
The “API License” box is checked for the user.
One address from Priority, and the three connection values inside it: the server address, the settings file and the company name.
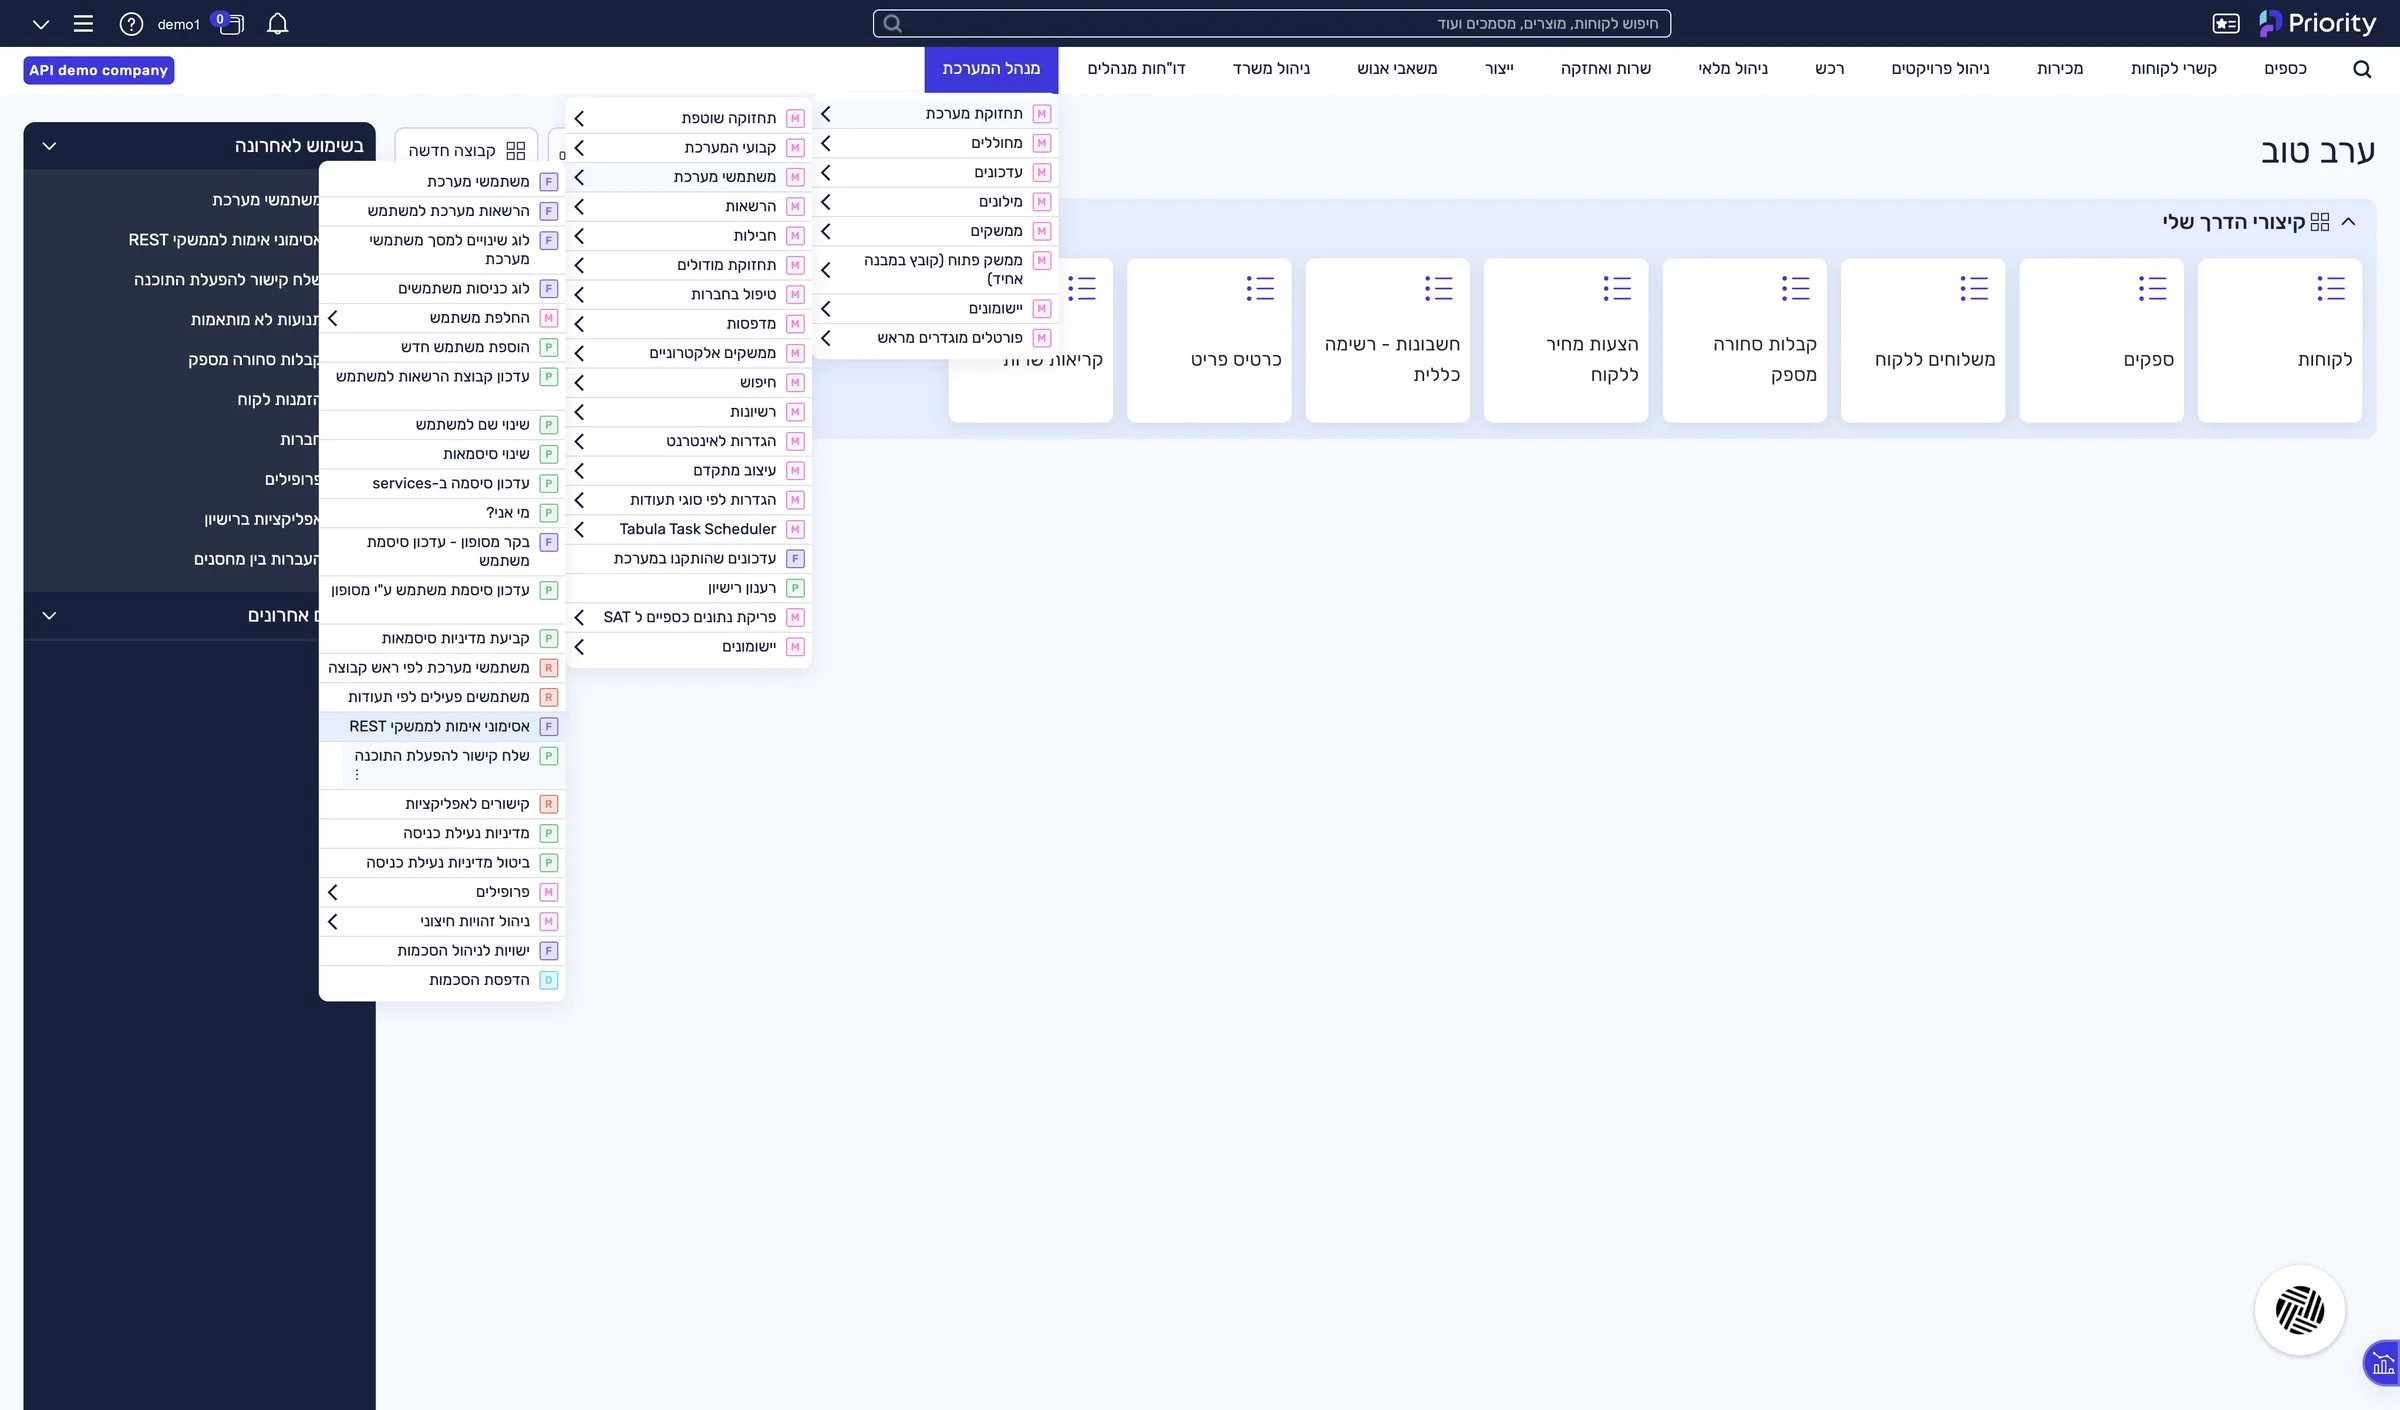
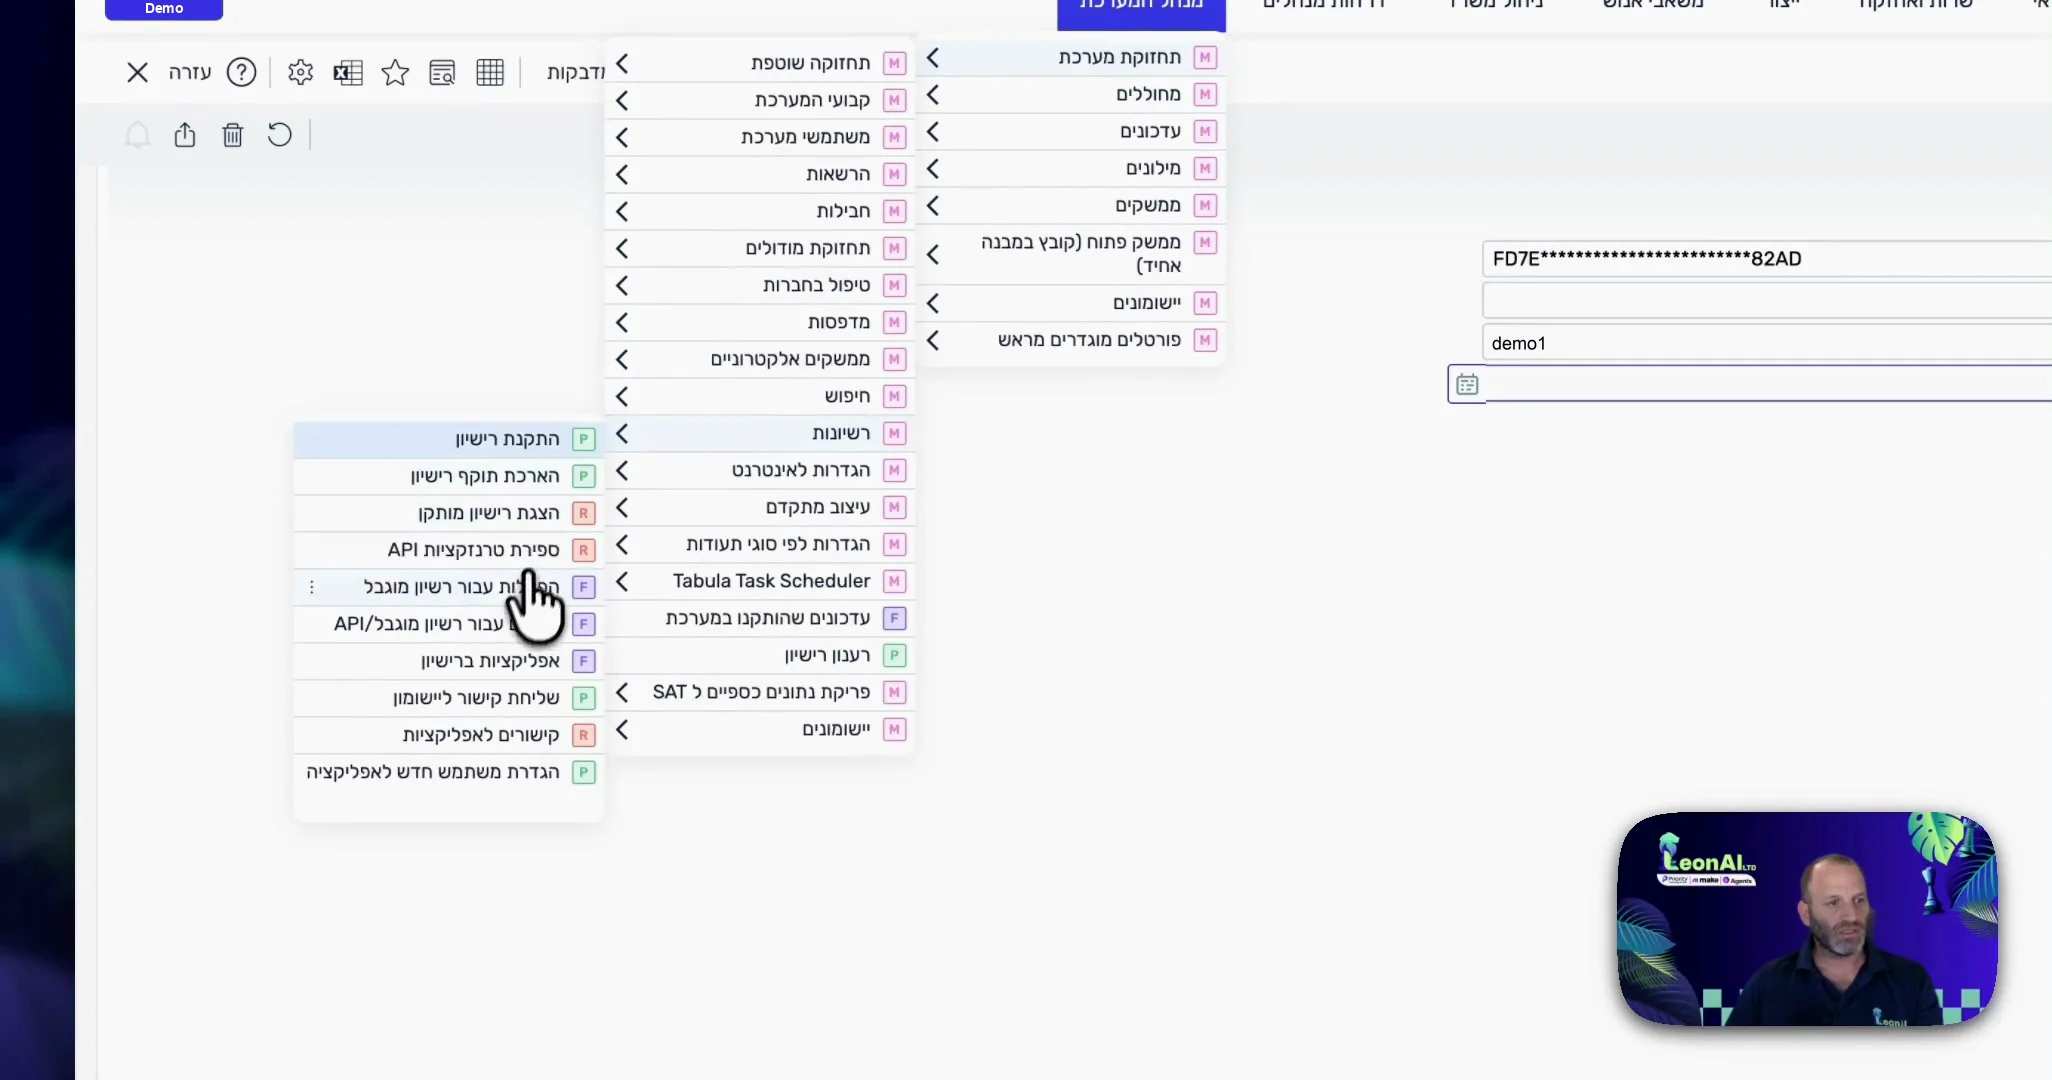
In Priority's top menu, click System Management.
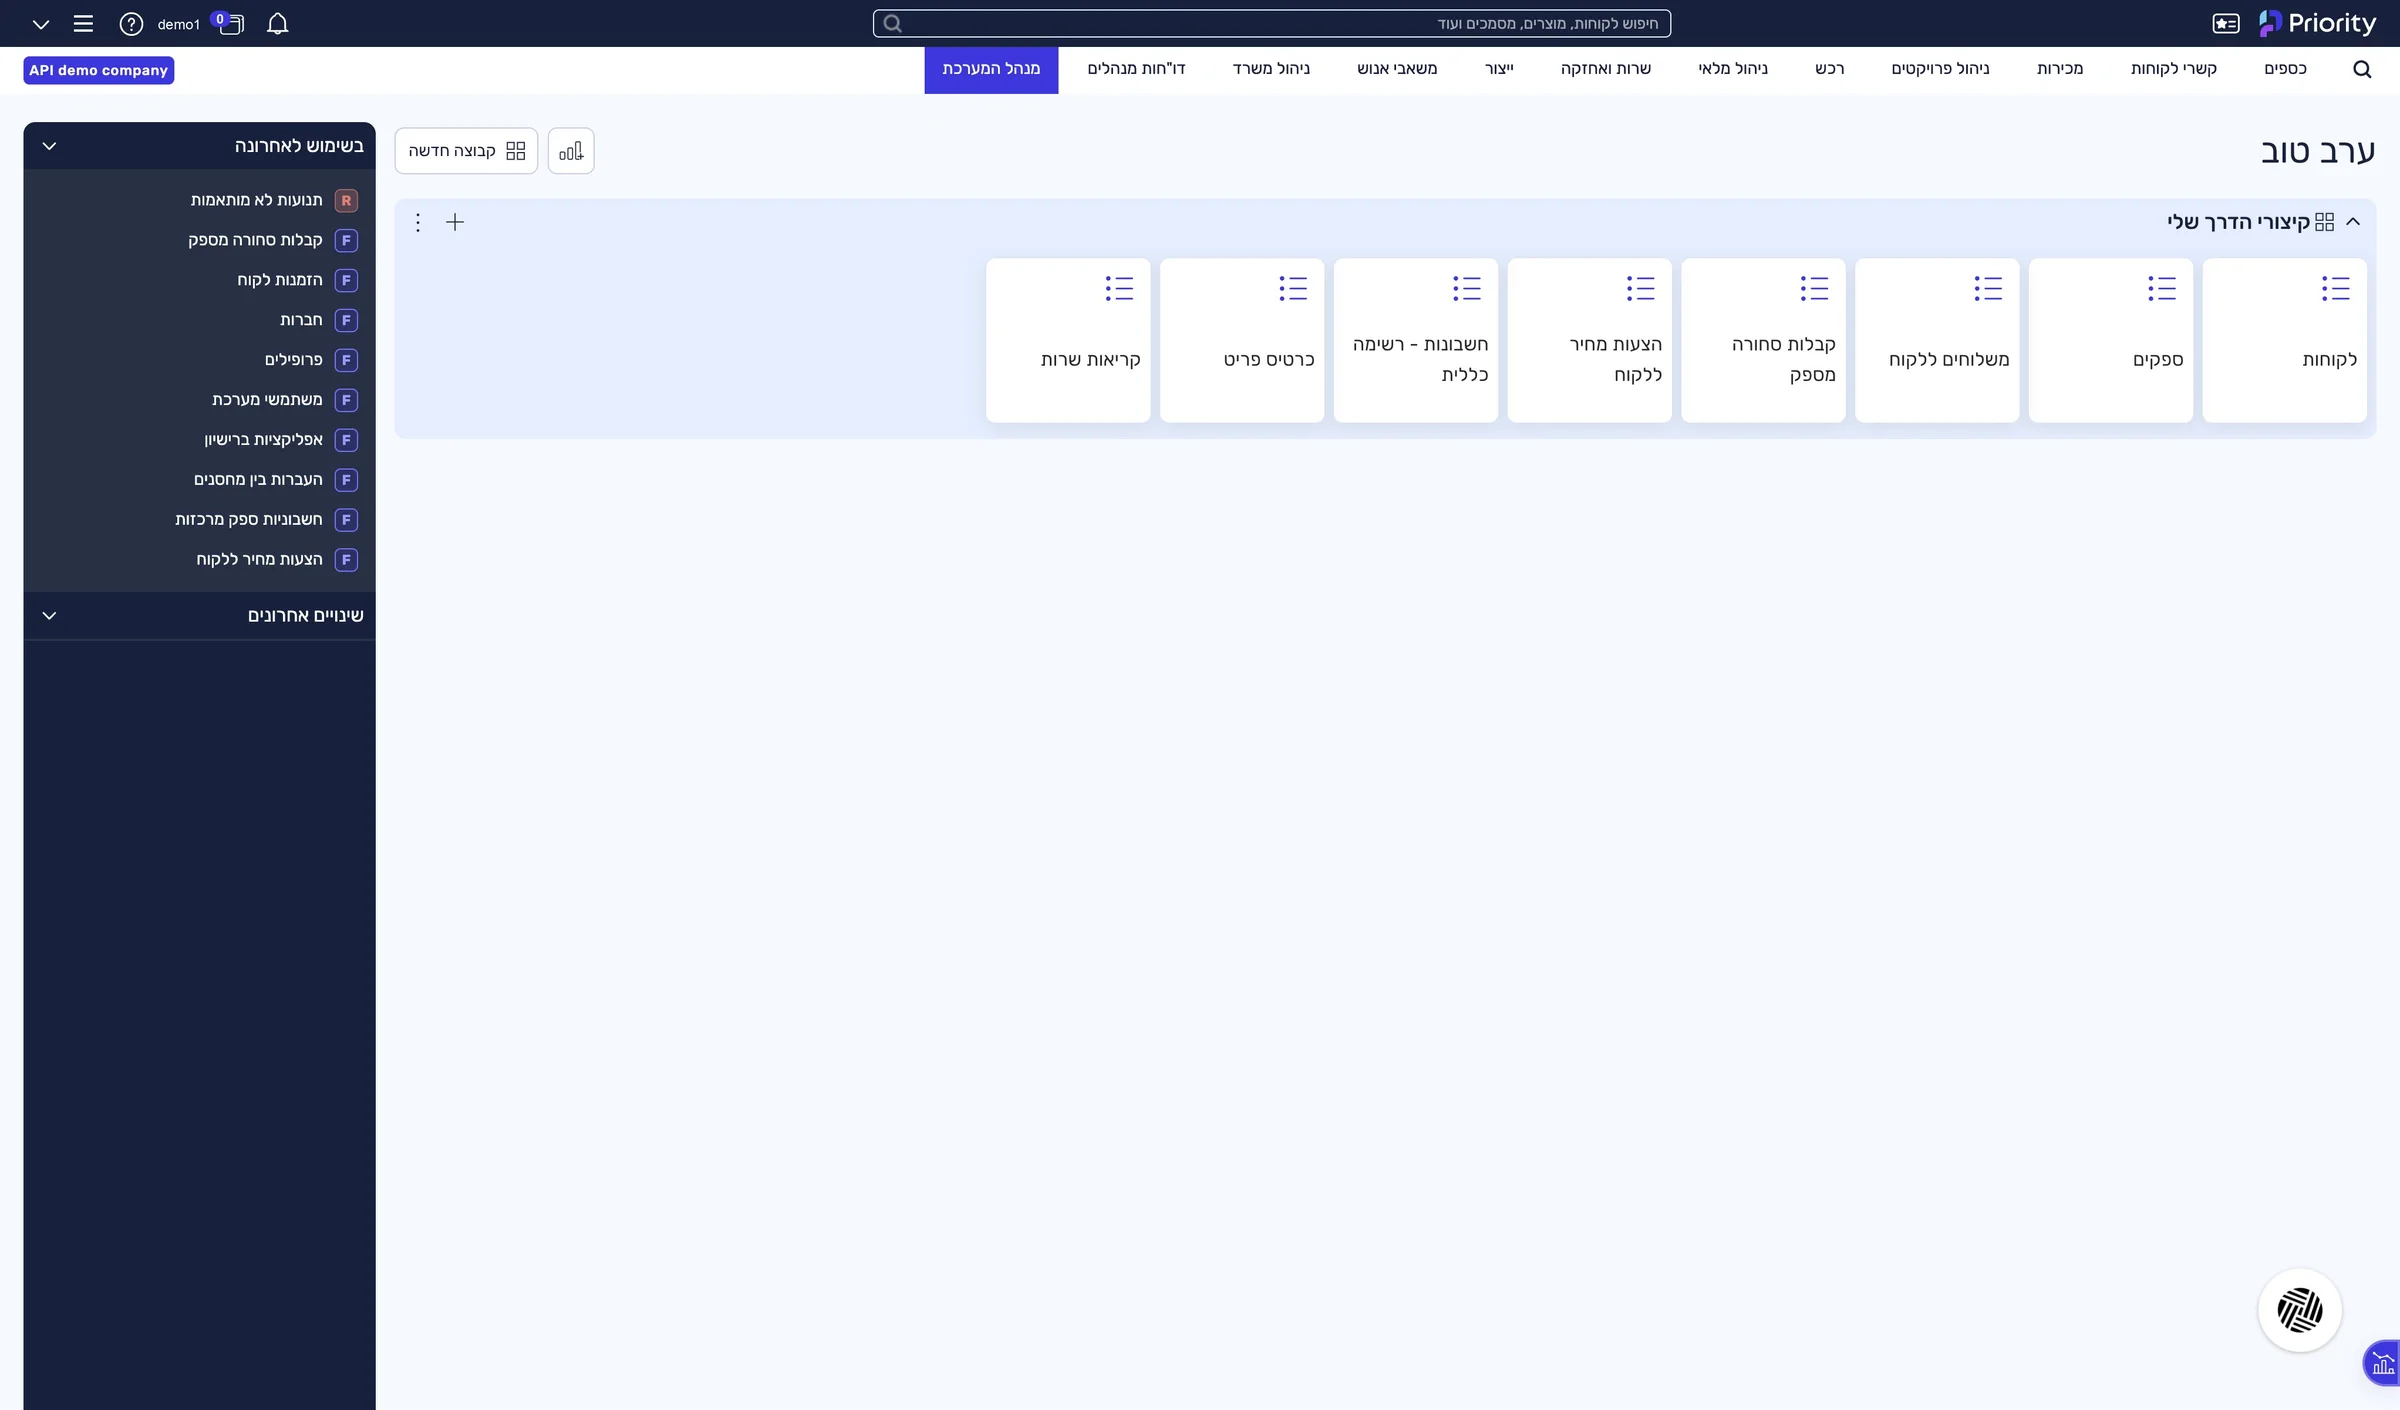
The System Management menu is open.
System Maintenance › Users › Send Link to Activate Software
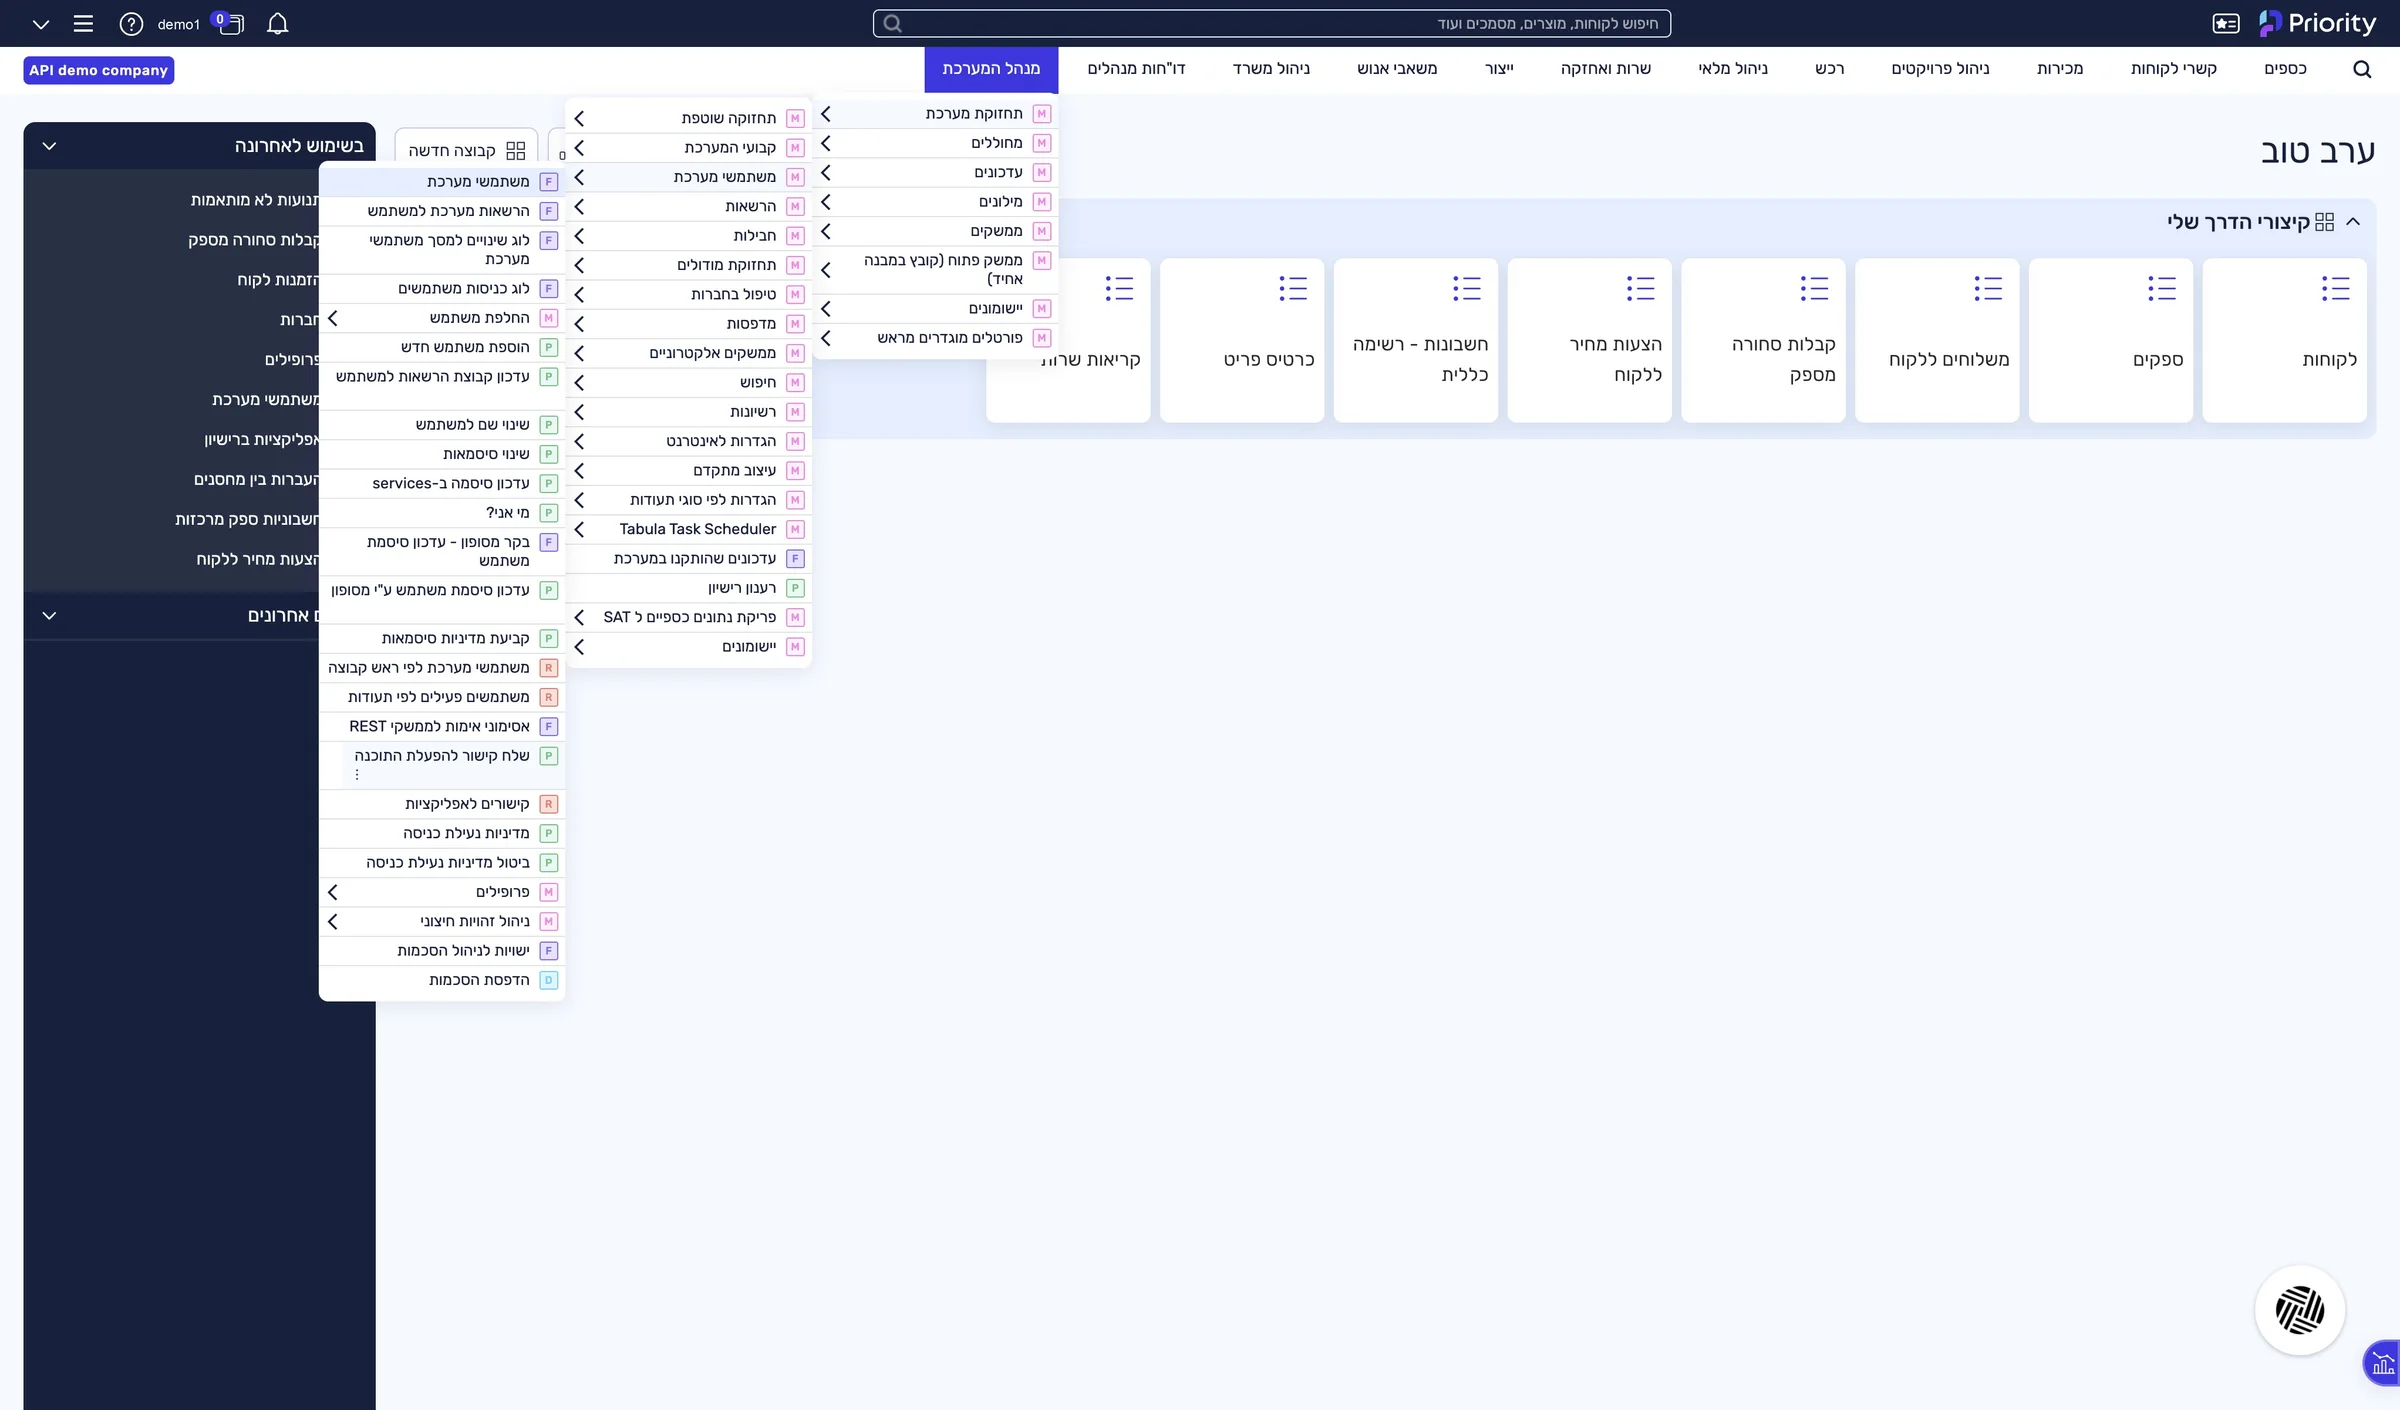
A “Request Type” window opens.
Check API and click OK.
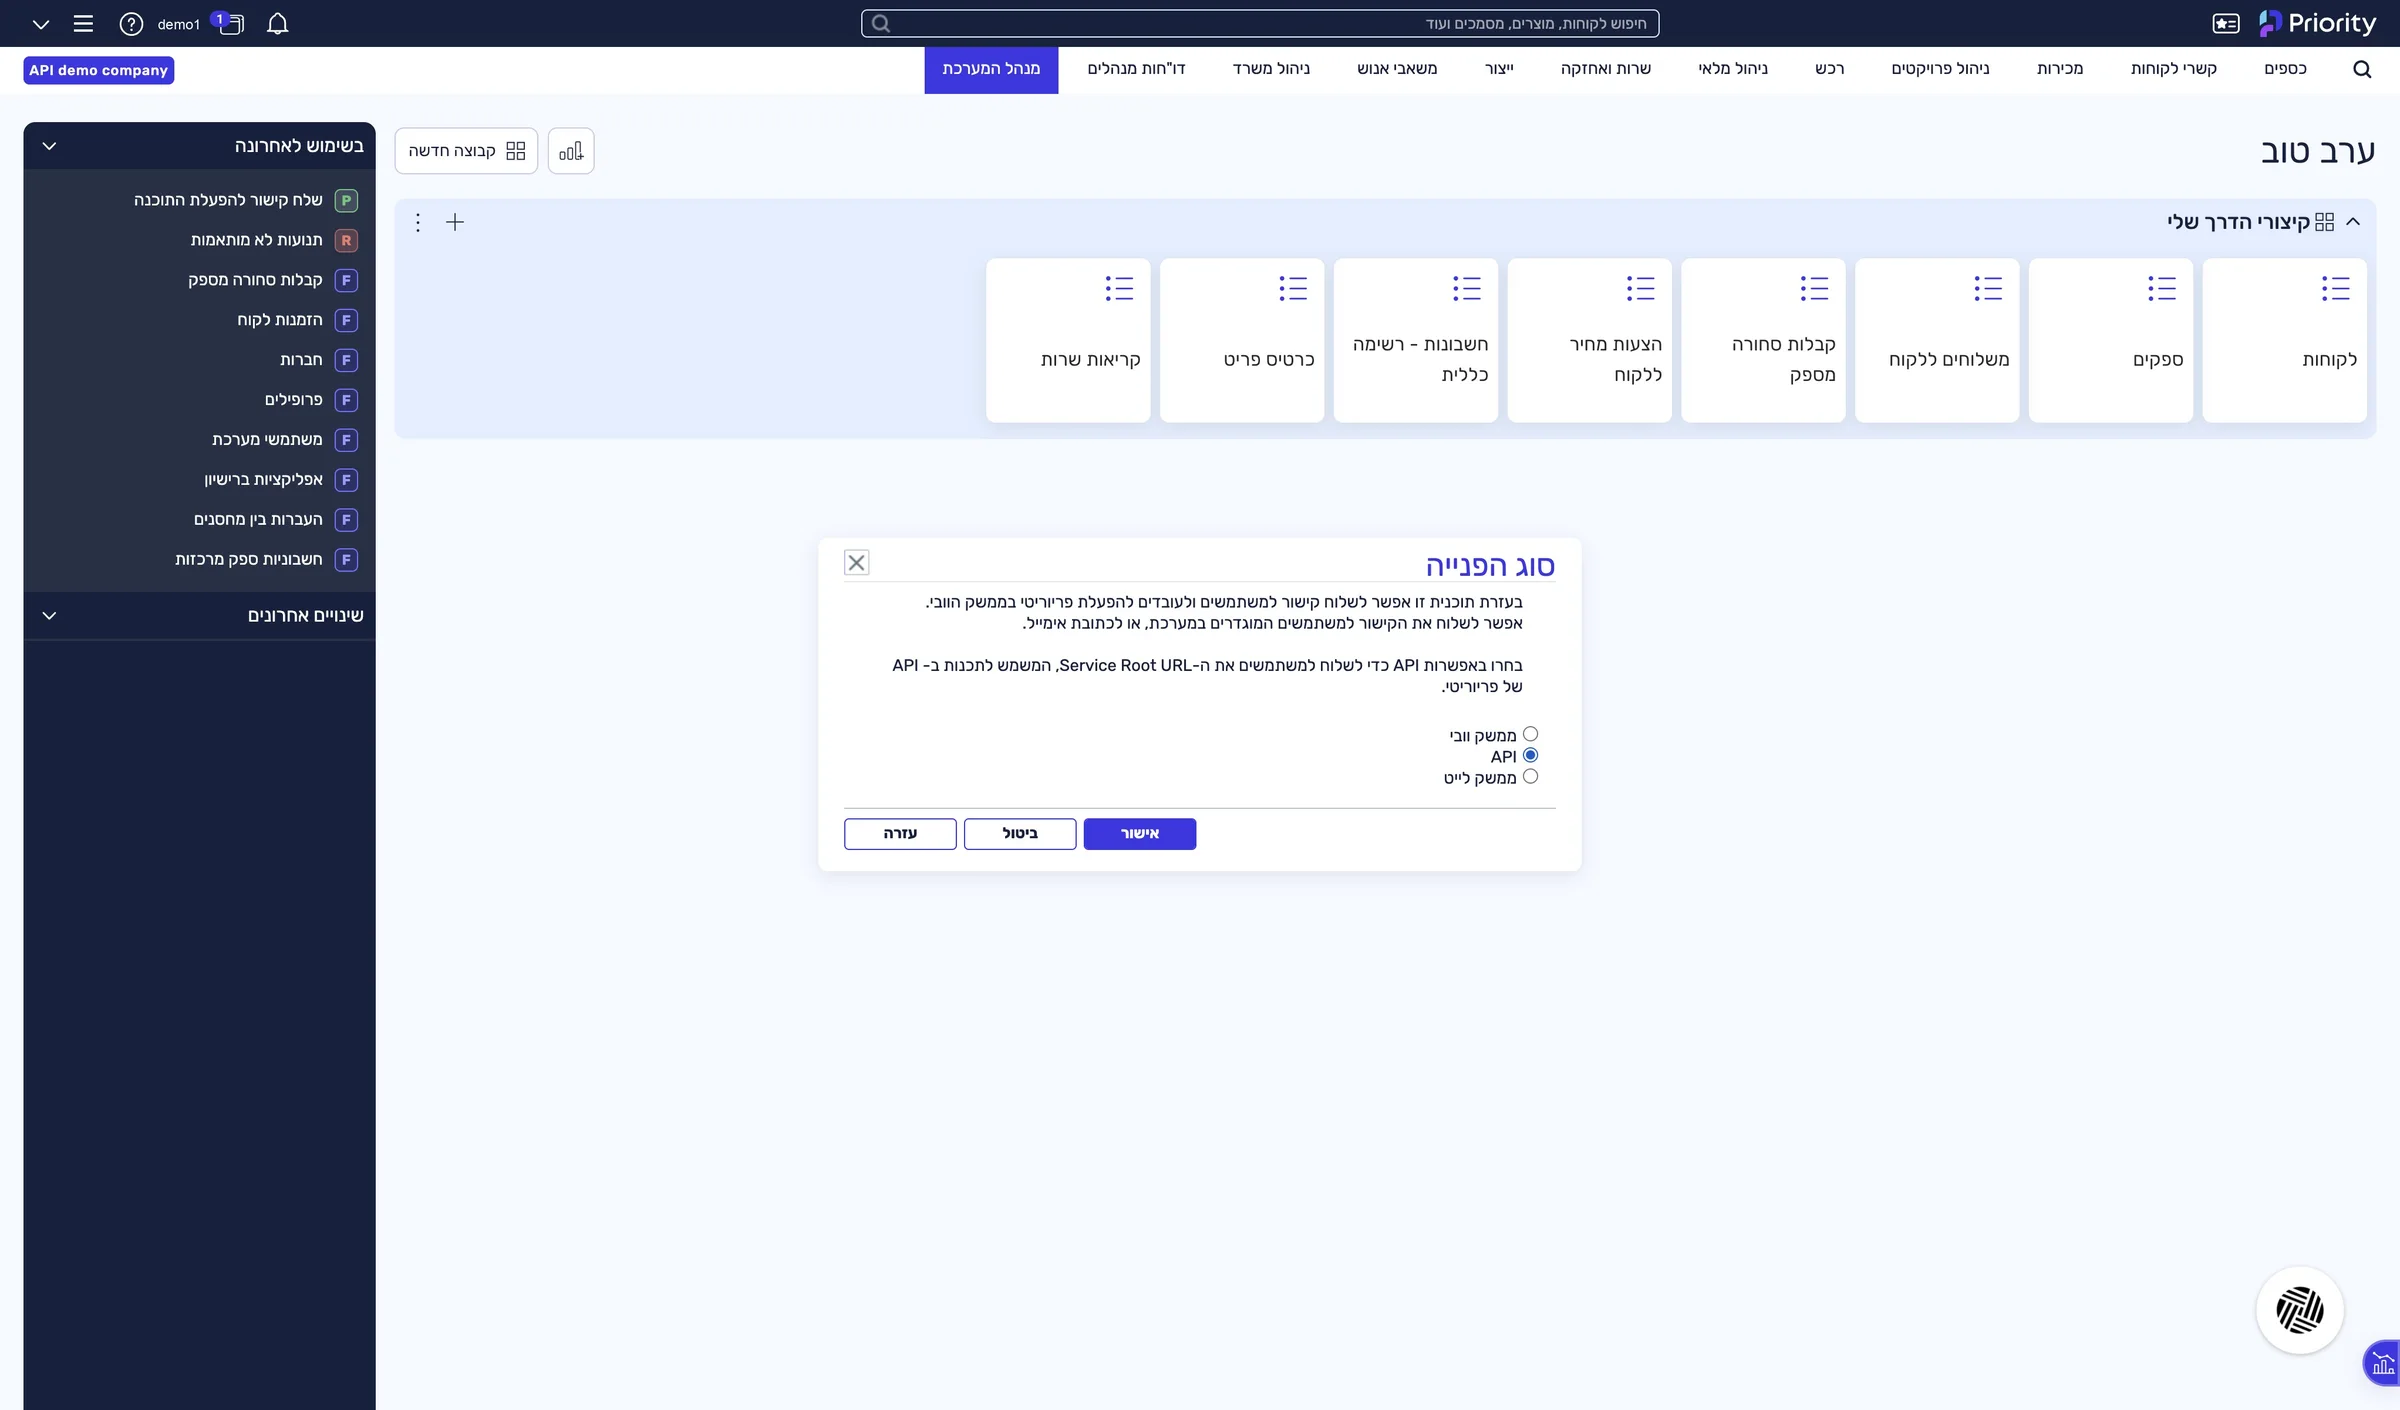
A “Parameter Input” window opens.
Check Display link and click OK.
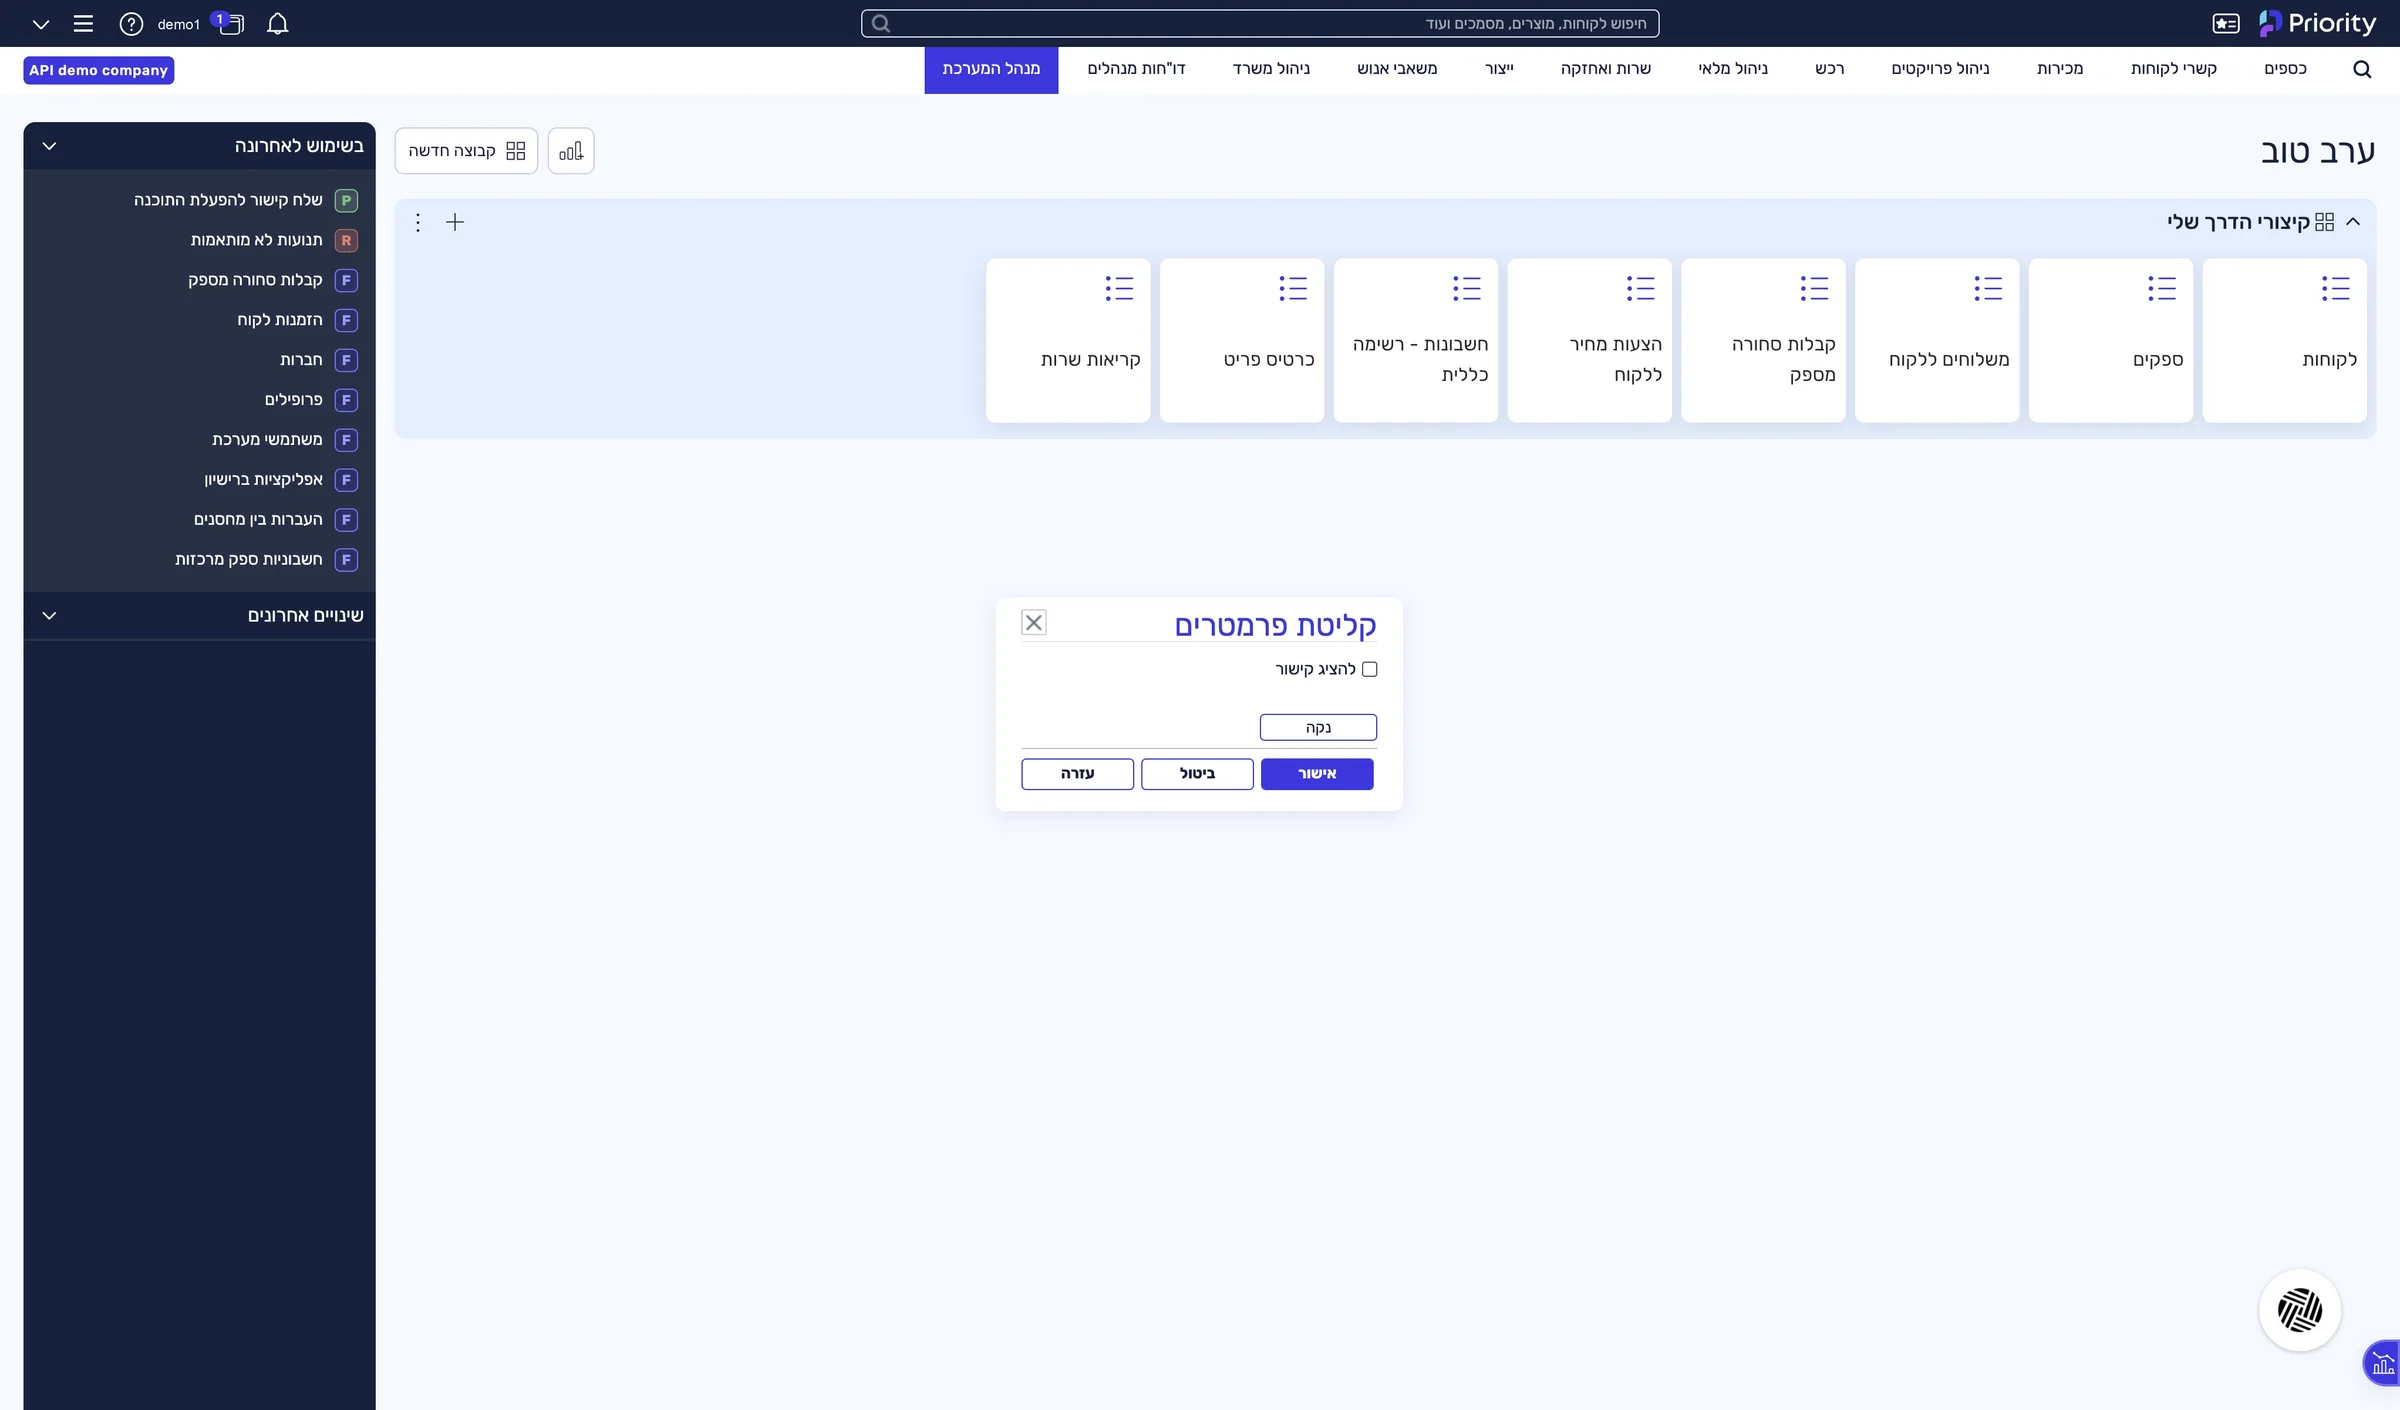
A window with the address opens.
Select the full address and copy it (Ctrl+C).
In the window the address breaks over two lines. Copy it as one piece. Priority also emails it to the system manager, and it is easier to copy from there.
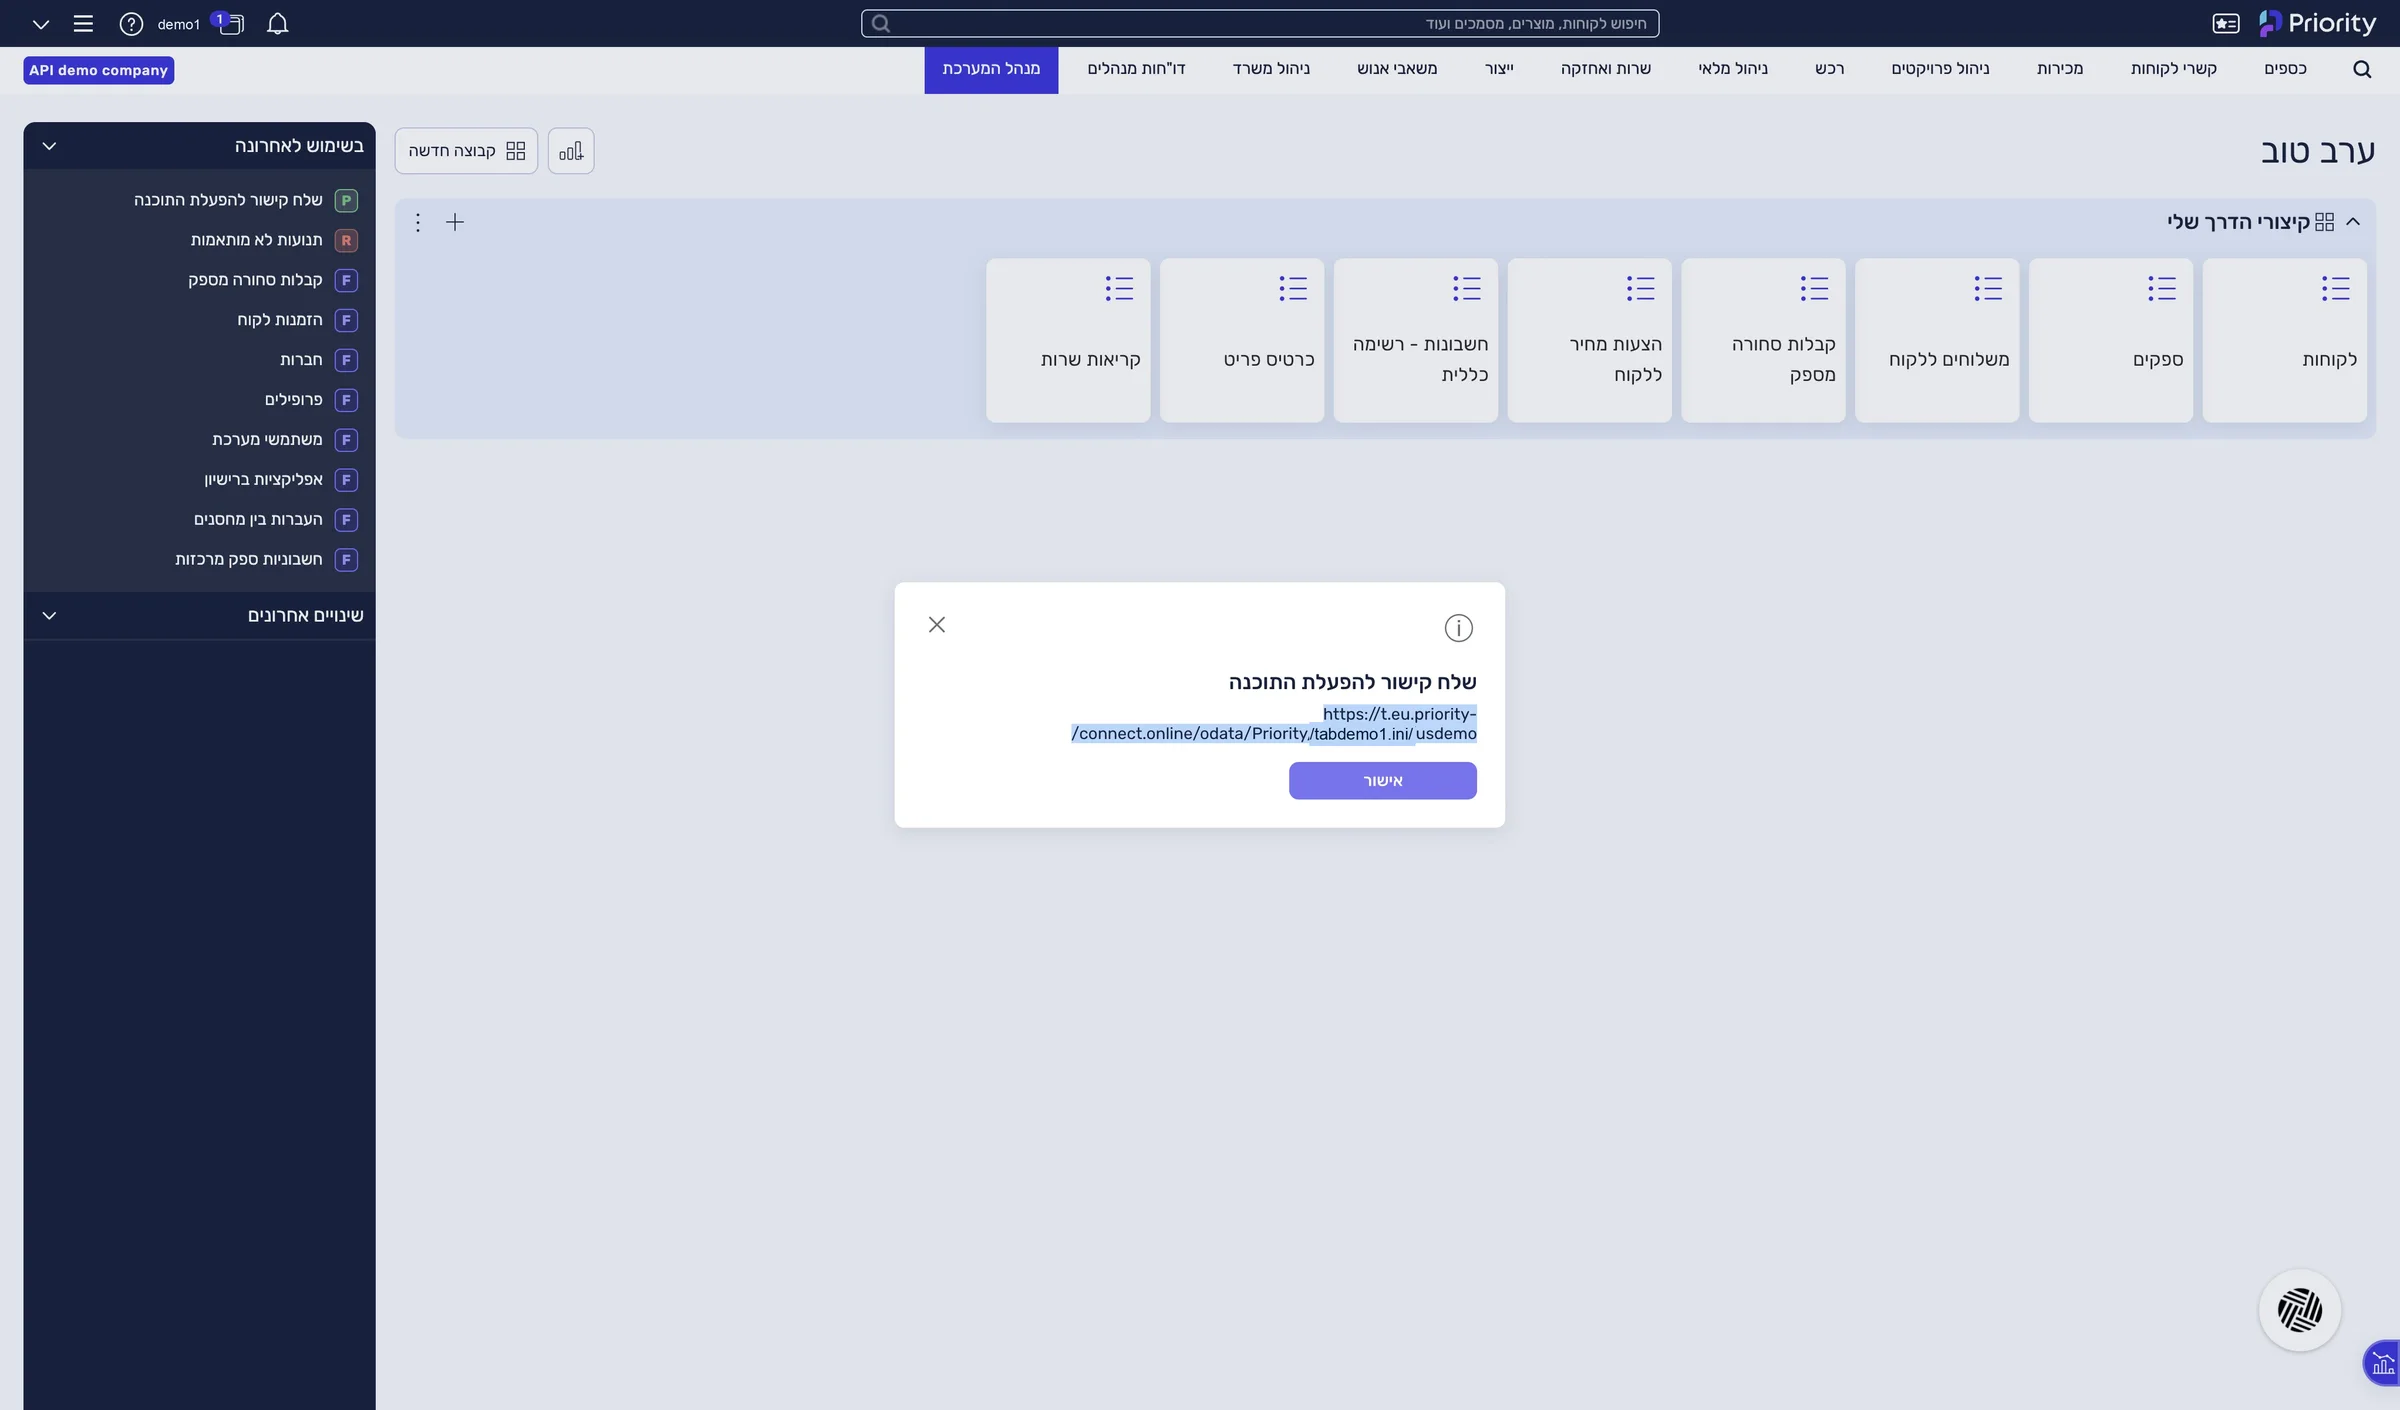
The full address, ending in the company name, is on your clipboard.
The address you copied splits into three values you need for the connection:
https://p.priority-connect.online/odata/Priority/tabdemo1.ini/usdemoPaste your address into the address checker — it splits it for you →
A token that lets LeonAI act in Priority as the user with the API licence.
System Management › System Maintenance › Users › REST Interface Authentication Tokens
The “REST Interface Authentication Tokens” form is open, with the list of existing tokens.
Click + New, and in the new form check the Create Token box.
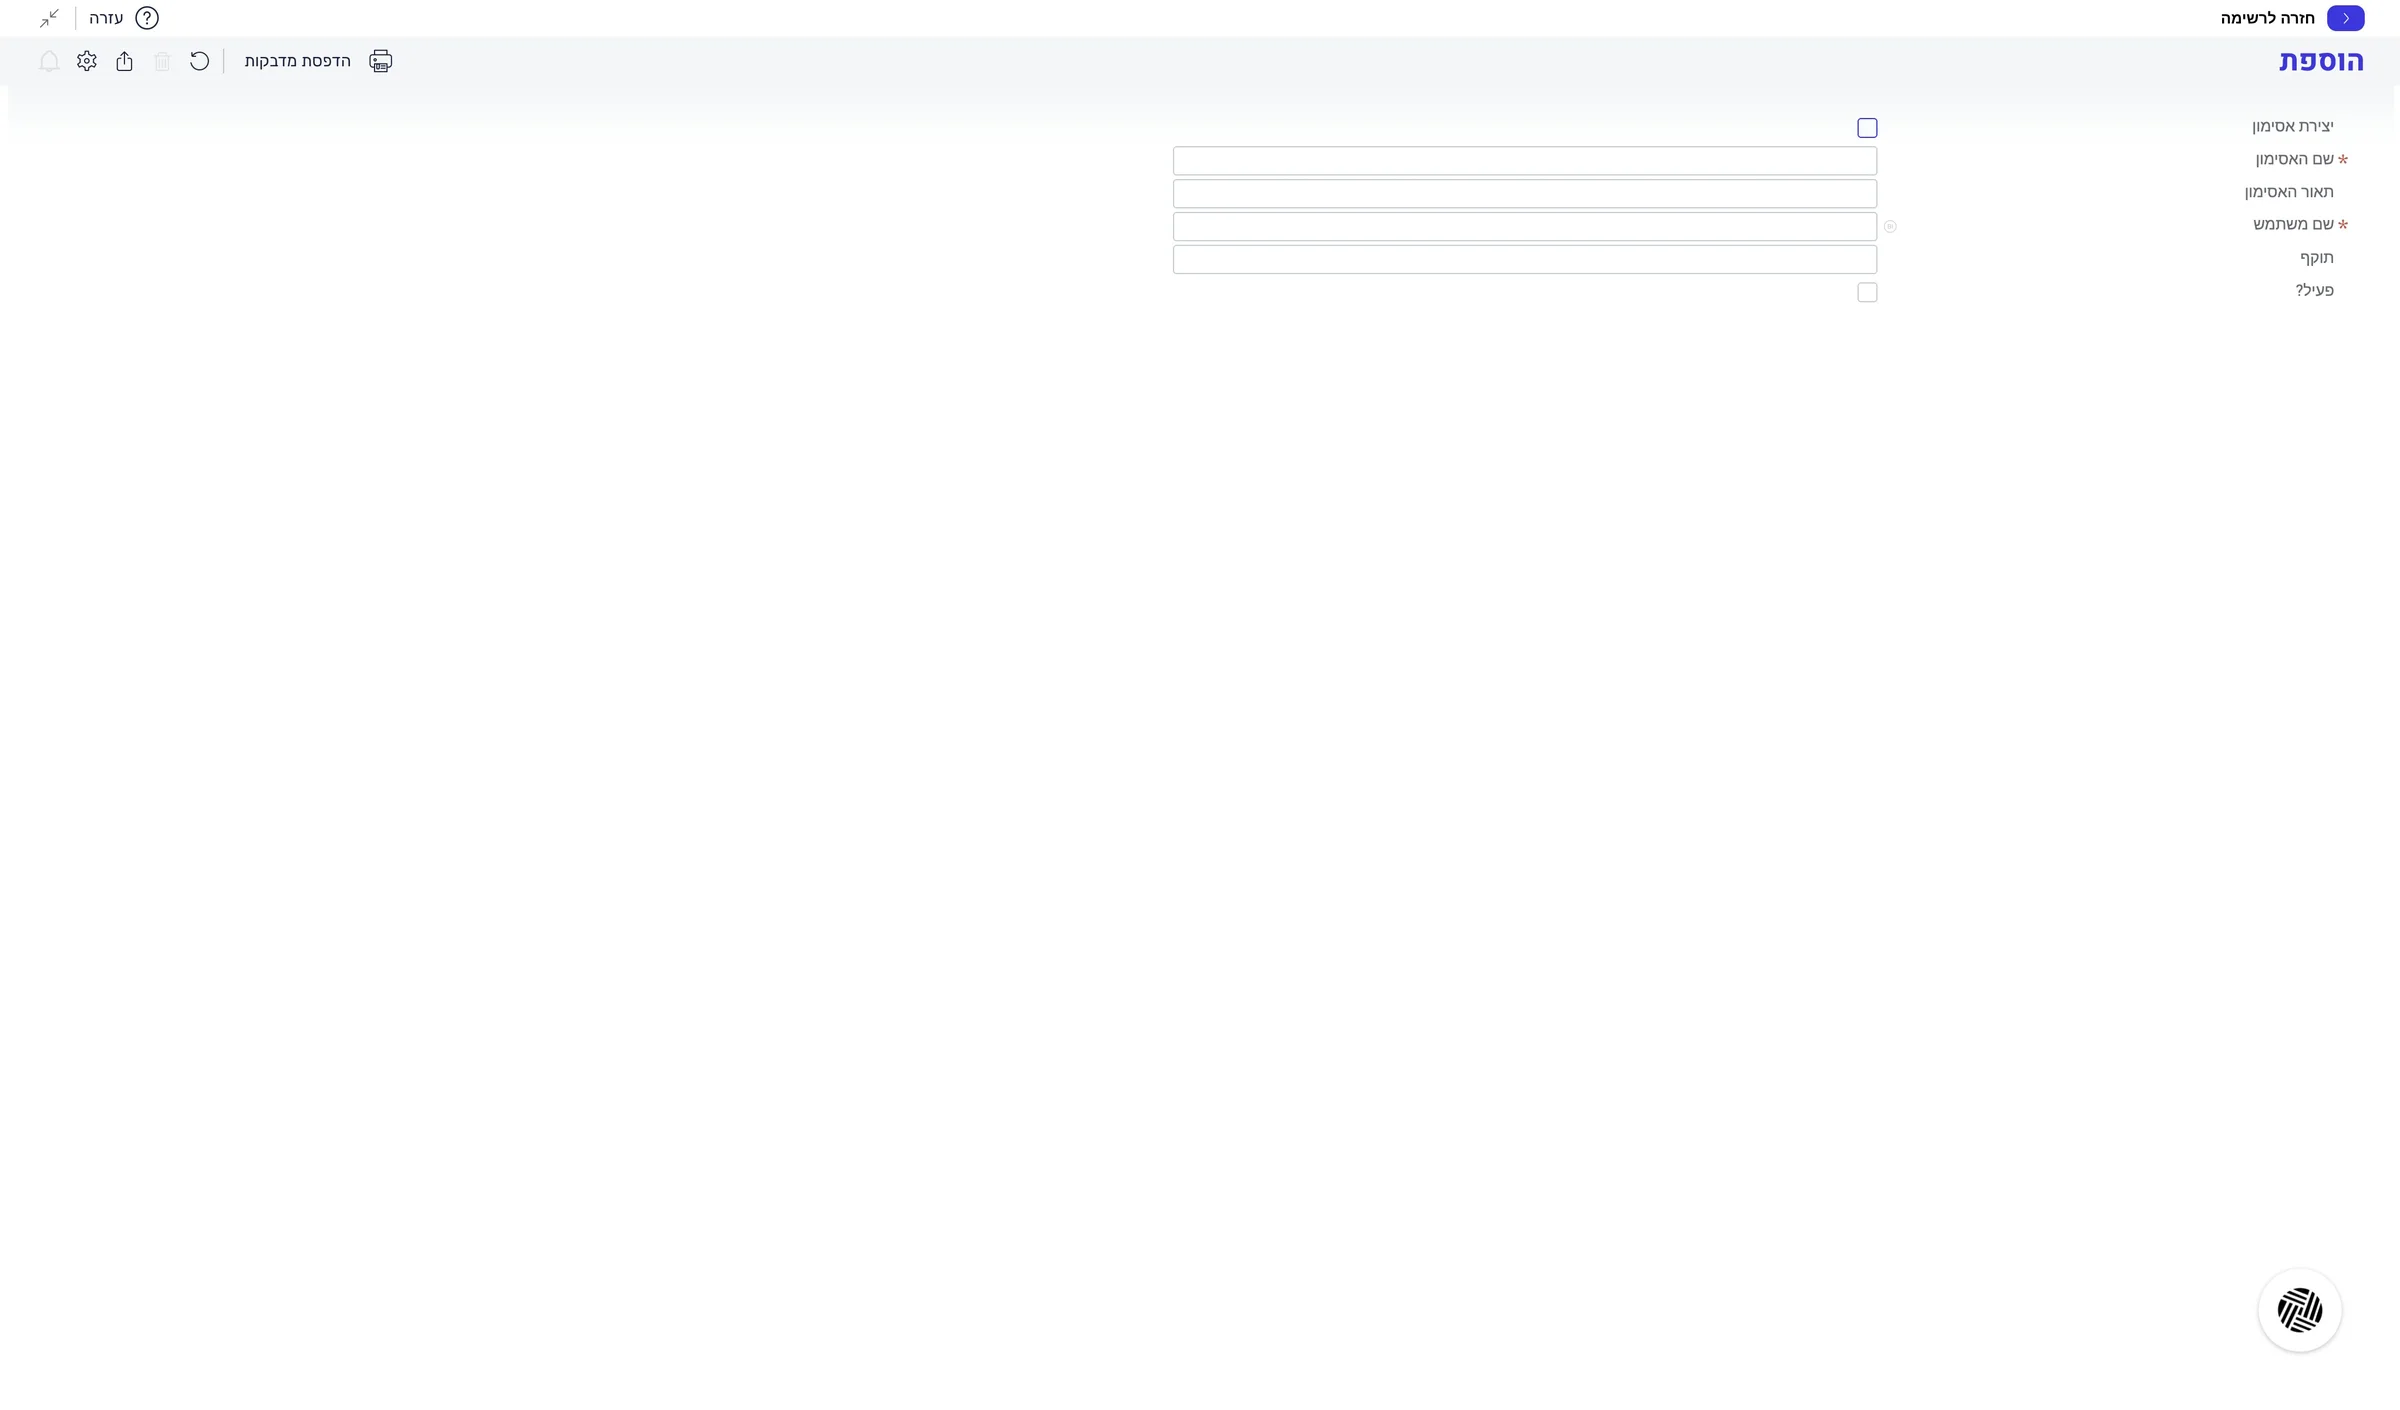
A message about saving the token appears.
In the message You must save the token before leaving the line, click OK.
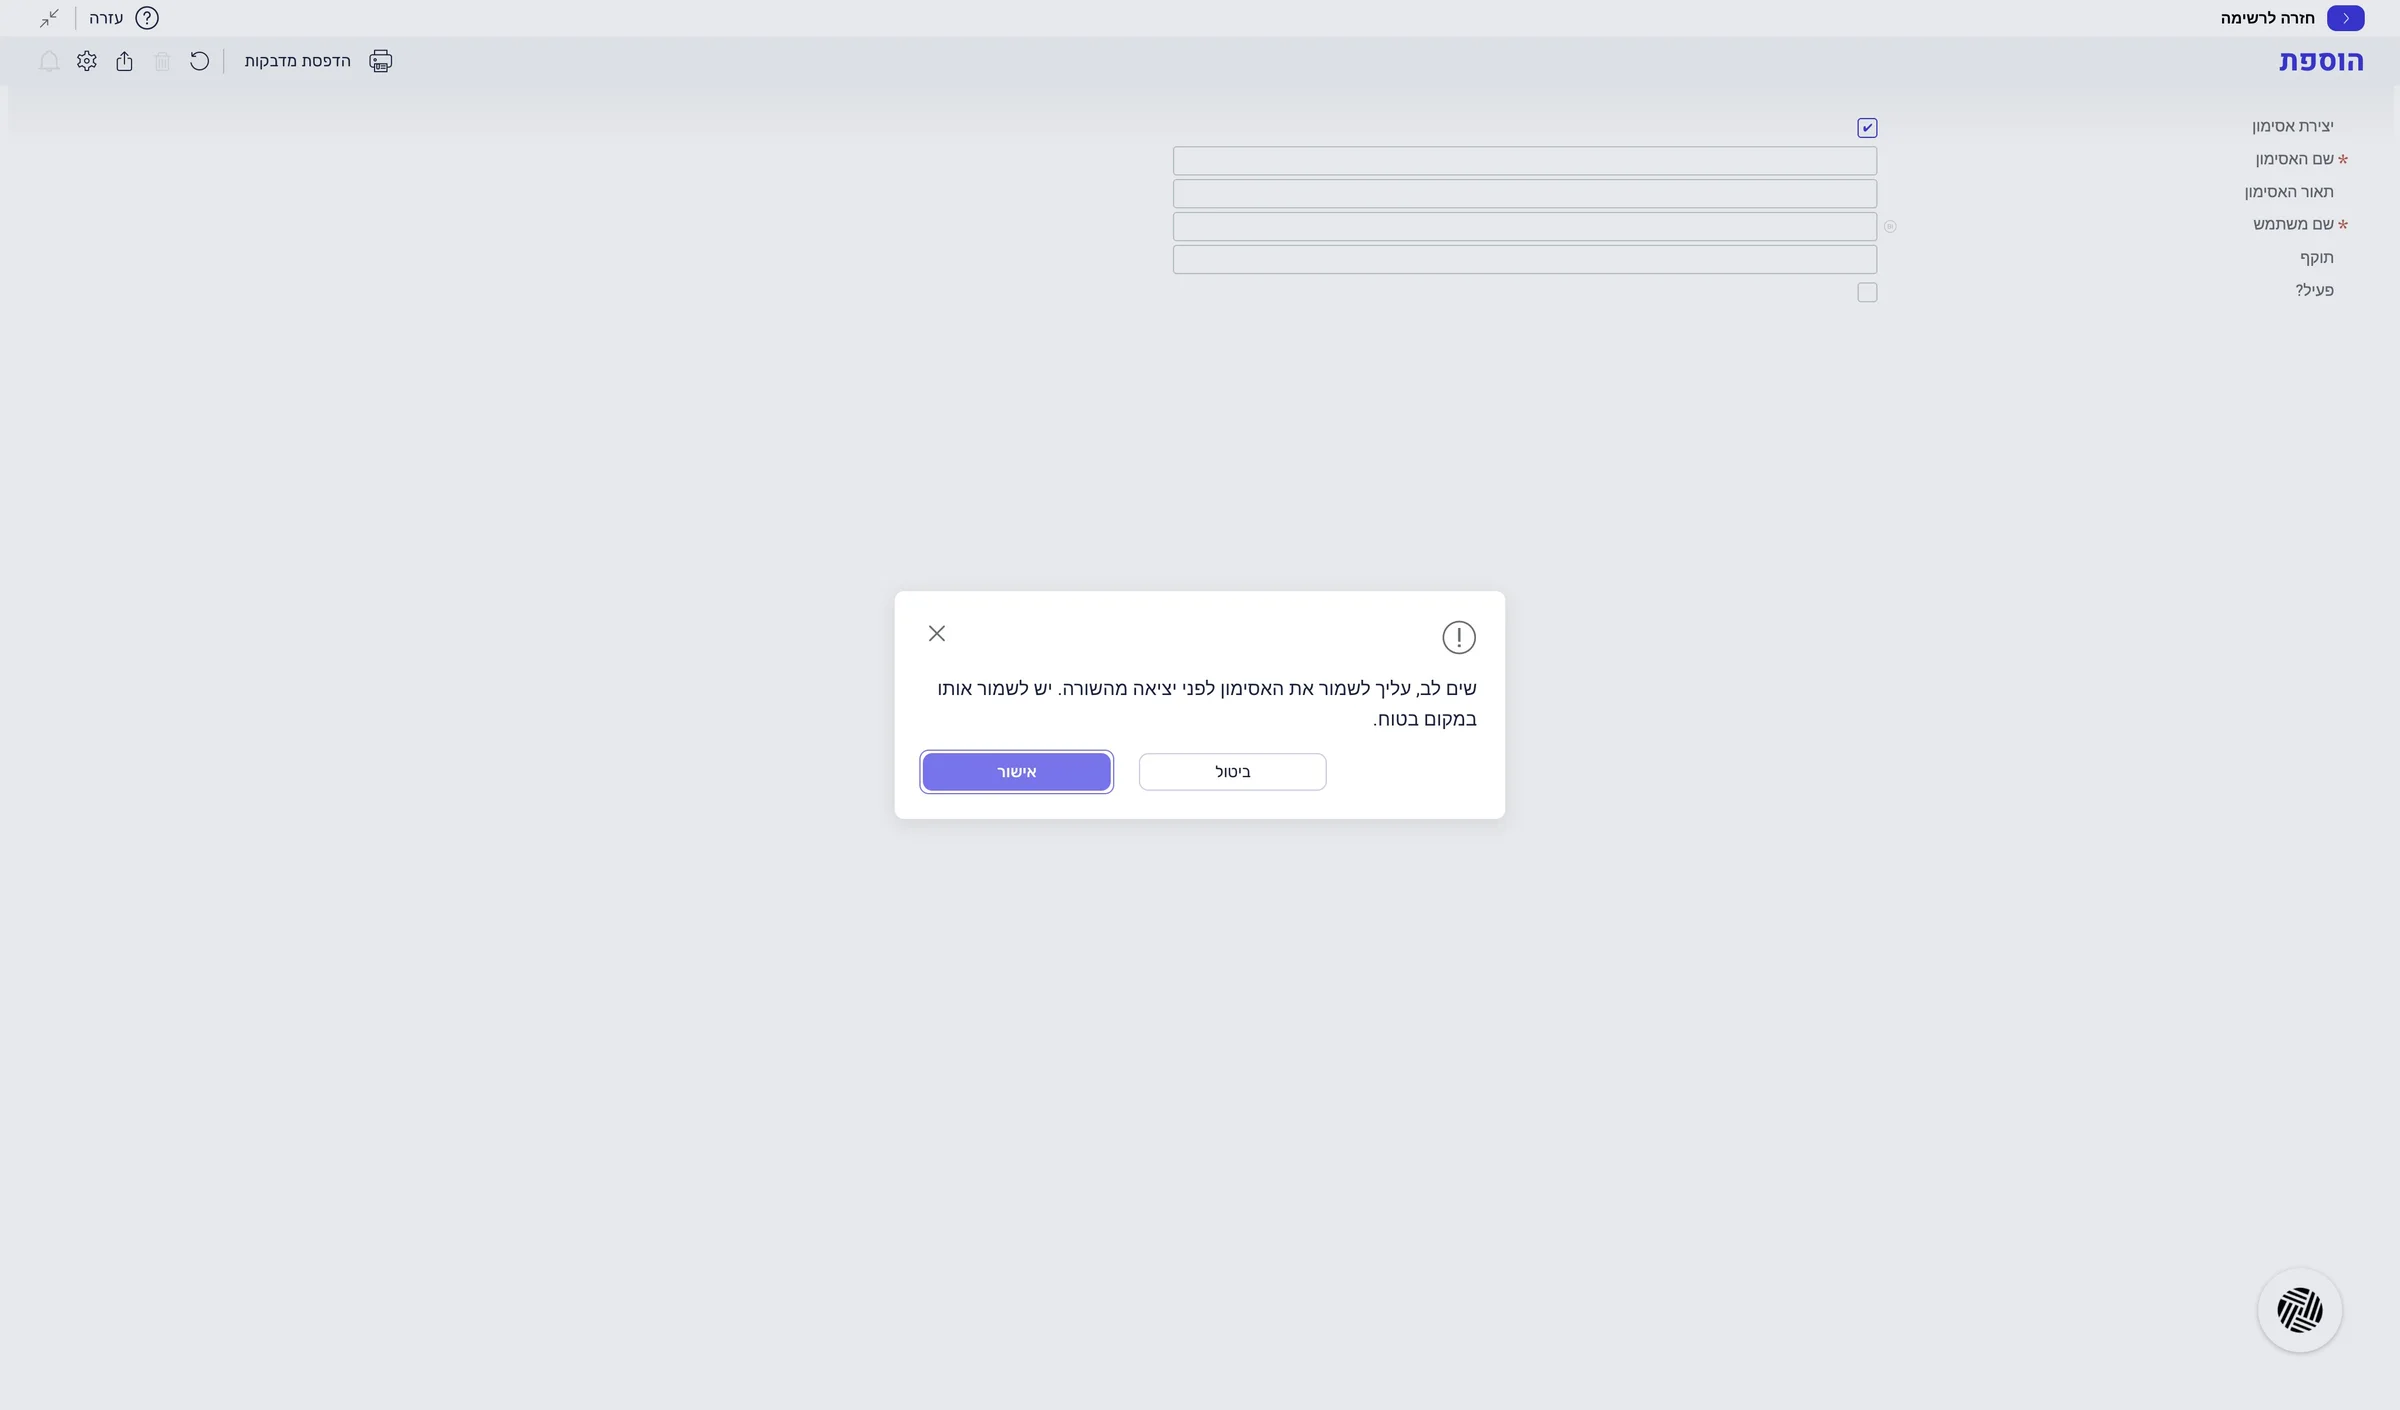
The message closed, and Priority filled in the token name.
Right-click the token in the Token Name field and choose Copy (or Ctrl+C). Keep it somewhere safe.
This is the only moment the full token is shown. Once you leave the line, it is hidden.
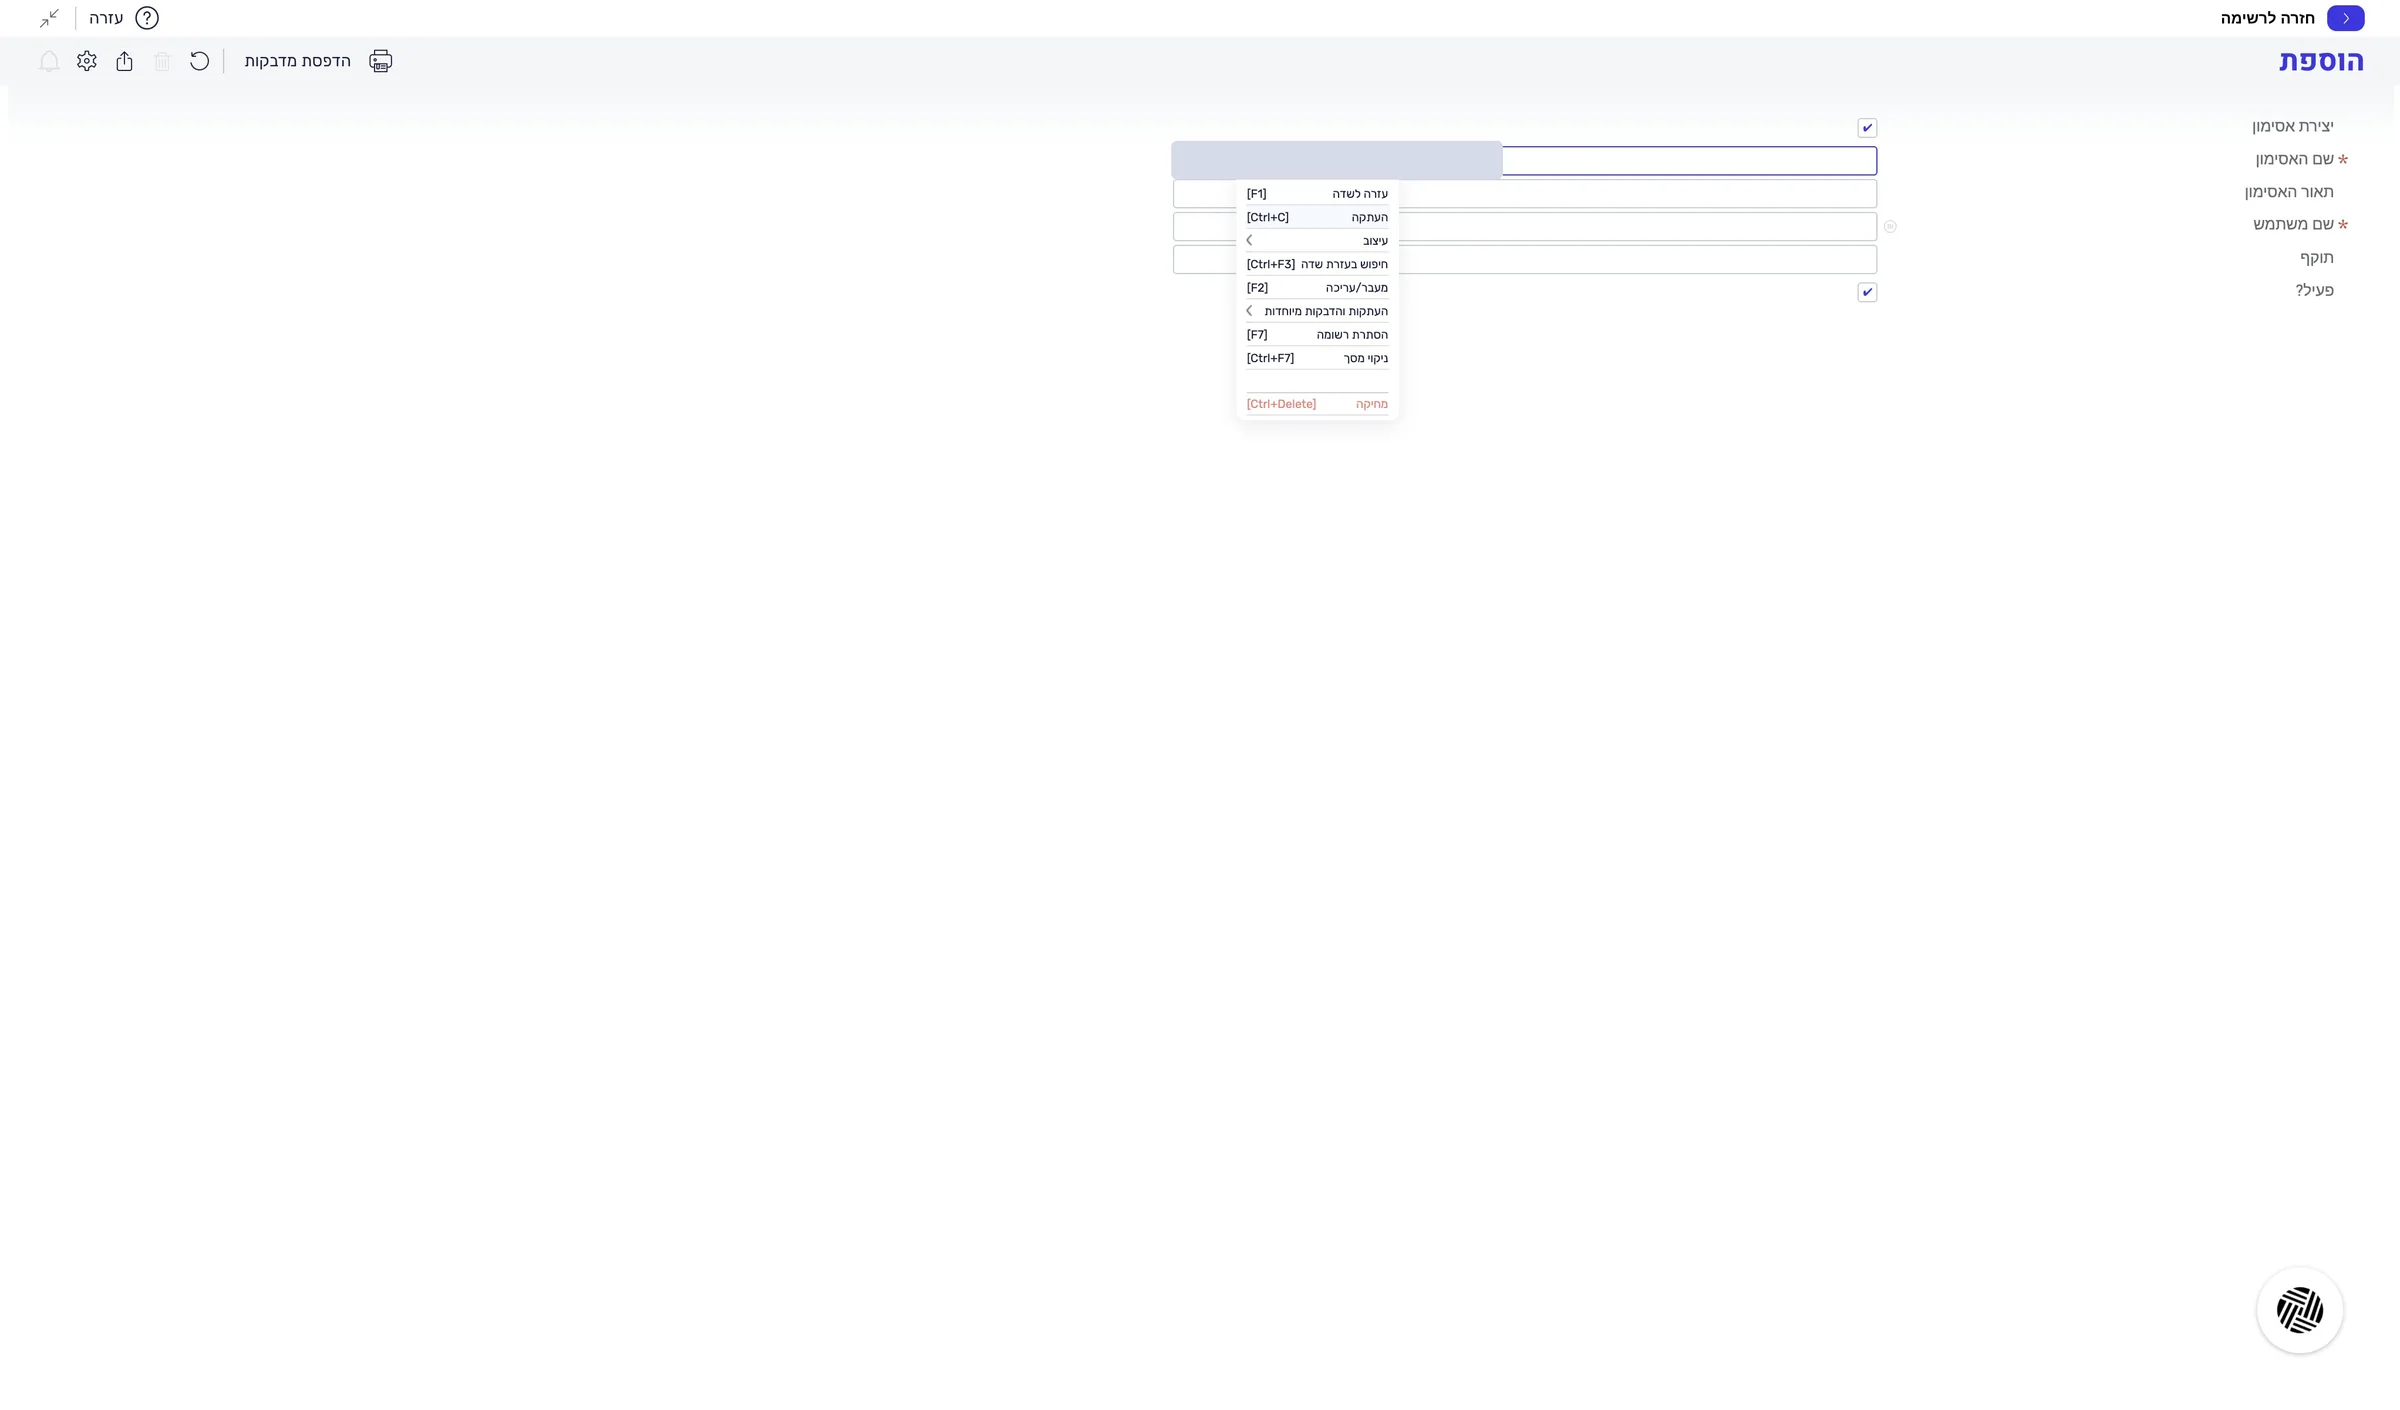
The full token is on your clipboard, and you have not left the line yet.
In the User Name field, choose the user you checked. You can also add a description, for example LeonAI.
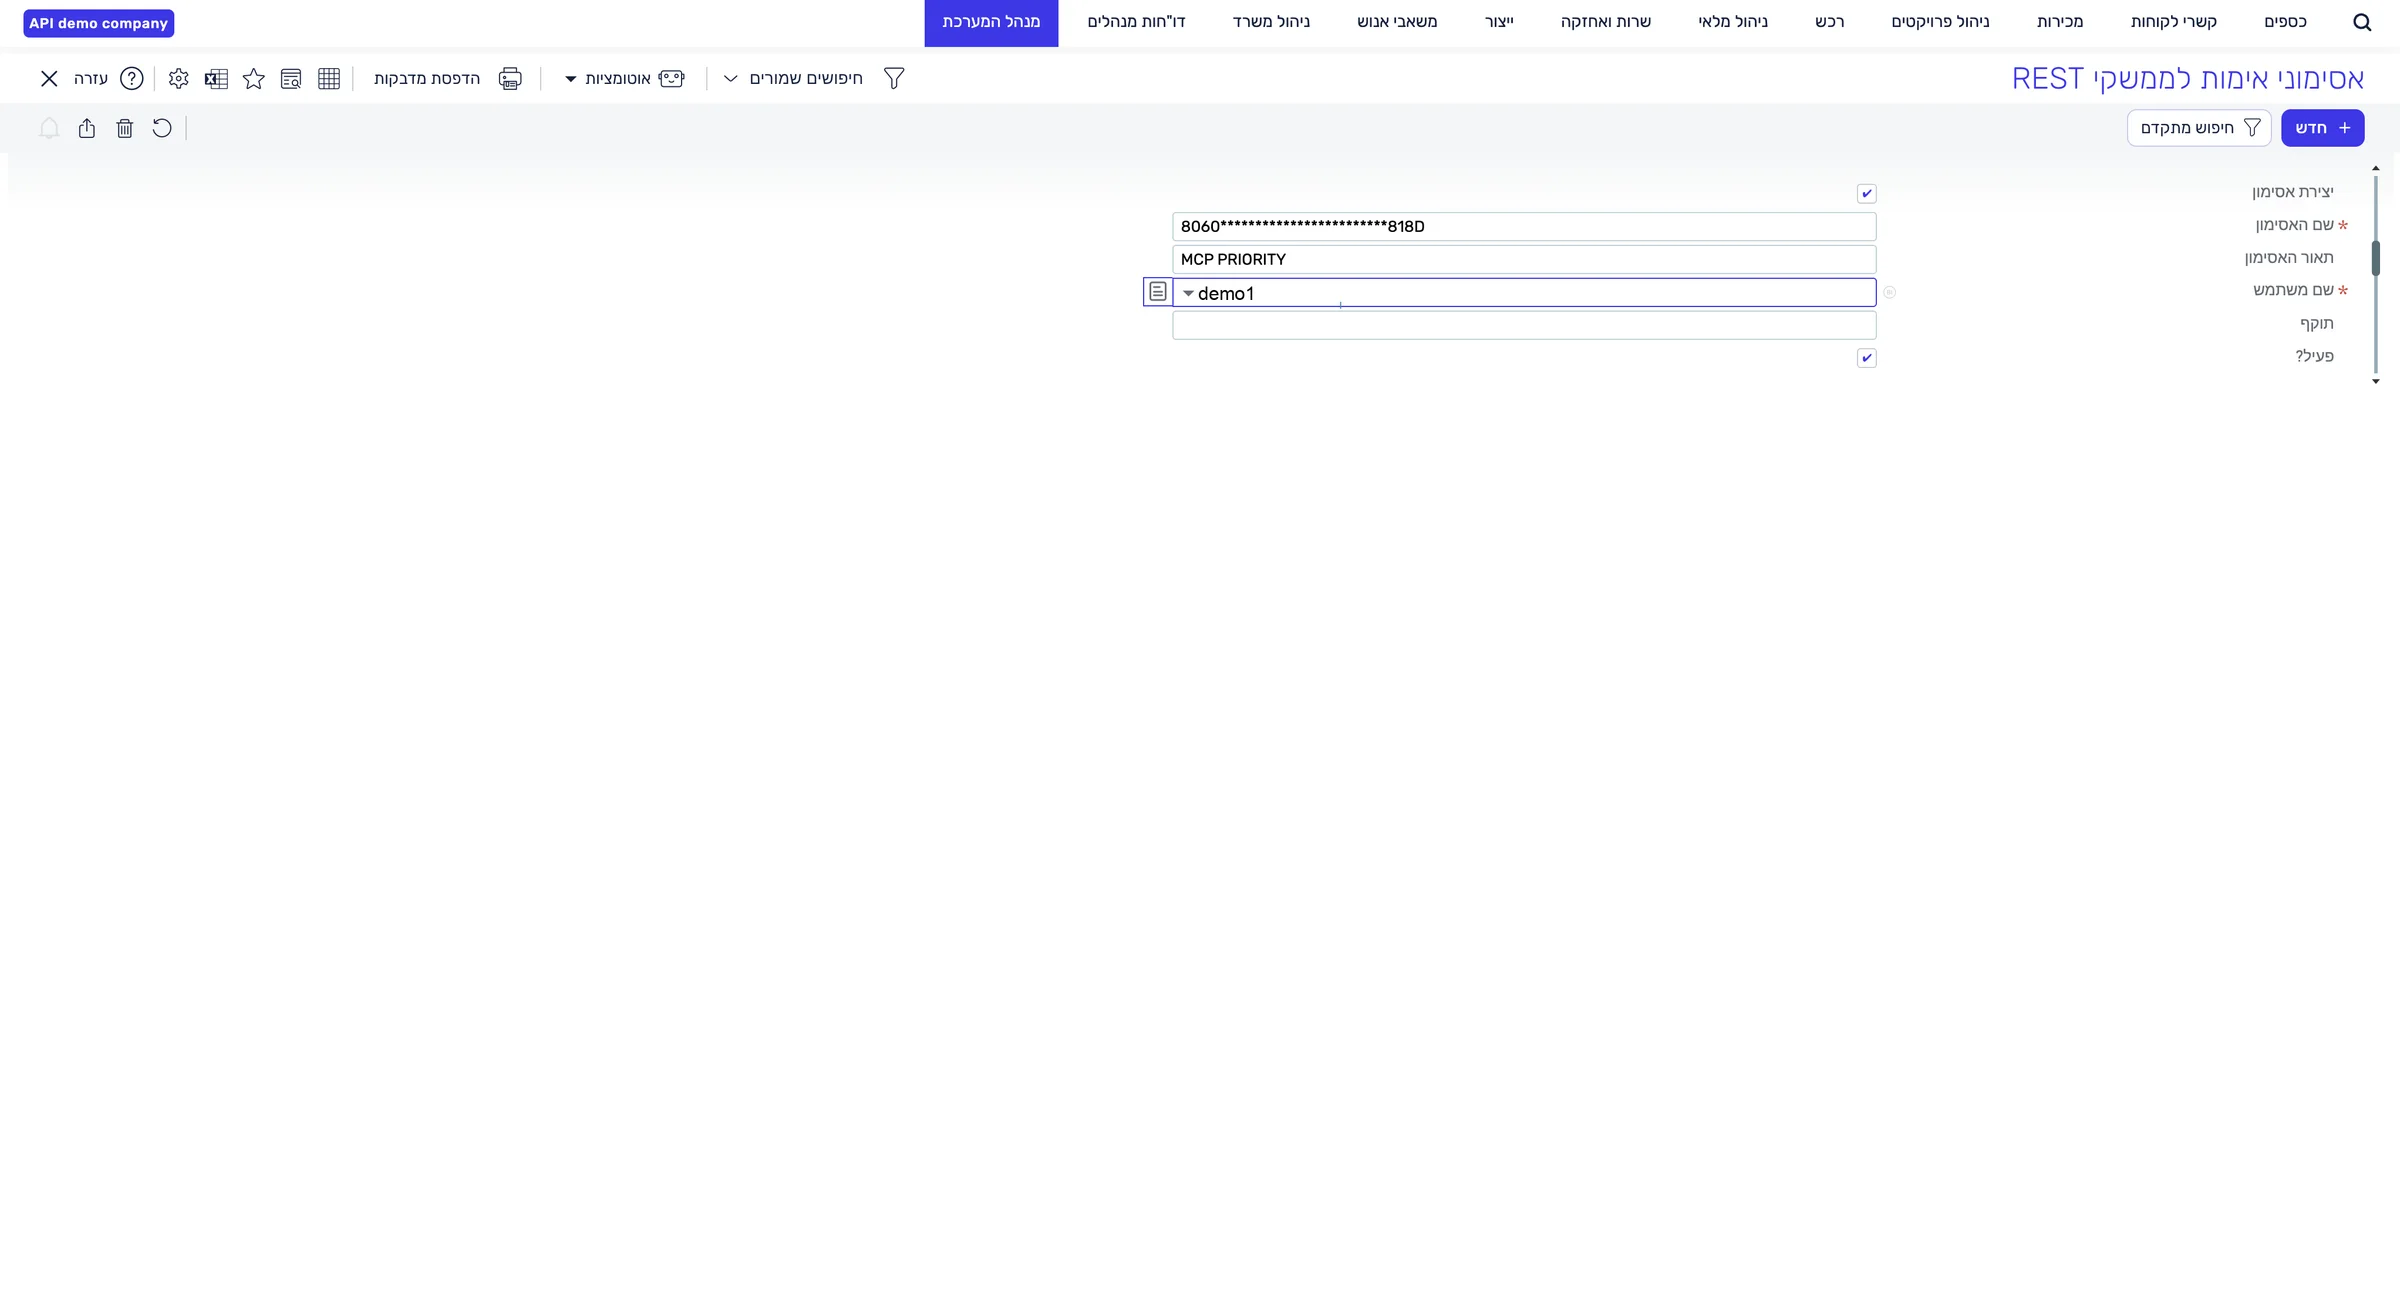
The user with the API licence is selected in the User Name field.
Make sure the Active? box is checked and click Back to list.
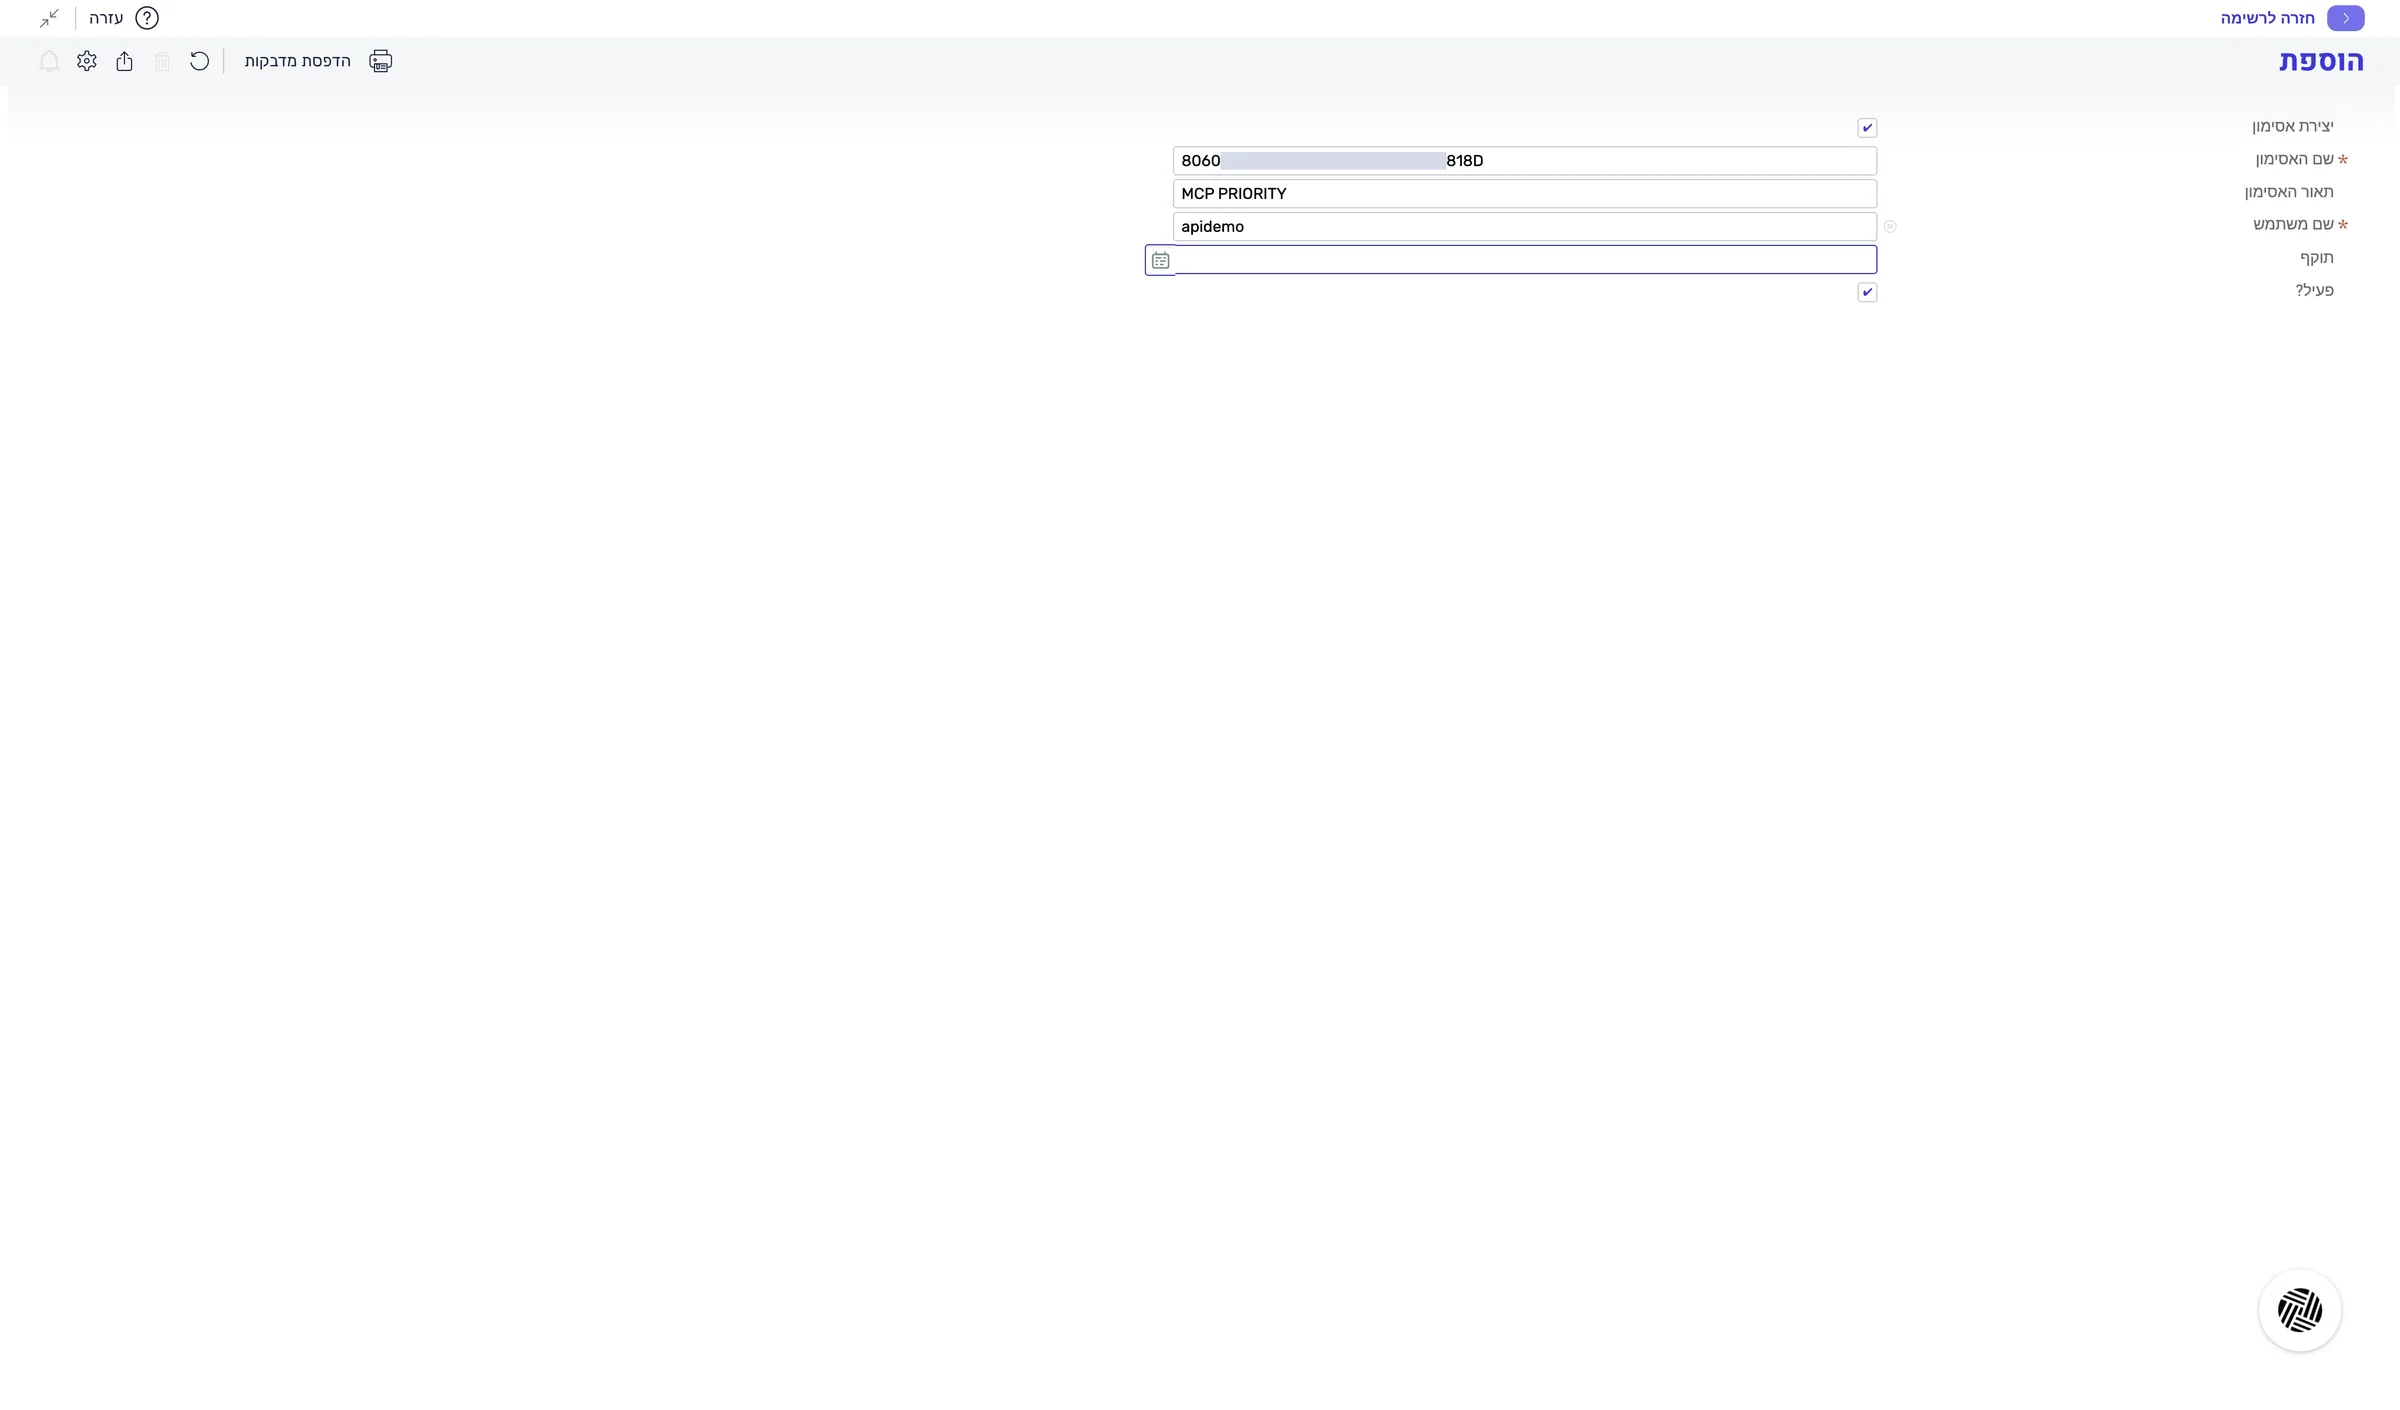
The new token appears in the list, hidden.
LeonAI sees only the forms that are open to the API. Start with the FORMLIMITED form, and open more forms as needed.
System Management › System Maintenance › Licenses › Forms for Limited/API License
The form is open.
Find the FORMLIMITED form and check its API box.
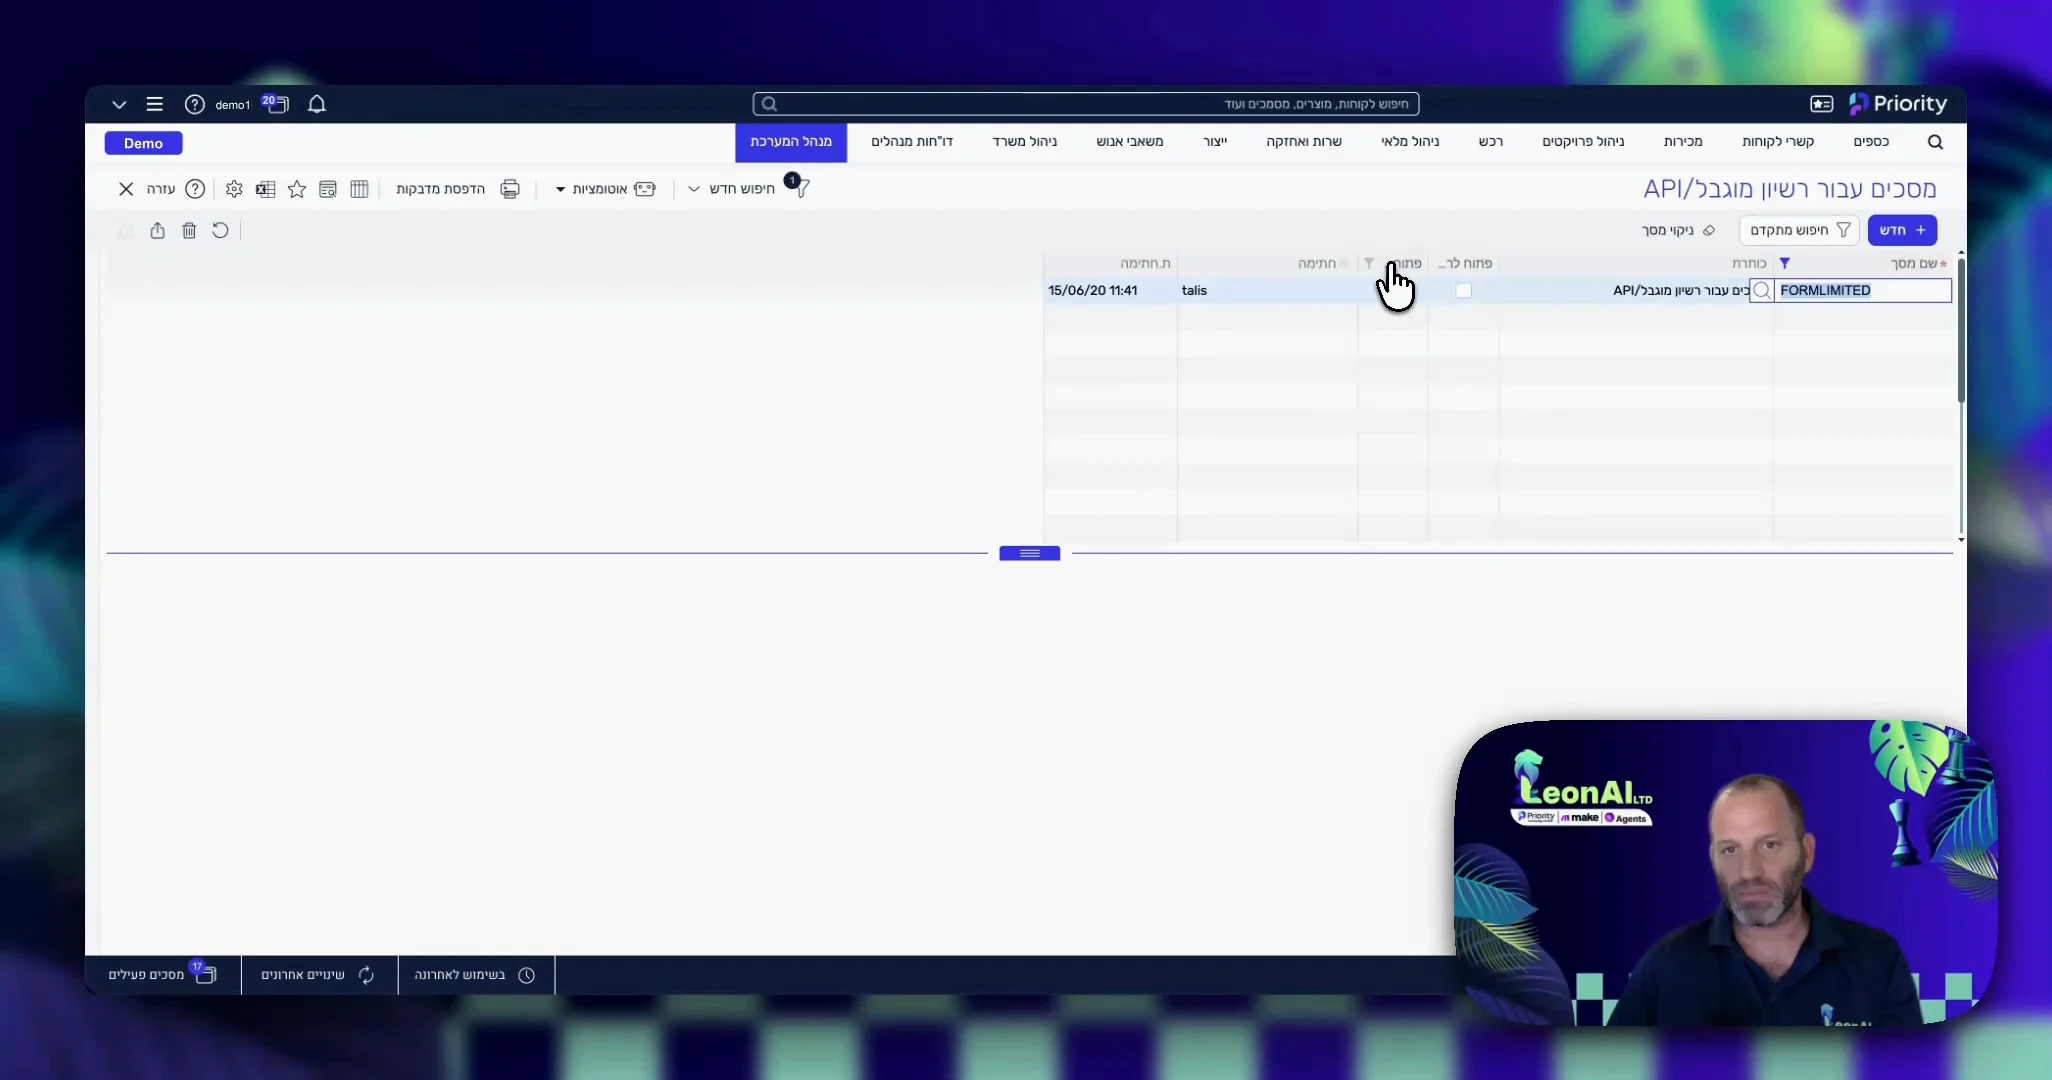
On the FORMLIMITED row, the API box is checked.
In the same form, open every form you will work with to the API, for example CUSTOMERS.
Every form you will work with is marked for the API.
The token that identifies your LeonAI account. It is in the dashboard, and was also emailed to you when you signed up.
Sign in to dash.leonai.io with your user.
The dashboard is open.
On the API Token card, click the copy button.
On the free plan, the token includes 250 transactions a month.
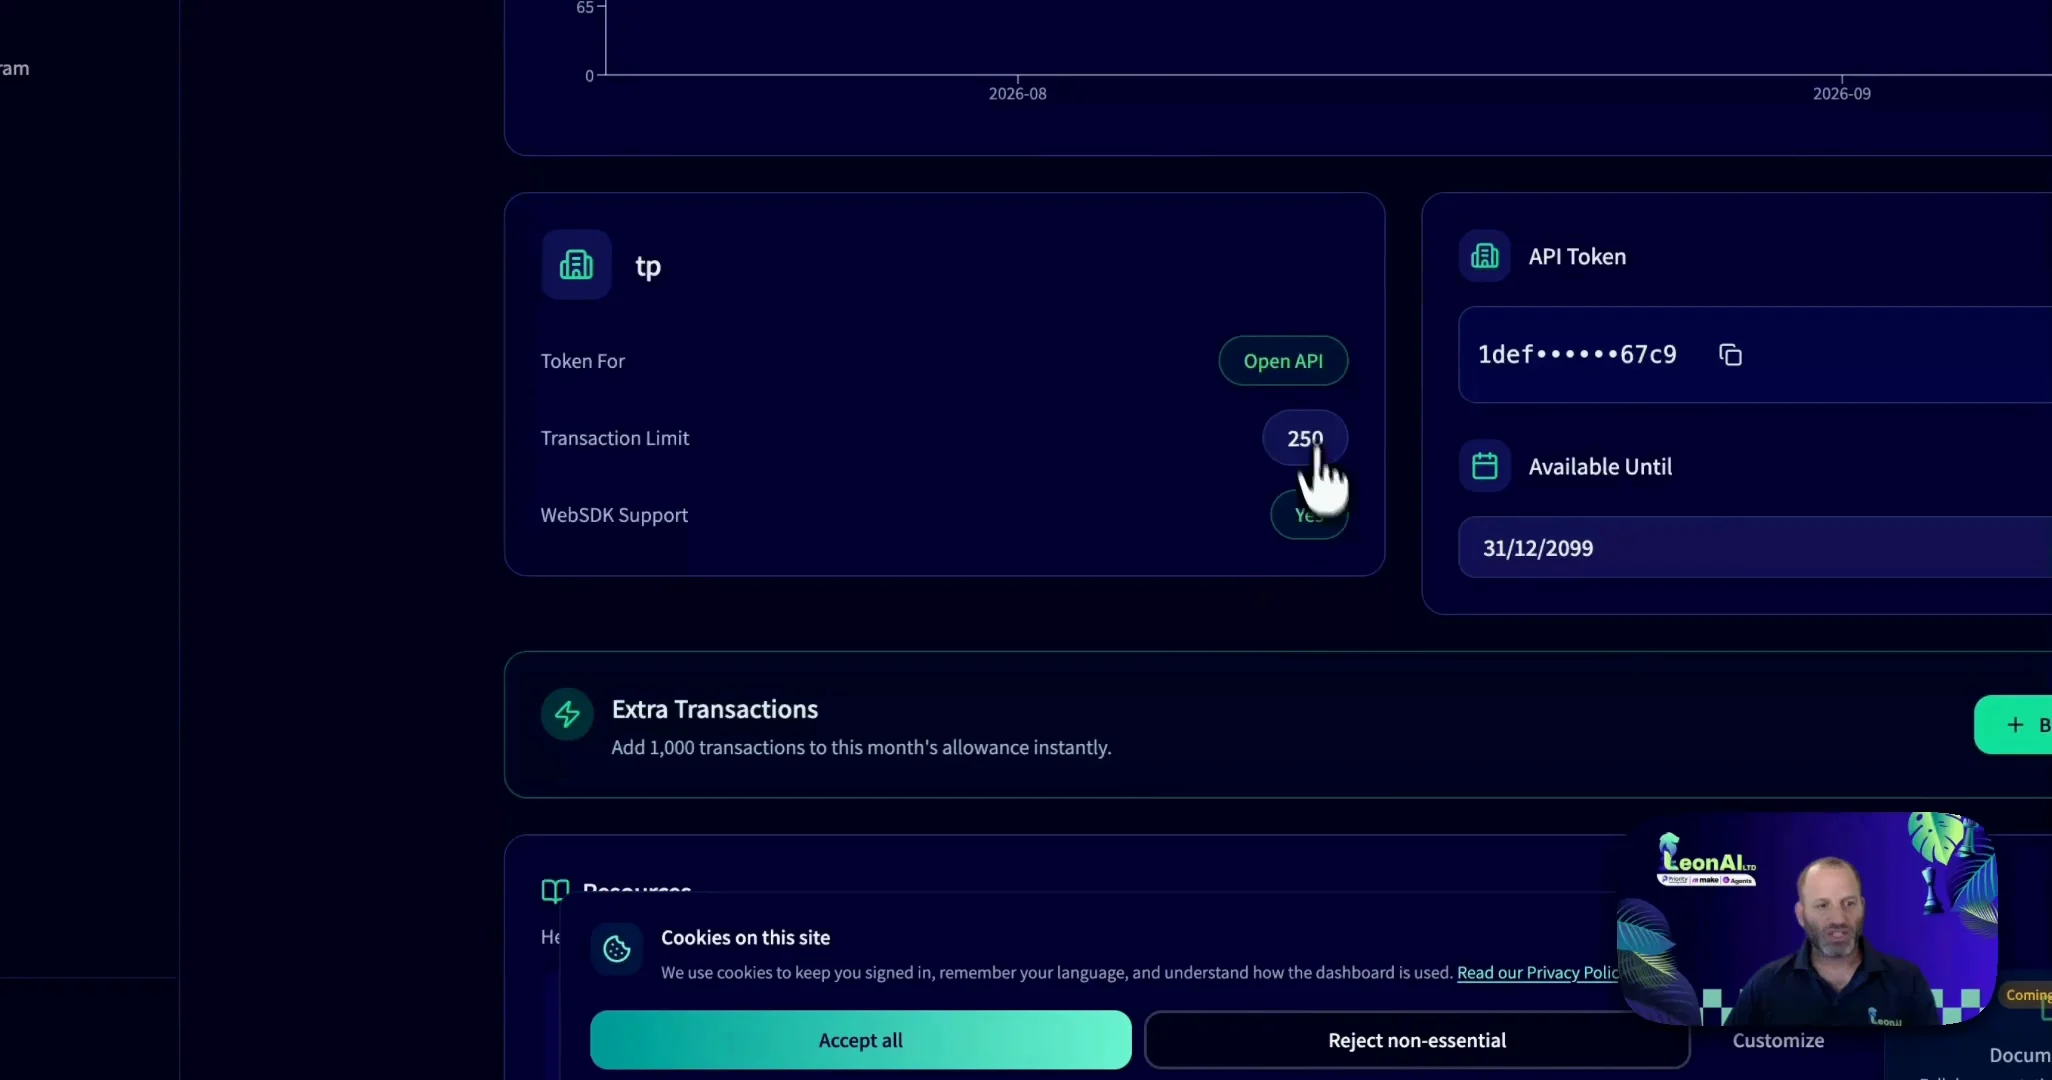
The token is on your clipboard.
Add a LeonAI Priority ERP module to a scenario, and create a connection from six values.
In the scenario click +, search for LeonAI Priority ERP and choose any module.
The app is already available in Make. There is nothing to install.
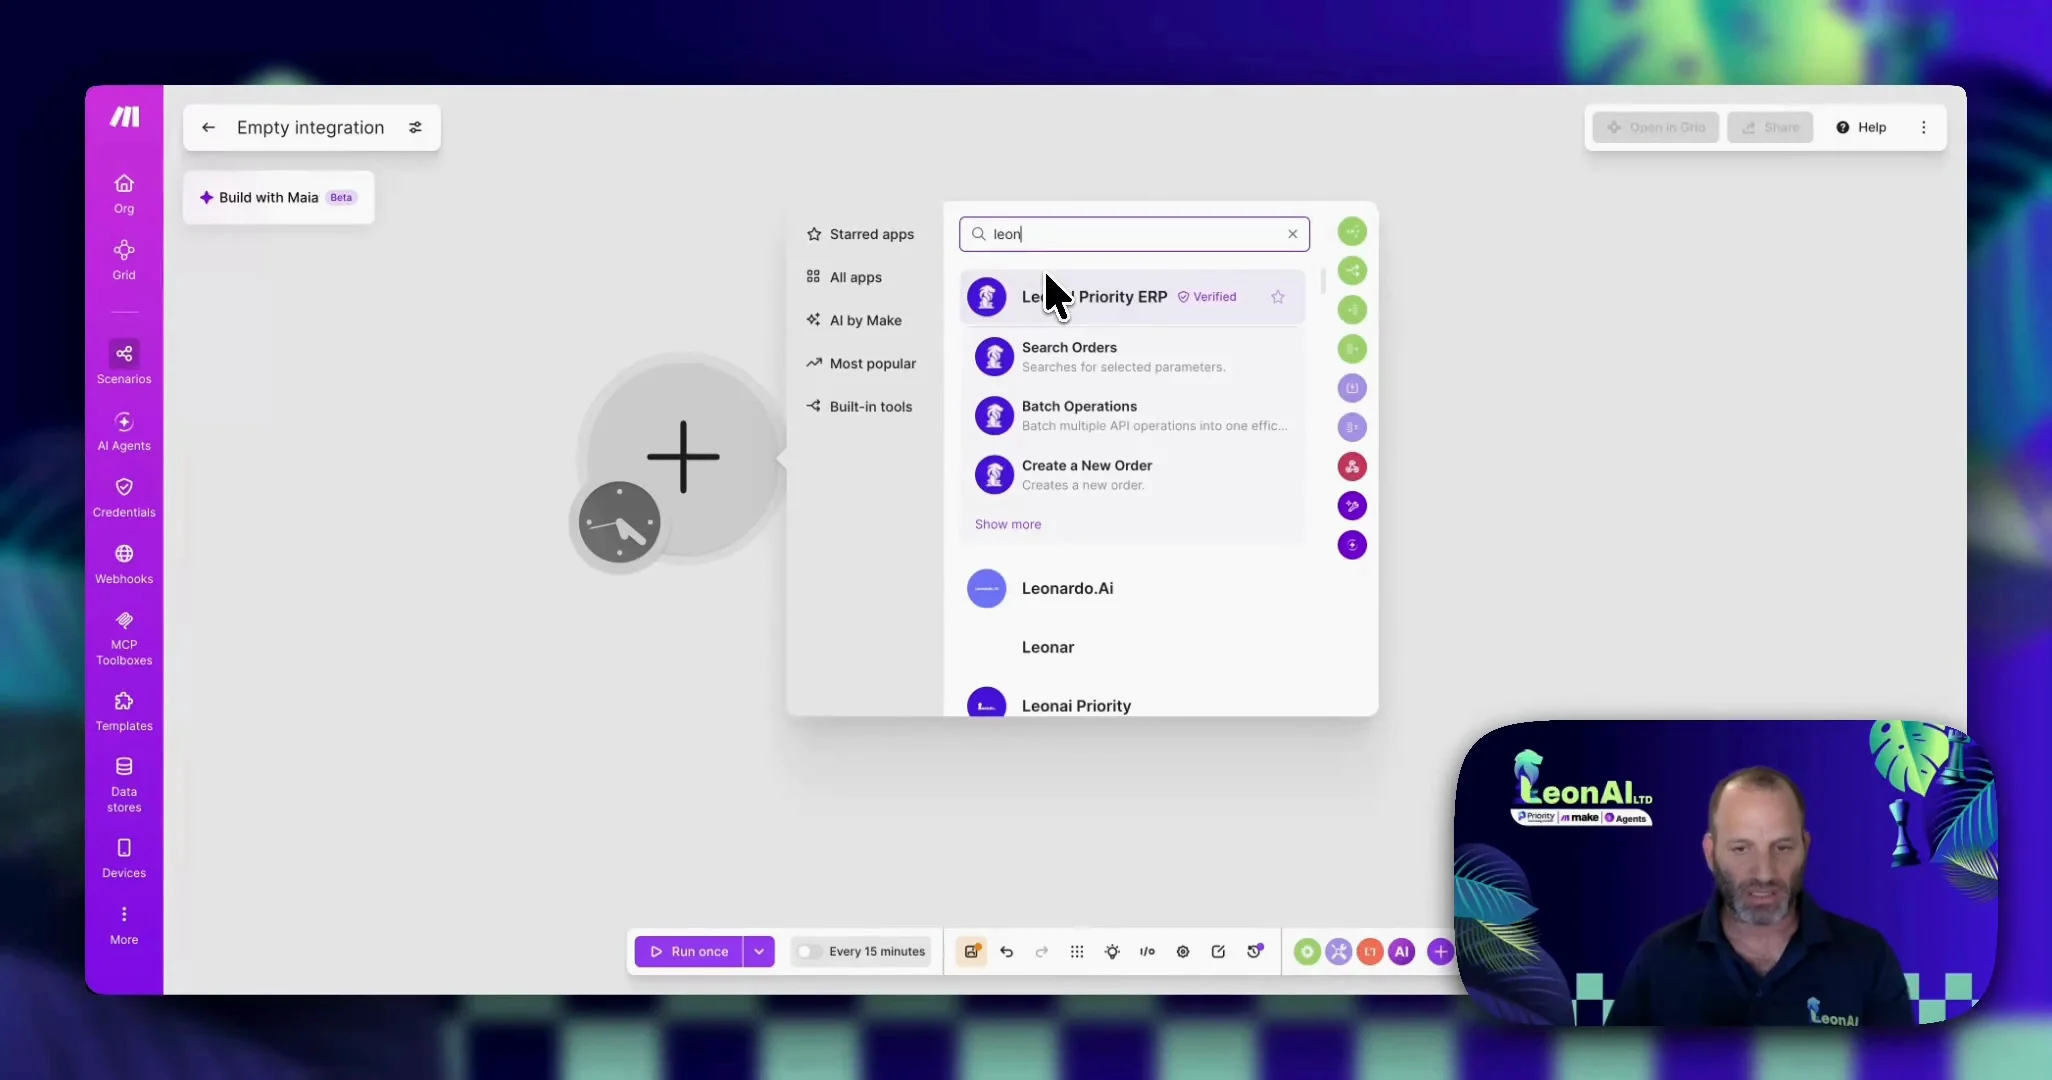
The module is on the canvas and its settings window is open.
In the Connection field, click Create a connection.
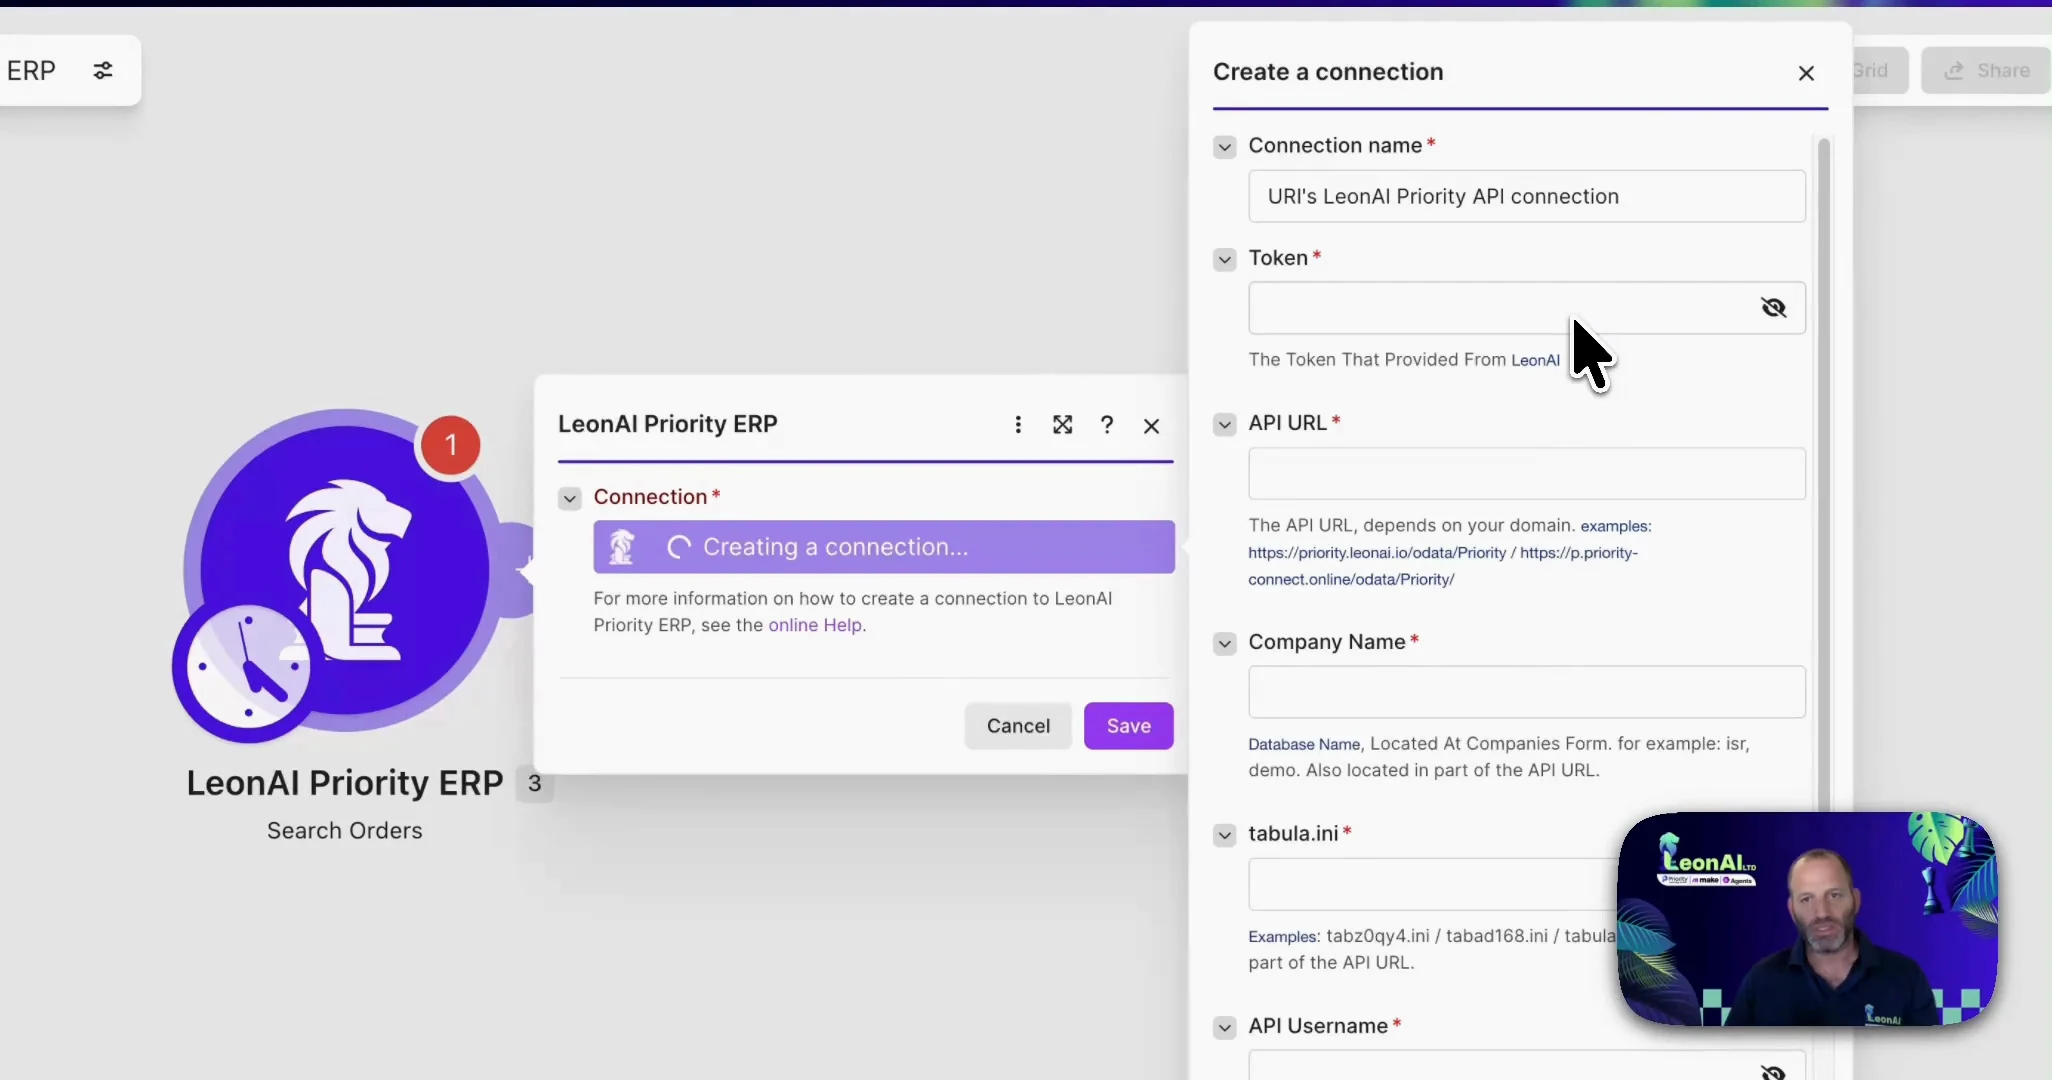
A window with six fields opens.
Fill them in using the table below.
| Field in Make | What to enter |
|---|---|
| Token | LeonAI tokenLeonAI token → |
| API URL | Server address + /odata/Priority/The Priority API address → |
| Company Name | Company name — the last part of the API addressThe Priority API address → |
| tabula.ini | Settings file — the second-to-last partThe Priority API address → |
| API Username | The personal token from “REST Interface Authentication Tokens”Personal access token (PAT) → |
| Password | Always the word PAT, in capitals |
All six fields are filled in.
Click Save.
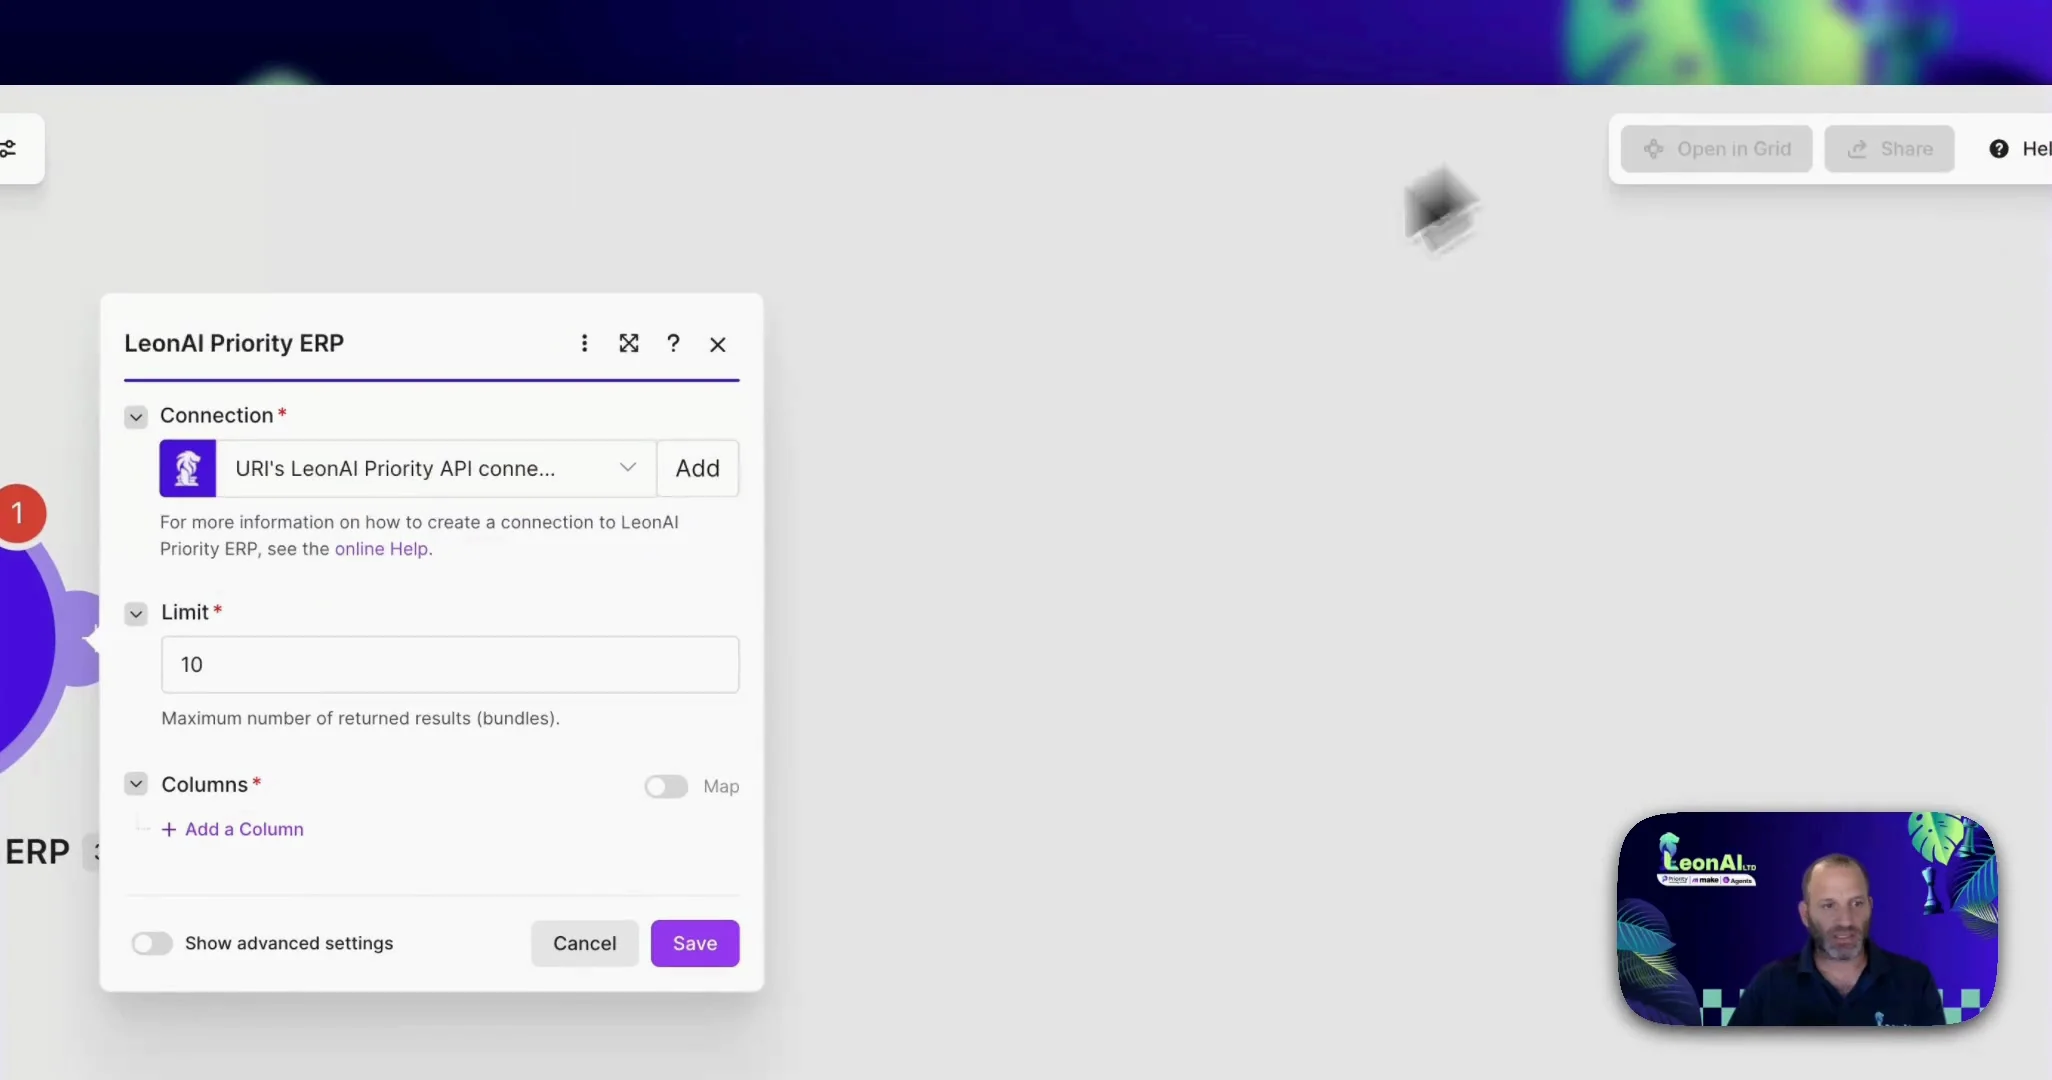
The connection is created and appears in the Connection field.
Login error when saving the connection
In Make, the user name is your personal access token from Priority, and the password is always the word PAT.
We want to connect with a Priority user name and password, not a token
This guide connects with a personal access token (PAT). Connecting with a user name and password works only when the user is marked as an API user in Priority.
We have Priority Zoom, not Pro. Is the licensing the same?
With Priority Pro, licensing is as on the website. With Priority Zoom, the API is opened in Priority through us, so the pricing is different.
You can start building in Make with every LeonAI Priority ERP module. If something does not work, see Troubleshooting.